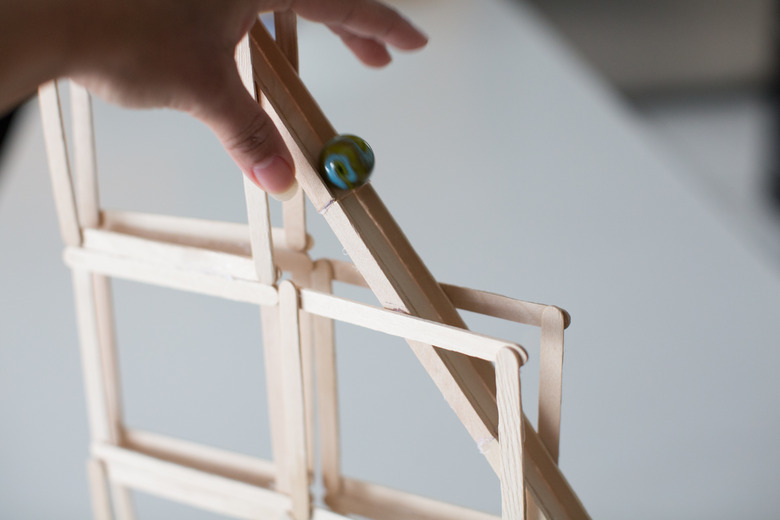
How To Make Roller Coasters For A Science Fair Project
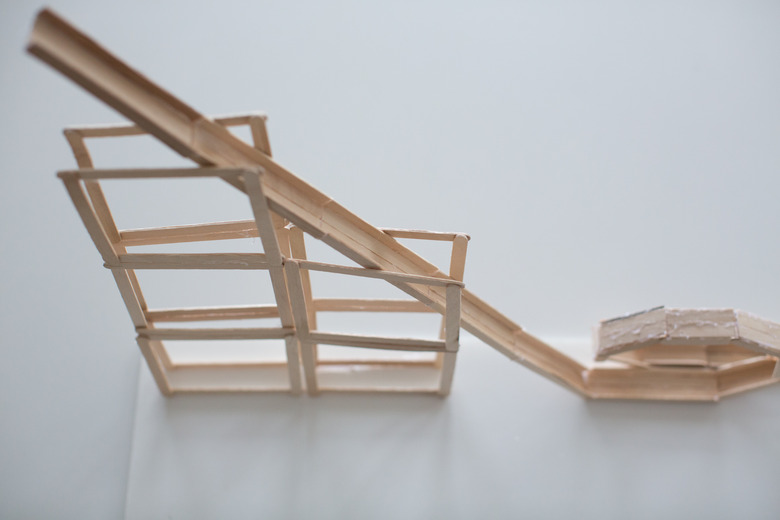
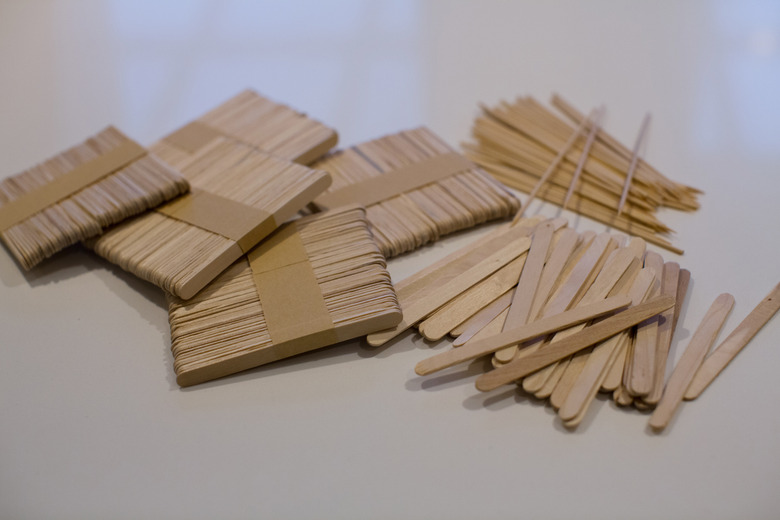
Making a model roller coaster is a great way to study physics and the science around structural integrity. Kits are available commercially from such toy makers as Knex and Coaster Dynamix. But prepackaged kits may limit your design options or may be prohibited from a science fair. Verify any rules or parameters before choosing materials. Homemade models can be made with many different materials but the most common are toothpicks, balsa wood, Popsicle sticks and foil. Consider ease of use, cost and portability when choosing materials. Wooden materials are not usually flexible enough to build a model with loops or corkscrews. Determine the level of complexity of the roller coaster design before choosing materials.
Build a Model Rollercoaster
Step 1
Review the roller coaster design plan completely before beginning. Plans can be purchased at a local hobby shop or online. The roller coaster plan should indicate specific measurements for placement of track. It should provide step-by-step guidelines on how to build the track, what types of materials are best and the finished size of the track. Follow directions closely.
Step 2
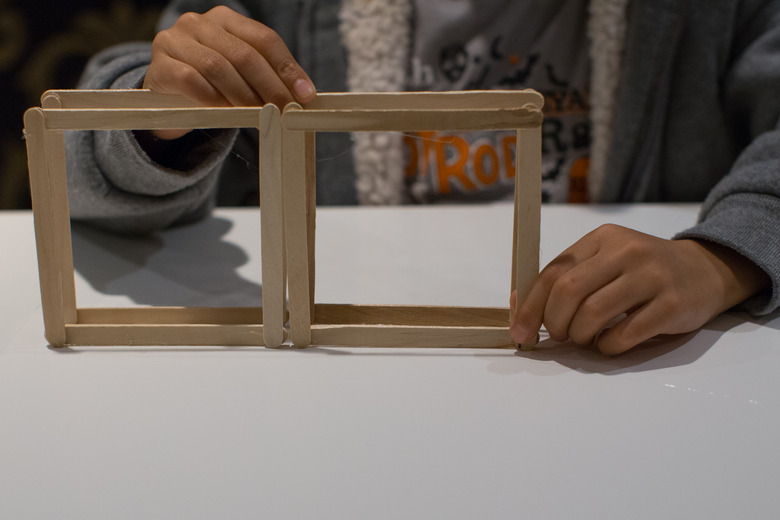
Place Popsicle sticks for the ground level on a stable base and secure with glue. The base should be large enough to hold the final product without bending. Wood is the best base material because of its strength, but it may be heavy. Consider plastic, but verify that the glue will adhere to it without sliding. Measure carefully to ensure the Popsicle sticks for the track are parallel to each other, like a railroad track, so they will hold the marble safely.
Step 3
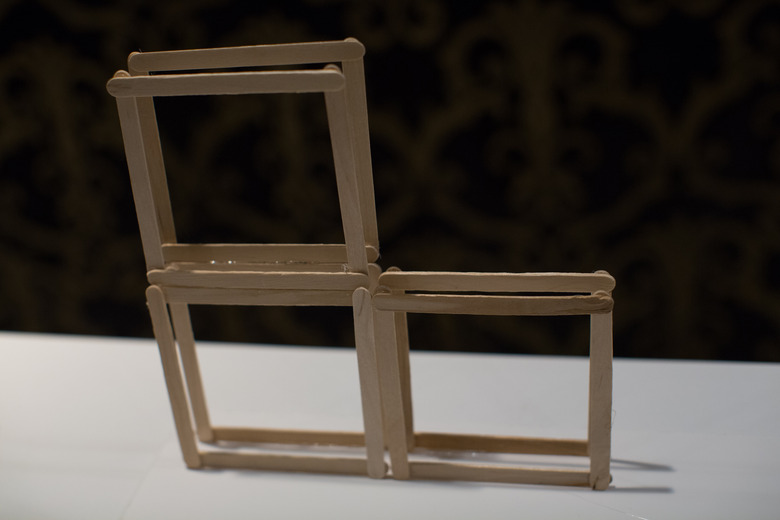
Glue subsequent Popsicle sticks per instructions on roller coaster design. Follow the instructions on the design precisely to create the final roller coaster. Measure each placement as it is made. Use wire bread ties to hold each stick in place before gluing. Wait for glue to dry before building the next layer when necessary to prevent the Popsicle sticks from shifting
Step 4
Test with a marble. Wait for the glue to dry completely before testing with a marble. Test each layer as it is built when time permits.
Things Needed
- Roller coaster design plan
- Stable base
- Popsicle sticks or other rail material
- Glue
- Wire bread ties
- Marble
TL;DR (Too Long; Didn't Read)
Use craft glue rather than Elmer's glue to provide additional strength for the model. Use marbles of various sizes and materials to test speed. Add details such as landscaping for aesthetic purposes. If the model will need to be moved, choose a size of model that is easily transported.
References
Cite This Article
MLA
Marcotte, Dawn. "How To Make Roller Coasters For A Science Fair Project" sciencing.com, https://www.sciencing.com/make-coasters-science-fair-project-5661904/. 24 April 2017.
APA
Marcotte, Dawn. (2017, April 24). How To Make Roller Coasters For A Science Fair Project. sciencing.com. Retrieved from https://www.sciencing.com/make-coasters-science-fair-project-5661904/
Chicago
Marcotte, Dawn. How To Make Roller Coasters For A Science Fair Project last modified August 30, 2022. https://www.sciencing.com/make-coasters-science-fair-project-5661904/
