How To Make DNA Models Of Paper Clips
A DNA model consists of two distinct parts. The first part of the model is constructed of an alternating pattern of phosphates and sugars that compose the outer legs of the DNA molecule. The second part consists of nucleotide base pairs forming the rungs between the phosphate and sugar legs. The nucleotides bind in a distinct pattern: adenosine with thymine and cytosine with guanine. By constructing your DNA model out of paper clips, you can easily twist the model to create the characteristic double-helix shape without fear of warping your components or destroying the model.
Step 1
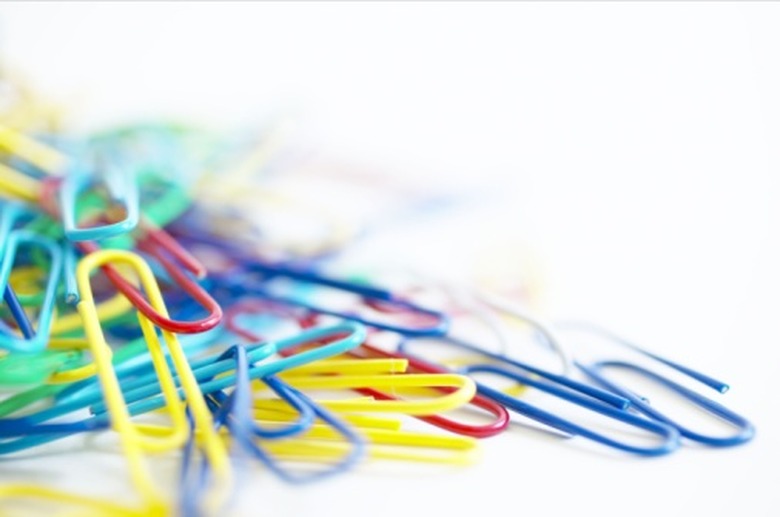
Divide the paper clips into three groups — 44 silver paper clips for the phosphates, 40 paper clips of a single color for the sugars and the remaining colors for the nucleotide pairs.
Step 2
Designate the remaining colors to specific nucleotides. For example, adenosine (A) is green, cytosine (C) is blue, guanine (G) is orange, and thymine (T) is yellow.
Step 3
Create 20 nucleotide pairs, connecting A to T and C to G. Slide the two paper clips together to connect the pairs. You do not have to create an equal number of each pair. You can have 12 A-T pairs and 8 C-G pairs or 6 A-T pairs and 14 C-G pairs.
Step 4
Connect the phosphate and sugar paper clips in an alternating pattern until you have created a single chain consisting of 22 phosphates and 20 sugars. You should have a phosphate paper clip on both ends of the chain.
Step 5
Repeat this process until you have two phosphate-sugar chains.
Step 6
Lay the two chains beside each other on your work surface and measure the length of one of them.
Step 7
Cut the dowel rods to the same length as the chain.
Step 8
Attach one of the paper clips of a nucleotide pair to the bottom sugar on one of the phosphate-sugar chains.
Step 9
Continue to add nucleotide pairs to the sugars on that chain until you attach all of them.
Step 10
Bring the other phosphate-sugar chain next to the open nucleotide and begin connecting the nucleotides to the sugars on that chain.
Step 11
Open the outer leg of the paper clips on the terminal phosphates of each chain. Pull the legs until they are straight, but do not unwind the entire paper clip.
Step 12
Lay the foam blocks at either end of the assembled DNA ladder.
Step 13
Press the paper clip legs into the center of the foam block to secure the ladder into the foam. Make sure you separate the individual legs of the DNA model so the nucleotide pairs pull taut.
Step 14
Hold on to each block and lift the model into an upright position. Do not let go of the top block. The model will not support the weight.
Step 15
Enlist the aid of a friend to hold the top block.
Step 16
Hold the bottom block while your helper twists the upper block to form a single turn in the ladder.
Step 17
Continue to hold the bottom block while you insert one dowel rod into the foam on one side of the model. Press the other end of the rod into the top block.
Step 18
Repeat this process with the other dowel rod on the opposite side of the model.
Things Needed
- Large colored paper clips, five colors
- 44 small silver paper clips
- 2 Styrofoam blocks
- 2 dowel rods
Cite This Article
MLA
Watson-Price, Erin. "How To Make DNA Models Of Paper Clips" sciencing.com, https://www.sciencing.com/make-dna-models-paper-clips-8475130/. 24 April 2017.
APA
Watson-Price, Erin. (2017, April 24). How To Make DNA Models Of Paper Clips. sciencing.com. Retrieved from https://www.sciencing.com/make-dna-models-paper-clips-8475130/
Chicago
Watson-Price, Erin. How To Make DNA Models Of Paper Clips last modified March 24, 2022. https://www.sciencing.com/make-dna-models-paper-clips-8475130/
