How To Make An Electrical Circuit With Paper Clips
All electrical circuits, no matter how complex, can be broken down into simple components. In a simple direct current, or DC, circuit, a battery supplies power, wires deliver the power, a switch permits or stops power flow and a load uses the power. While a professional electrician will always use special components when installing or repairing an electrical system, such as the lights in a house, you can make an electrical circuit with paper clips and other common household items.
Step 1
Strip half an inch of wire from each end of the three wires.
Step 2
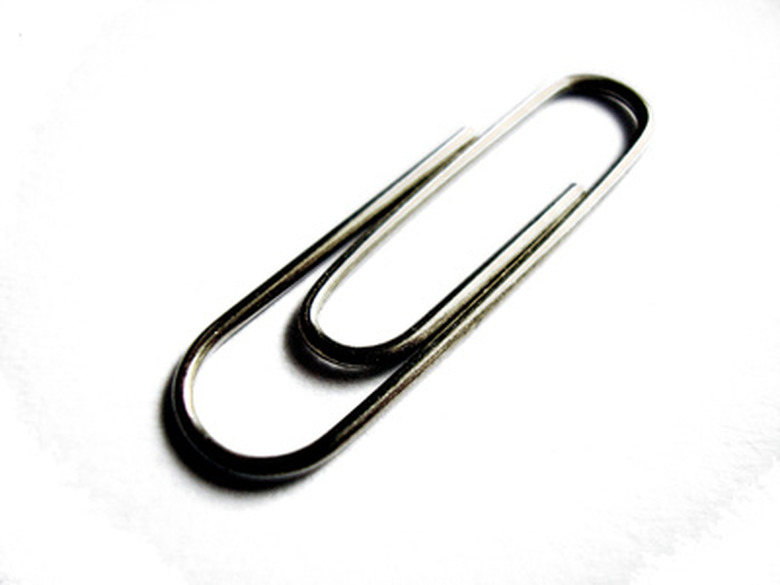
Tape one stripped wire end to the positive or "+" terminal of the battery. Wrap the other end of this wire around one end of the first paperclip.
Step 3
Press one thumbtack or nail into the cardboard, through the end of the paperclip with the wire wrapping. Ensure that the paperclip can pivot freely on the thumbtack or nail. This paperclip is the switch.
Step 4
Straighten the other paperclip. Press one end into the cardboard near the other paperclip, but not through it. This is the contact point for the switch. When the switch touches the contact point, electricity will flow.
Step 5
Wrap the other end of the straight paperclip around the positive or "+" terminal of the light bulb. Tape it in place if necessary.
Step 6
Tape the stripped end of the second wire to the negative or "-" contact on the light bulb. Tape the other end of this wire to the "-" terminal of the battery.
Step 7
Tape the battery and light bulb to the cardboard to hold them in place.
Step 8
Move the paperclip switch to touch the contact point. The light bulb should illuminate.
Things Needed
- Wire strippers
- 2 lengths of 18 to 22 gauge wire, 6 inches long
- Electrical tape
- D-cell battery
- Cardboard square, 3 inches by 5 inches
- 2 metal thumbtacks or nails
- 2 paperclips
- 1.5-volt light bulb
TL;DR (Too Long; Didn't Read)
Some light bulbs have a metal dot at the bottom as one contact and screw threads around the base as the other contact. Other light bulbs have two blades of metal coming out of the bottom as contacts. Either type of bulb will work for this project.
Warning
Do not attempt to take the battery apart.
Do not dispose of the battery in a fire. Follow all precautions on the battery packaging.
Cite This Article
MLA
Moon, Rachel. "How To Make An Electrical Circuit With Paper Clips" sciencing.com, https://www.sciencing.com/make-electrical-circuit-paper-clips-7763928/. 24 April 2017.
APA
Moon, Rachel. (2017, April 24). How To Make An Electrical Circuit With Paper Clips. sciencing.com. Retrieved from https://www.sciencing.com/make-electrical-circuit-paper-clips-7763928/
Chicago
Moon, Rachel. How To Make An Electrical Circuit With Paper Clips last modified March 24, 2022. https://www.sciencing.com/make-electrical-circuit-paper-clips-7763928/
