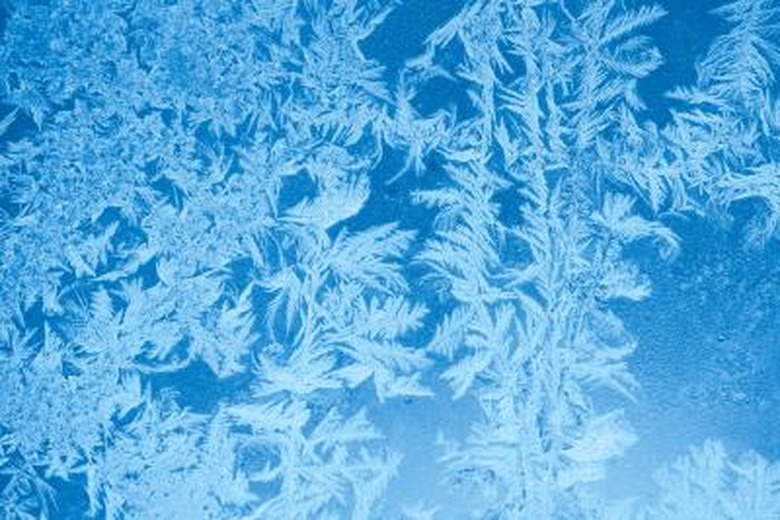
How To Make Ice Crystals
There are no two snowflakes that are identical. If you look at a snowflake under a microscope you can see the various patterns of the ice crystals which make up the snowflake. You can make your own ice crystals at home, and you don't have to wait until it's frosty and cold outside. This cool experiment can be done any time of the year.
Step 1
Cut the pipe cleaner into 3 equal pieces.
Step 2
Twist together the 3 pieces of the pipe cleaner to form a snowflake.
Step 3
Tie the string to one point of one of the the pipe cleaners and then continue tying the string to the other points to form a pattern for your snowflake.
Step 4
Using another piece of string, tie one end to the middle of the pencil. Tie the other end of the string to the top of one of the pipe cleaners.
Step 5
Using boiling water, fill the jar about 1/2 full of water. Add Borax to the water. Use 1 tablespoon of Borax per 1 cup of water. Stir to dissolve. If some settles to the bottom that's okay.
Step 6
Add food coloring now, if you choose to tint your snowflake.
Step 7
Holding the snowflake by the pencil, put the snowflake into the borax filled water. Rest the pencil on the opening of the jar letting the snowflake dangle in the water.
Step 8
Let the snowflake sit overnight and in the morning, you will see crystals forming on the snowflake.
Step 9
Leave the snowflake in the solution for several days to see how many more crystals form.
Things Needed
- White pipe cleaners
- Scissors
- String
- Pencil
- Borax
- Boiling water
- Wide mouthed jar
- A measuring tablespoon
- Optional: food coloring
Cite This Article
MLA
Hannaford, Amy. "How To Make Ice Crystals" sciencing.com, https://www.sciencing.com/make-ice-crystals-2363465/. 24 April 2017.
APA
Hannaford, Amy. (2017, April 24). How To Make Ice Crystals. sciencing.com. Retrieved from https://www.sciencing.com/make-ice-crystals-2363465/
Chicago
Hannaford, Amy. How To Make Ice Crystals last modified March 24, 2022. https://www.sciencing.com/make-ice-crystals-2363465/
