How To Make A Model Of An Atom Wire
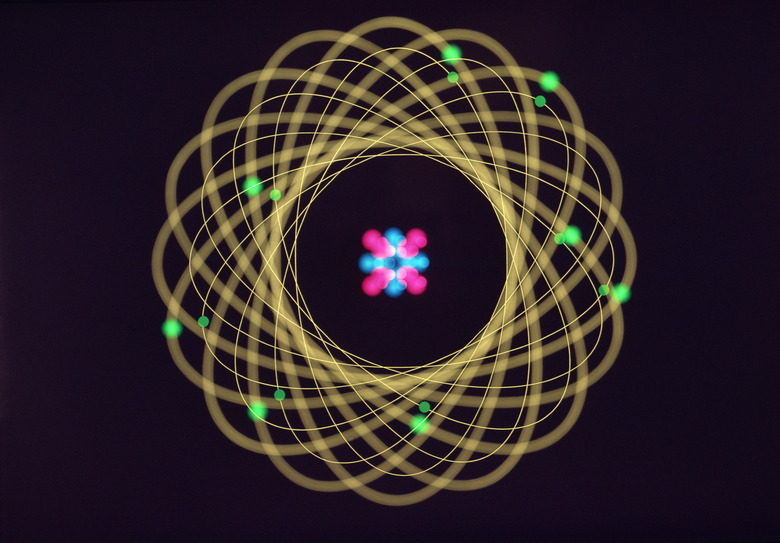
Atoms are the basic building blocks of all elements known to mankind. Each element on the periodic table is uniquely identified by the structure of its atom. In order to model an atom, you have to know what that structure is or how many protons, neutrons and electrons it contains. The combination of these subatomic particles define what element an atom becomes. Depending on the type of atom you build, your model uses a number of orbs to represent subatomic particles and wires to "bond" those particles together.
Step 1
Gather the polystyrene foam balls necessary to build your model. For example, if you are building a model of an hydrogen atom, you need one 1-inch ball for an electron and one 3-inch ball for a proton. Larger atoms with more particles require more balls. Use 3-inch balls for protons and neutrons and 1-inch balls for electrons.
Step 2
Label your subatomic particles with a "P" for proton or "N" for neutron so that you can tell them apart. For example, if you are building a helium atom, there are two protons and two neutrons labeled accordingly. Electrons are obvious because of their smaller size.
Step 3
Paint your protons red, your neutrons blue and your electrons yellow. Allow the paint to dry. Meanwhile, cut one 3-inch piece of wire for each proton and neutron in your atom. For example, helium needs four pieces of wire for its two protons and two neutrons.
Step 4
Hold a proton in one hand an insert the wire toward the center of the ball. Insert half of the wire into the ball, leaving the other half sticking out. Repeat for each proton and neutron used in your atom.
Step 5
Arrange the protons and neutrons into a clump to form the atoms nucleus. Insert the extruding wire from one ball into the neighboring ball to attach them together.
Step 6
Place the nucleus on a flat surface and then pull enough wire from the spool to form a circle around the nucleus. Make the space between the inside edge of the circle and the nucleus measure 2 to 3 inches. This is an electron path.
Step 7
Repeat Step 7 to make more electron paths, if desired. Insert the tip of the electron path through an electron so that it pass through the center of the ball. Slide the electron ball along the wire and position it anywhere along the path that is 3 inches from either tip of the wire.
Step 8
Add all of your electrons to the electron path and then join the ends of the wire. Overlap the tips of the wire 1 to 2 inches and twist the wires together using needle nose pliers.
Step 9
Lay the electron path on a flat surface with the nucleus position in its center. Cut four 3-inch pieces of wire. Arrange the wires around the electron path circle at the 12 o'clock, 3 o'clock, 6 o'clock and 9 o'clock positions.
Step 10
Wrap the tip of the 12 o'clock wire intersecting with the electron path around the path's wire with the pliers. Twist the wires so that they do not move. Insert the other tip of the wire into an orb in the nucleus. Repeat this step with the three other wires to "bond" the electrons to the nucleus and your atomic model is complete.
Things Needed
- Picture of a specific atom — i.e., hydrogen
- Craft scissors
- Fine point marker
- Craft paint
- 3-inch extruded polystyrene foam balls
- 1-inch extruded polystyrene foam balls
- 20-gauge spool of wire
- Needle nose pliers
Cite This Article
MLA
Jaebi, Iam. "How To Make A Model Of An Atom Wire" sciencing.com, https://www.sciencing.com/make-model-atom-wire-12103908/. 24 April 2017.
APA
Jaebi, Iam. (2017, April 24). How To Make A Model Of An Atom Wire. sciencing.com. Retrieved from https://www.sciencing.com/make-model-atom-wire-12103908/
Chicago
Jaebi, Iam. How To Make A Model Of An Atom Wire last modified August 30, 2022. https://www.sciencing.com/make-model-atom-wire-12103908/
