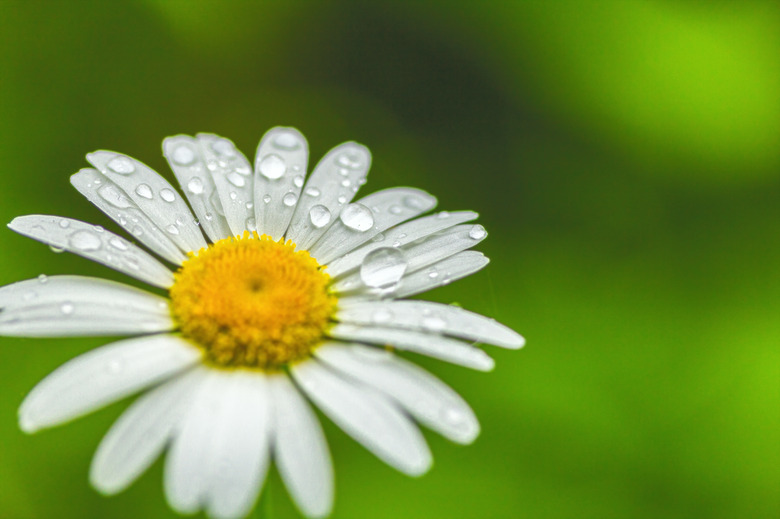
How To Make A Model Of A Flower With Parts
The flower is the part of a plant that is responsible for reproduction. Some flowers are called perfect flowers and contain both female and male organs, while others are incomplete flowers and must rely on insects for pollination.The main structures in flower anatomy include the petals, stigma, style, ovary, ovule, stem, calyx, filaments and anthers. The female organs — stigma, style, ovary and ovule — are referred to as the pistil. The male organs — filaments and anthers — are called the stamen. Despite all these parts, it's not hard to mimic the natural splendor of flowers with a realistic-looking clay model.
Step 1
Build the stem using green modeling clay and coiling it into a cylindrical structure. You can make the stem as short or as long as you want, but for stability, make sure that it is at least one inch in diameter.
Step 2
Make the calyx out of green modeling clay. The calyx refers to the leaves that are directly under the flower, that border it like a frame.
Step 3
Create four to six teardrop-shaped petals out of your blue modeling clay. Attach them skinny side down to the calyx, being sure to leave them opened like a small bowl to add the inner structures.
Step 4
Build the pistil out of orange clay. The pistil is the shape of a baseball bat and has four components. The wide end, which will be placed directly on top of the stem inside the petals and centered, is called the ovary. The outside of the ovary has six tiny black circles, represented with black clay, that are called ovules. They should be placed in two vertical rows of three each located at the wide end of the pistil. The neck of the bat is called the style and the skinny end, the stigma.
Step 5
Place the four pieces of wire so that they extend out of the ovary — the wide end of the baseball bat shape — and reach above the rims of the petals. This wire represents the filaments.
Step 6
Build the anthers with the yellow clay. Break off four fingernail-sized pieces of clay and roll them into balls. Attach them to the tops of the filaments.
Step 7
Label your parts. Write the names of the parts in small letters on your piece of paper and cut them out into rectangular pieces around the word. Tape these to your toothpicks and stick them into the appropriate places on the clay flower.
Things Needed
- Modeling clay (green, blue, yellow, orange and black)
- 4 three-inch long pieces of wire
- Pen
- Paper
- Scissors
- Tape
- Toothpicks
- Diagram of a flower (see resources below)
TL;DR (Too Long; Didn't Read)
You can put modeling clay together at the seams by using your thumb and pressing gently.
Be sure that no matter what size your flower is, that the parts are built to scale. For example, you do not want huge anthers and a tiny ovary. Consult the diagram for reference.
References
Cite This Article
MLA
Rae, Kara. "How To Make A Model Of A Flower With Parts" sciencing.com, https://www.sciencing.com/make-model-flower-parts-5714995/. 22 November 2019.
APA
Rae, Kara. (2019, November 22). How To Make A Model Of A Flower With Parts. sciencing.com. Retrieved from https://www.sciencing.com/make-model-flower-parts-5714995/
Chicago
Rae, Kara. How To Make A Model Of A Flower With Parts last modified March 24, 2022. https://www.sciencing.com/make-model-flower-parts-5714995/
