How To Make A Model Of The Roman Aqueducts
Roman aqueducts were designed to move water from clean streams and lakes into towns where people lived. Providing clean water for people to cook and wash reduced illnesses and death. Building an aqueduct required creating a channel that moved water fast enough to keep from stagnating, but slow enough to fill cisterns without damaging them from excessive water pressure.
Making the Slope
Step 1
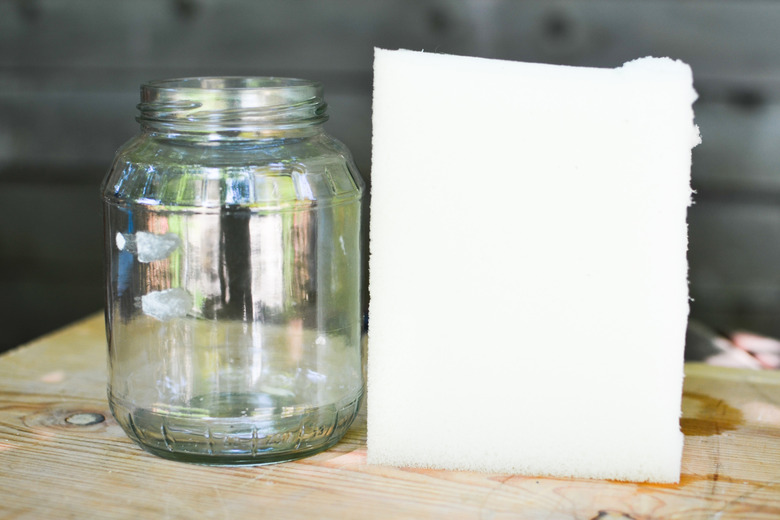
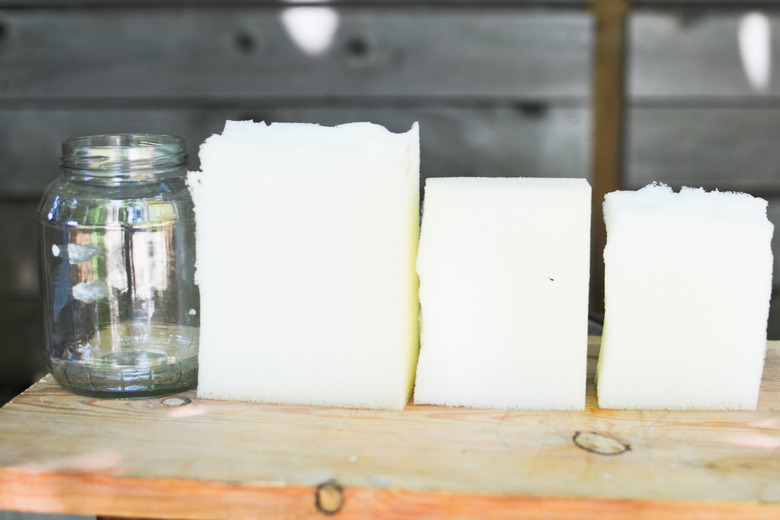
Set a flower foam cube next to the small jar so the edge of the cube is the same height or slightly higher than the top of the small jar. If the cube is more than ¼ inch taller than the small jar, measure the height of the jar and mark that height on the side of the foam cube.
Step 2
Lay the rest of the flower foam cubes in a line with the final cube. Turn the line of cubes horizontally onto its side. The bottoms of the cubes should form an even, straight line.
Step 3
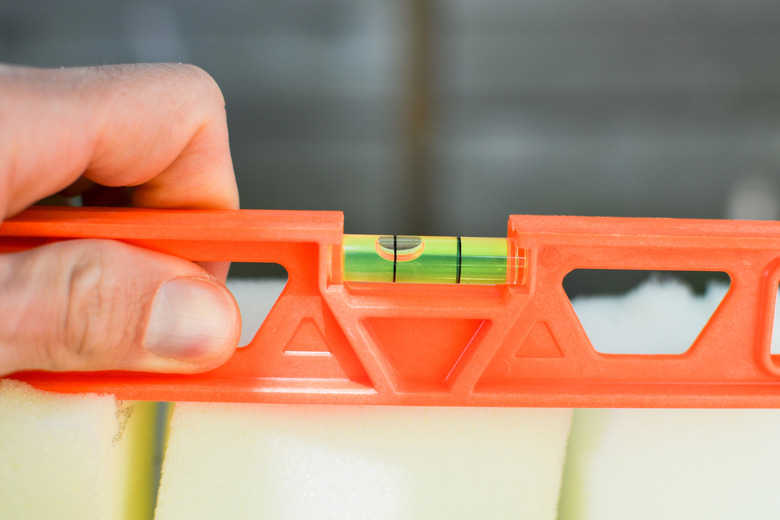
Lay the level horizontally on its side and place on the cubes. Rotate the level so the bubble is half way over the left line of the center. The top-right edge of the level should be even with the height of the small jar indicated on the end cube. The top-left side of the level should slope up and across the other foam blocks. Draw a line along the top of the level across all of the blocks.
Step 4
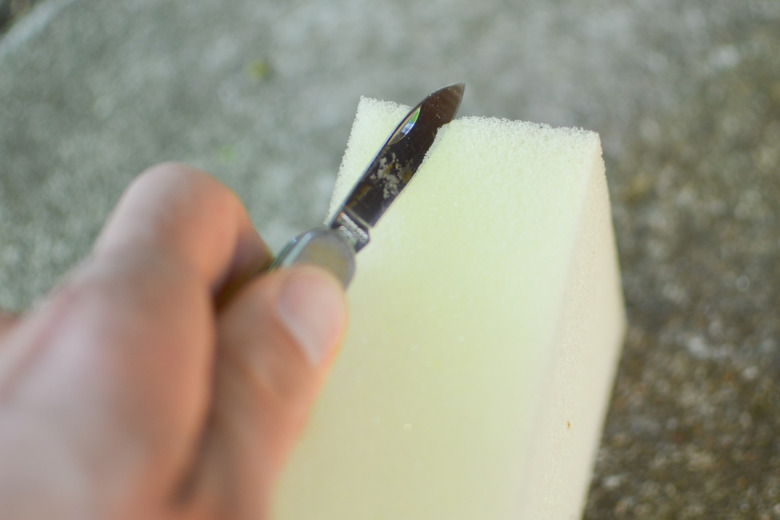
Remove the level and review the line to make sure it is straight. Use the utility knife to cut along the black line. Cut the blocks so there is a slight dip toward the center of the block. Check each block as it is cut to verify the slope angle does not change.
Building the Arches
Step 1
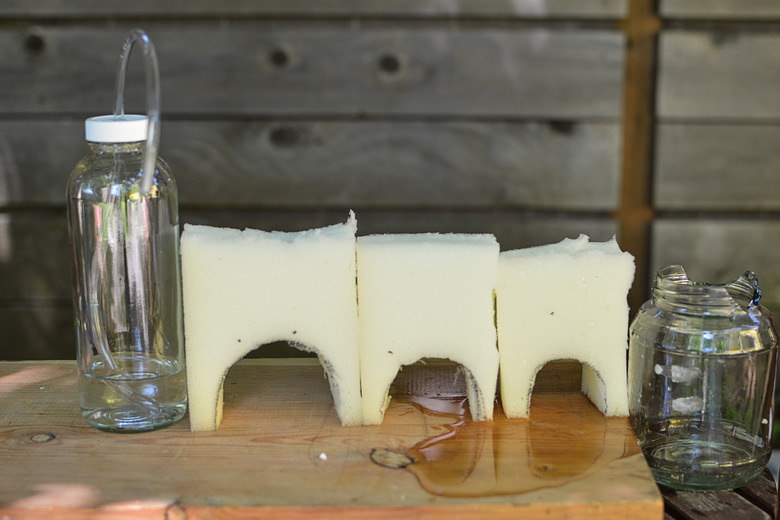
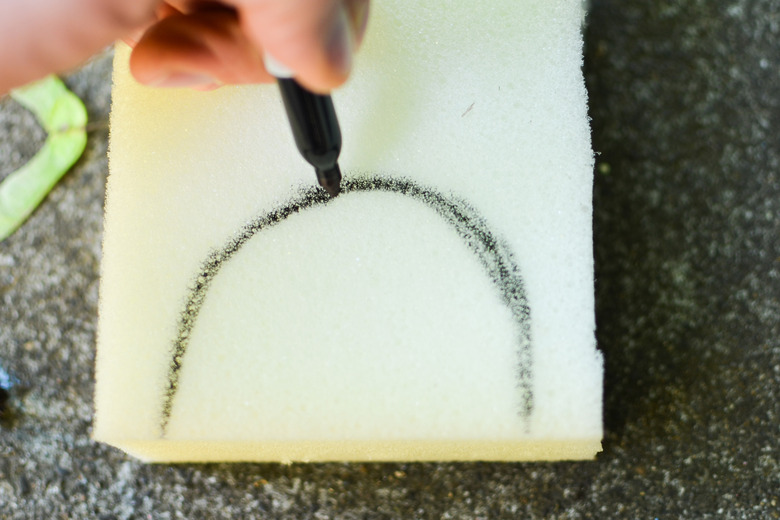
Make an arch in each foam block. Draw two parallel lines straight up from the bottom of the foam block. Use the compass to draw an arch from the top of one line to the top of the other line. Verify the top of the arch is at least 1 inch below the top of the foam block. Repeat for each foam block.
Step 2
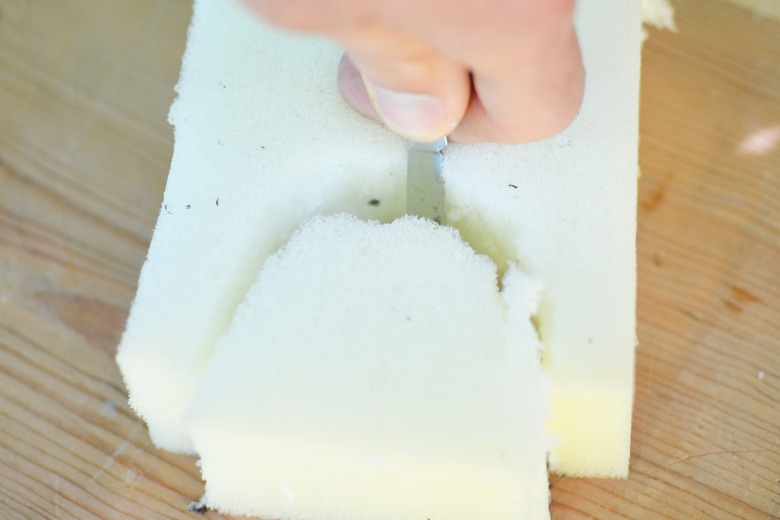
Cut out the foam to create each arch. Smooth the edges with sandpaper.
Step 3
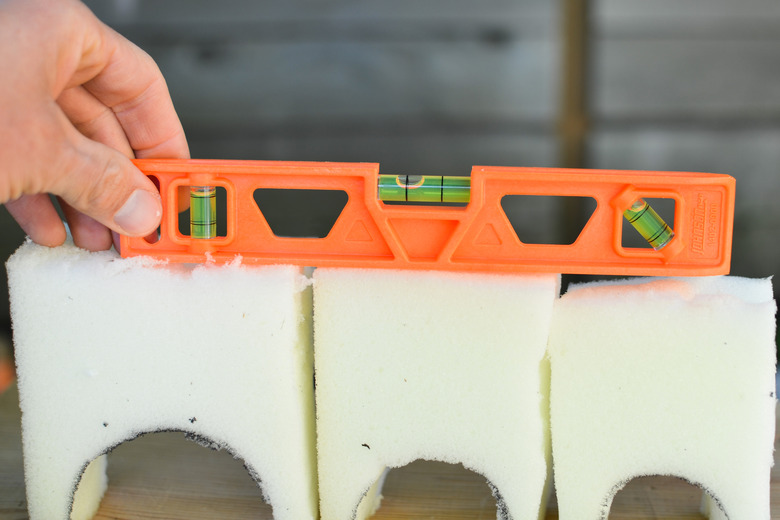
Set the foam blocks up again in their designated location. Lay the level across the top of the blocks to verify they are still at the correct slope. Make small adjustments with the sandpaper to correct the slope if needed.
Creating the Water Flow
Step 1
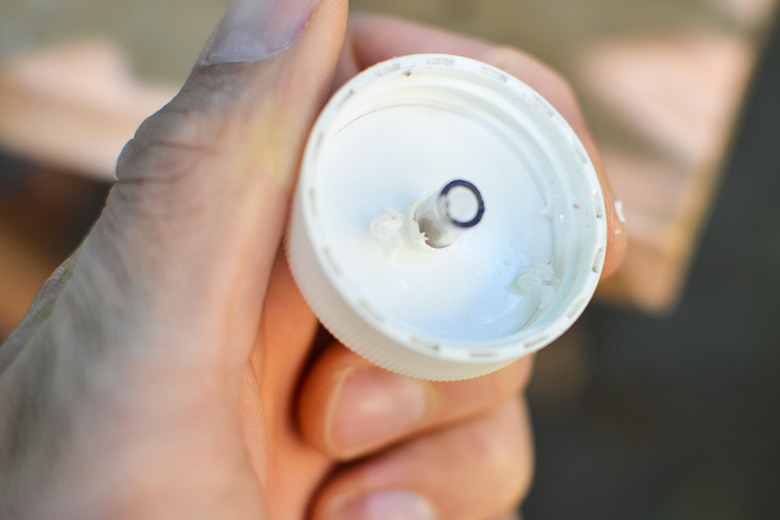
Cut a hole in the cap of the pop bottle. Stretch one end of the rubber hose over the cap of the pop bottle and seal it in place with glue. Set aside to dry overnight.
Step 2
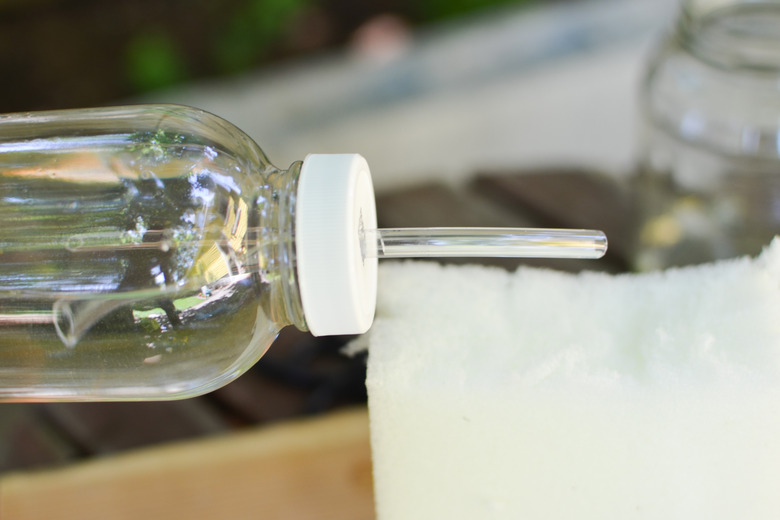
Place a final foam block next to the large end of the arches. Screw the cap back onto the pop bottle. Lay the pop bottle horizontally on top of this block so the rubber tube lies along the top of the arches and one end extends over the small jar.
Step 3
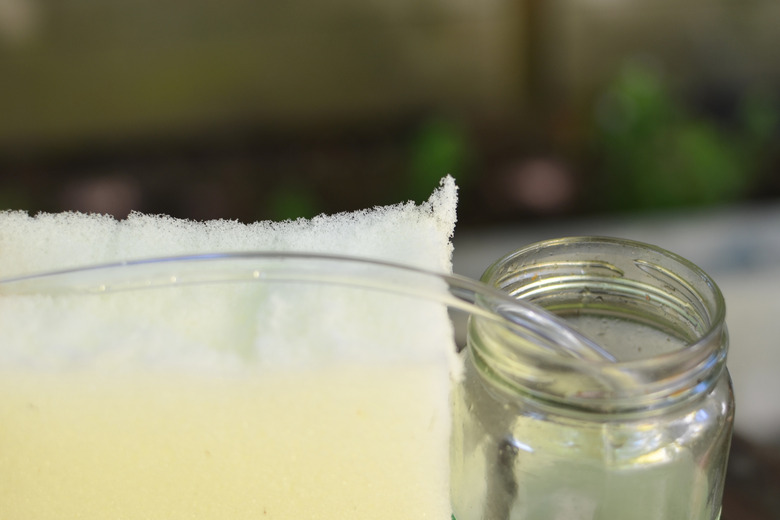
Unscrew the pop bottle. Fill the small jar with water and pour it into the pop bottle. Put the top back onto the pop bottle and lay the tube and bottle down horizontally on the top of the foam blocks. The water should flow through the tube and into the glass jar.
Things Needed
- Aqueduct template
- Plywood base
- Small glass jar
- Flower foam cubes
- Black marker
- Tape measure
- Level
- Utility knife
- Compass
- Rubber tube
- Plastic pop bottle
TL;DR (Too Long; Didn't Read)
If the water flows too fast, the slop of the aqueduct should be reduced. Sand the tops of the foam blocks down more so there is less of a slope. The arches can be decorated or painted as desired so they look more like stone.
Cite This Article
MLA
Marcotte, Dawn. "How To Make A Model Of The Roman Aqueducts" sciencing.com, https://www.sciencing.com/make-model-roman-aqueducts-6801501/. 24 April 2017.
APA
Marcotte, Dawn. (2017, April 24). How To Make A Model Of The Roman Aqueducts. sciencing.com. Retrieved from https://www.sciencing.com/make-model-roman-aqueducts-6801501/
Chicago
Marcotte, Dawn. How To Make A Model Of The Roman Aqueducts last modified March 24, 2022. https://www.sciencing.com/make-model-roman-aqueducts-6801501/
