How To Make A Model Of A Mosquito Insect Science Project
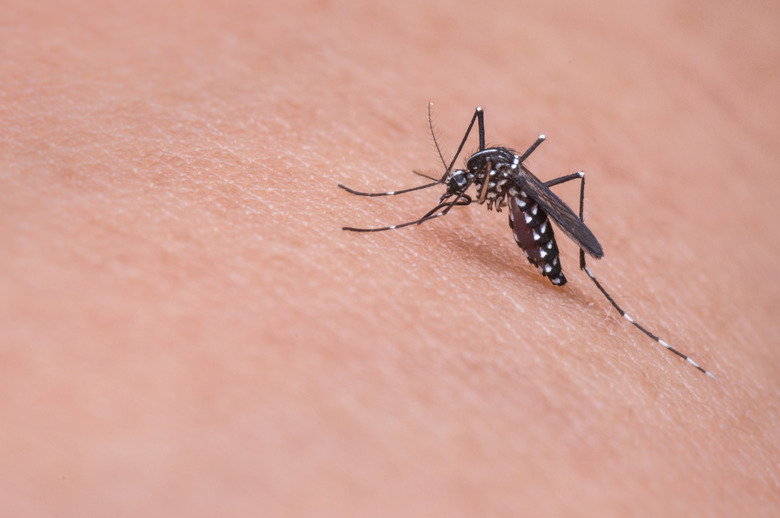
Mosquitoes are often considered pests, but they can be fascinating to a student interested in insects. A model of a mosquito should be large enough to show all its anatomical parts, but small and light enough to be transported if necessary. Additional information around the insect's life cycle and other interesting facts can be included separately in the display.
How to Make a Model Mosquito
Step 1
Mold the head, thorax and abdomen to match the body shapes in the diagram. Make each portion a different color to allow for greater visual impact. Roll small portions of the fourth color into small balls for the eyes. Lightly roll these eyes over the surface of the golf ball to create a faceted effect. Apply the eyes to the head with glue.
Step 2
Cut aluminum foil into the shape of the wings. Draw the veins and black dots onto each wing with a permanent black marker. Glue wings to a toothpick so a small portion of the toothpick extends beyond the bottom of each wing. Set aside to dry.
Step 3
Draw thin black lines around the abdomen to create the insect's banded look. Draw small lines on the thorax for the bristles. Shape the pipe cleaners into legs and attach to the thorax by pressing into the clay/ foam body. Add glue as necessary to hold legs in place. Test to make sure the pipe cleaners will support the thorax. Adjust as appropriate.
Step 4
Cut pipe cleaners into the correct lengths for the antennae and attach them to the head by pressing them into the clay. Use the craft wire to create the palps and attach them to the head in the same way. Cut the straw to the correct length and attach to the head as the proboscis. Add a dab of glue at where each item is pressed into the clay to ensure the items stay attached.
Step 5
Glue the head, thorax and abdomen together. Add the wings and glue in place as necessary. Adjust the legs to ensure the mosquito can stand. Set aside to dry completely. Add labels as needed.
Things Needed
- Detailed diagram of mosquito
- Modeling clay or foam in at least four colors (foam is lighter)
- Golf ball
- Glue
- Aluminum foil
- Black marker – permanent and thin
- Toothpicks
- Pipe cleaners
- Bendable straw
- Craft wire (can be found where beading supplies are sold)
- Paintbrush
- Black paint
- Scissors
- Paper
- Pen
TL;DR (Too Long; Didn't Read)
Review science project requirements and label the model as necessary with slips of paper. Make labels large enough to be read easily. Use foam rather than standard clay, as it will be lighter and easier to work with when adding the legs and wings. Additional information can be added with a separate display on a poster.
References
Cite This Article
MLA
Marcotte, Dawn. "How To Make A Model Of A Mosquito Insect Science Project" sciencing.com, https://www.sciencing.com/make-mosquito-insect-science-project-5705607/. 22 November 2019.
APA
Marcotte, Dawn. (2019, November 22). How To Make A Model Of A Mosquito Insect Science Project. sciencing.com. Retrieved from https://www.sciencing.com/make-mosquito-insect-science-project-5705607/
Chicago
Marcotte, Dawn. How To Make A Model Of A Mosquito Insect Science Project last modified August 30, 2022. https://www.sciencing.com/make-mosquito-insect-science-project-5705607/
