How To Make A Plant Cell Diagram
A plant cell is similar to an animal cell in some ways, but there are also some basic differences. Plant cells have rigid outer cell walls outside cell membranes, while animal cells have only cell membranes around the outer perimeter. A plant cell diagram can be helpful in teaching science to students. Create a simple and colorful diagram with bold labels to show students all the important parts of a plant cell.
Step 1
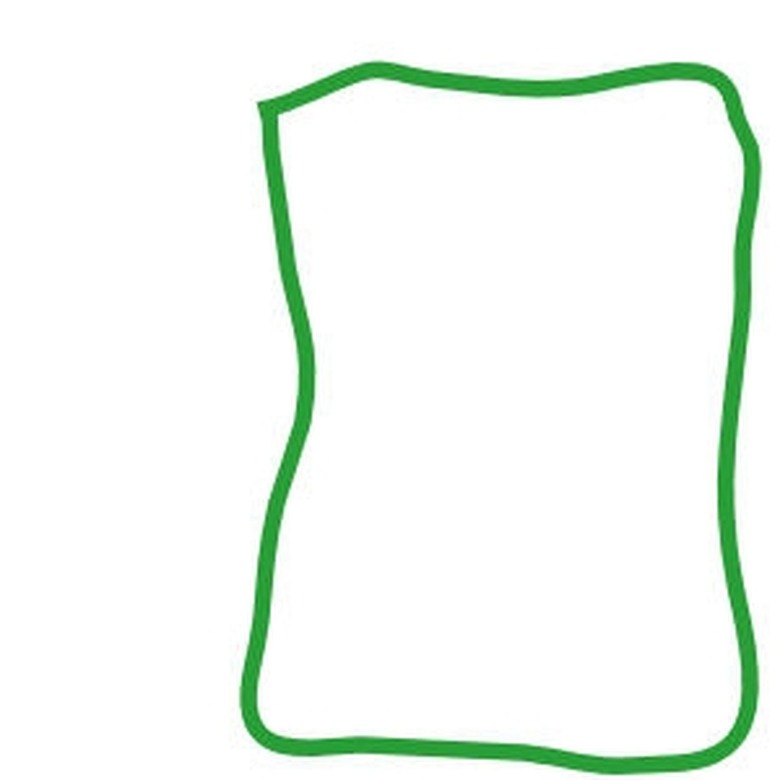
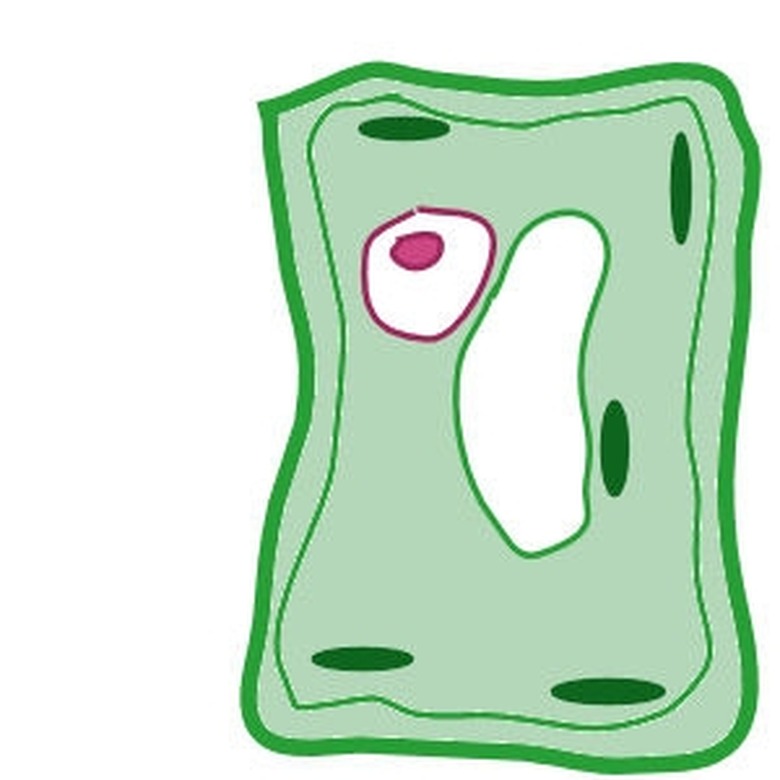
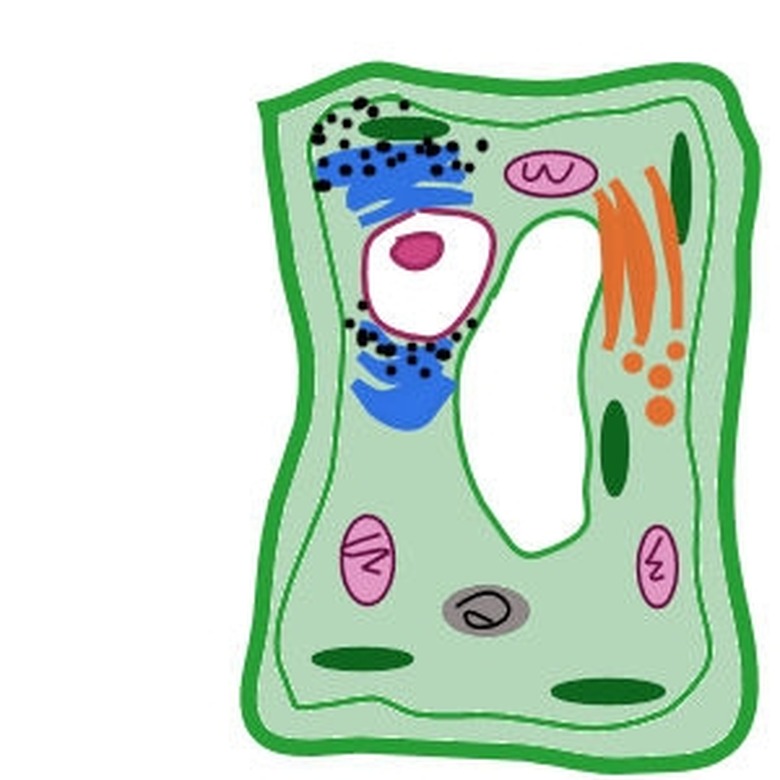
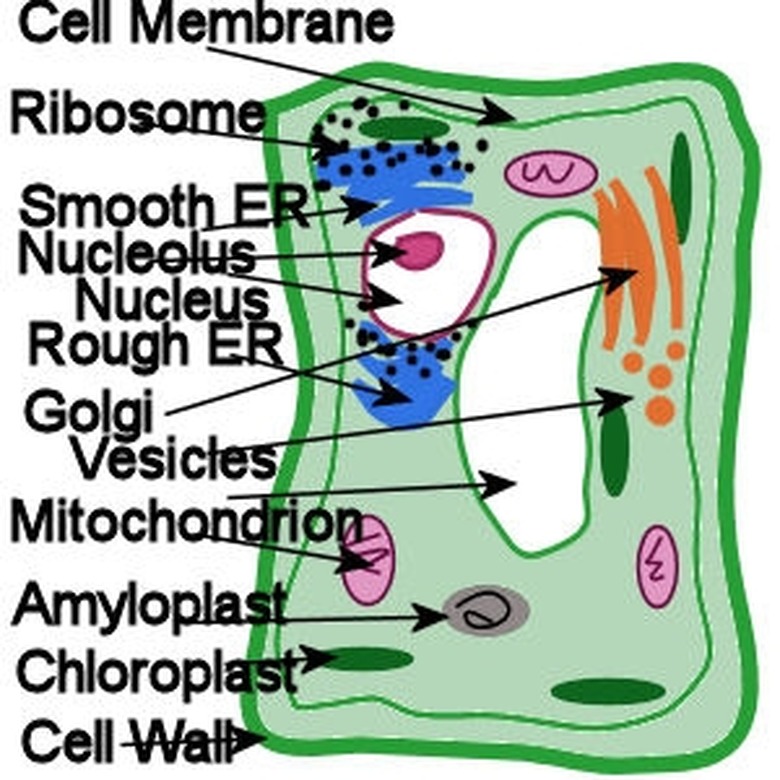
Draw a large oblong green outline to represent the cell wall of the plant cell. This outline should be somewhat thick.
Step 2
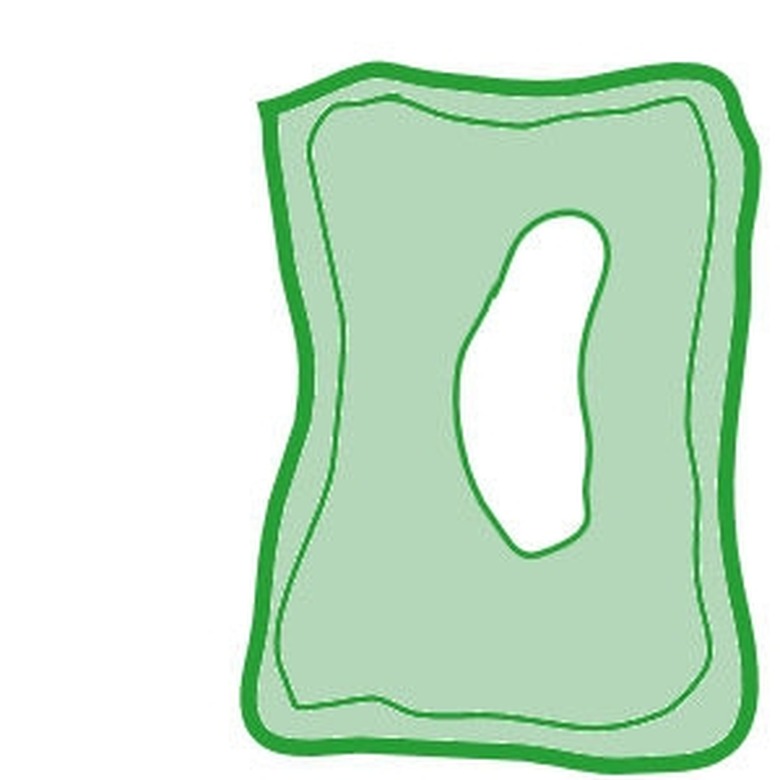
Draw a second outline inside the first to represent the cell membrane. This line should be more narrow.
Step 3
Illustrate the cytoplasm by coloring the inner area of the cell light green, and draw the large central vacuole as a large oblong shape in the center area of the plant cell.
Step 4
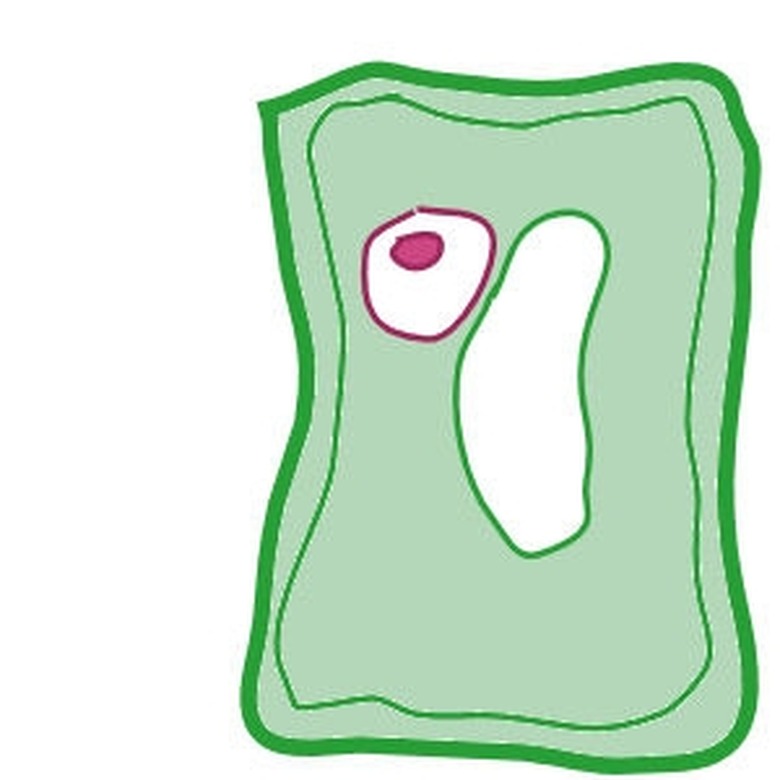
Add the nucleus as a circular shape at one side and the nucleolus as a smaller circle within the nucleus.
Step 5
Draw several small dark-green oval shapes to add chloroplasts to the plant cell.
Step 6
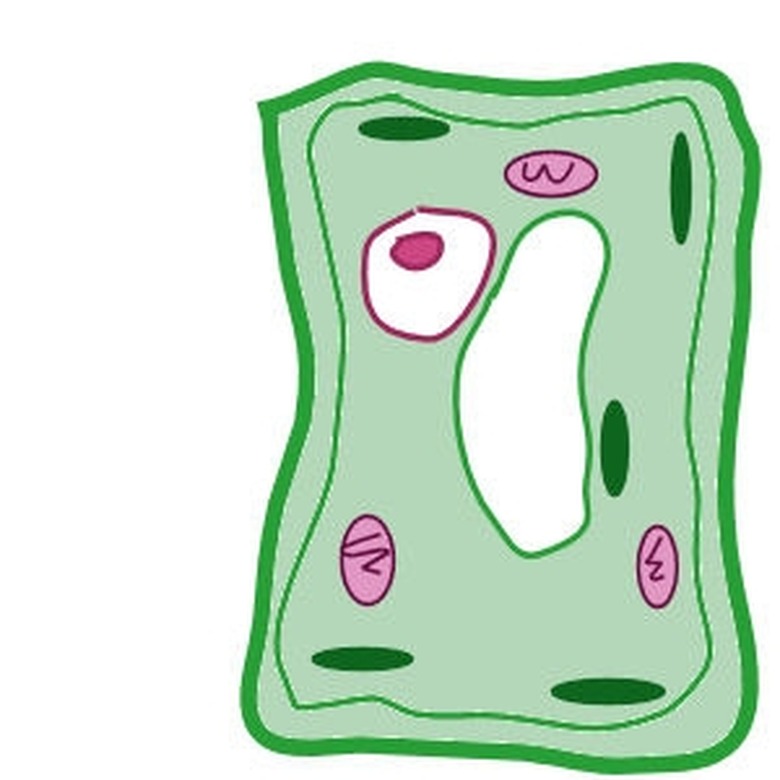
Add three or four pink oval shapes as mitochondria found in the plant cell. Draw a zigzag line through the mitochondria and space them around the inside of the cell.
Step 7
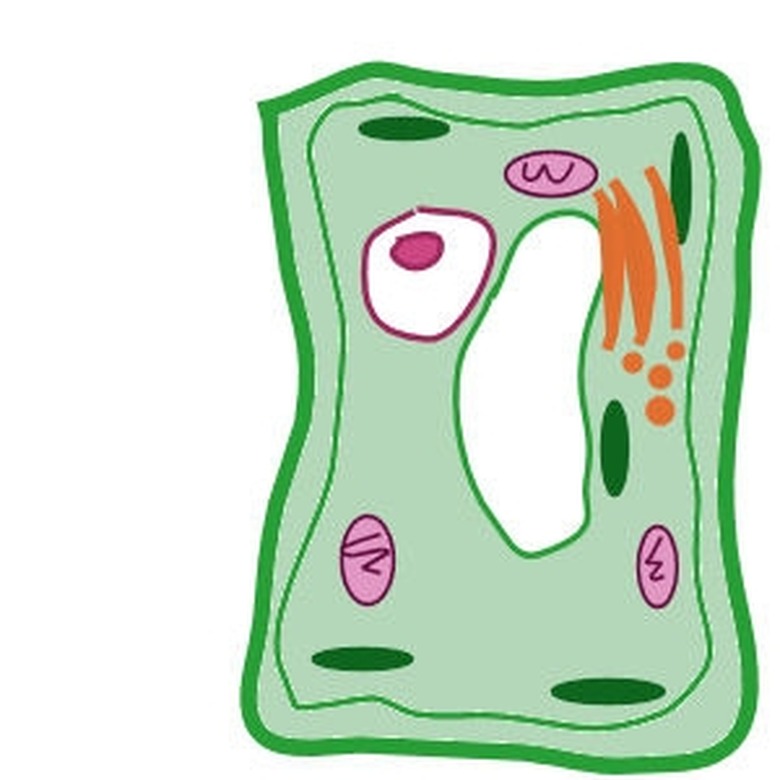
Draw long, thin, orange shapes to represent any golgi apparatuses. Off to the side of each golgi apparatus, add several orange circles to represent the golgi vesicles.
Step 8
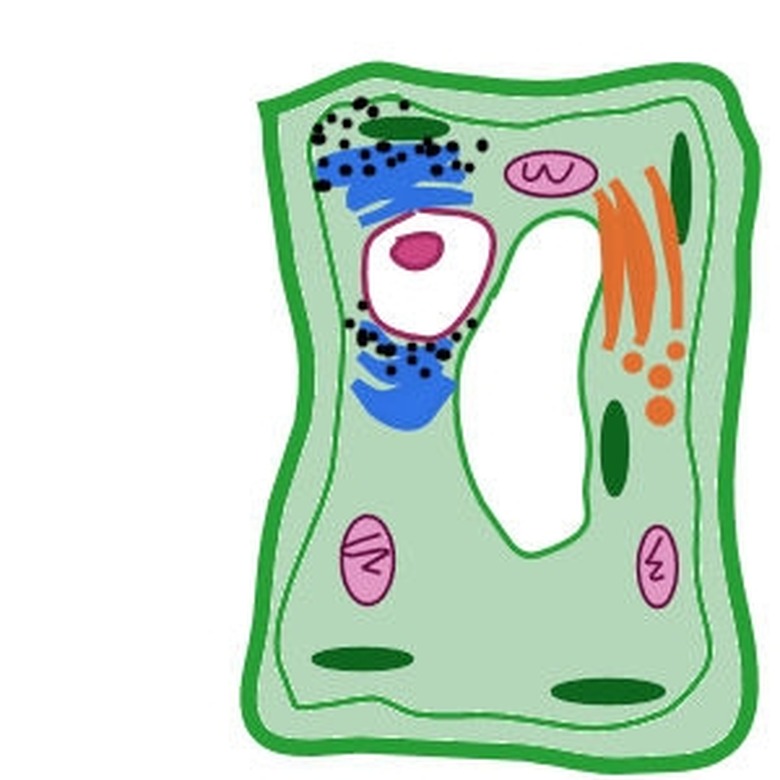
Place the smooth endoplasmic reticulum above the nucleus and the rough endoplasmic reticulum below it. These parts are long and thin, and wind back and forth. They are very similar in appearance. Add some black dots around these parts to represent ribosomes.
Step 9
Draw a gray oval to represent an amyloplast. Add a darker swirl inside the oval.
Step 10
Label all the parts.
Things Needed
- Poster paper
- Markers
Cite This Article
MLA
Hatter, Kathryn. "How To Make A Plant Cell Diagram" sciencing.com, https://www.sciencing.com/make-plant-cell-diagram-5188535/. 24 April 2017.
APA
Hatter, Kathryn. (2017, April 24). How To Make A Plant Cell Diagram. sciencing.com. Retrieved from https://www.sciencing.com/make-plant-cell-diagram-5188535/
Chicago
Hatter, Kathryn. How To Make A Plant Cell Diagram last modified March 24, 2022. https://www.sciencing.com/make-plant-cell-diagram-5188535/
