How To Make A Salt Map For A School Project
A salt map is formed from salt dough. The dough behaves like clay during the creation of the contour map but eventually dries and hardens. You can use paint to color landforms on the salt map as well. This school project can turn a traditionally boring geography lesson about a continent, country or state into an interactive, hands-on activity students will enjoy and remember.
Step 1
Draw the contours of the land mass you want to make into a map on a piece of cardboard.
Step 2
Mix together the salt, flour and alum or cream of tartar in a bowl. Gradually add the water. Stir the dough with a spoon until it becomes too stiff to do so.Use your hands to continue mixing.
Step 3
Dump the dough onto a floured surface. Push the dough away from you with the heel of your hands. Lift the dough from underneath and fold it toward you back onto itself. Turn the dough clockwise. Continue to knead the dough until it is smooth, about eight to 10 minutes. The purpose of kneading the dough is to make it more elastic and to evenly distribute the ingredients. If the dough feels sticky, add more flour. If the dough is too dry, add a little bit more water. You should end up with about 3 1/2 cups of dough, which is sufficient for creating one map.
Step 4
Press the dough so it fills the cardboard outline of the land mass you are modeling, making it about 1 cm thick. Use samples of contour maps as a guide for making your own contour map. Roll the dough to create contours, and push and pull the dough to mimic the landforms you want to have on your salt map. Adjust the thickness of the dough for different landforms, such as valleys or mountains. Make the dough smooth in areas where you want to place bodies of water, such as oceans, lakes or rivers.
Step 5
After completing the salt map's contours, let the dough dry completely for a few days.
Step 6
Paint the contour salt map various colors (such as blue for water, brown for mountains and green for land). When the paint dries, it helps to seal it with an protective acrylic spray. You also can make your own sealant by combining 1 tbsp. water with 1 tbsp. all-purpose glue.
Things Needed
- Pencil
- Cardboard
- 1 cup salt
- 2 cups flour
- 2 tsp. alum or cream of tartar
- 1 cup water
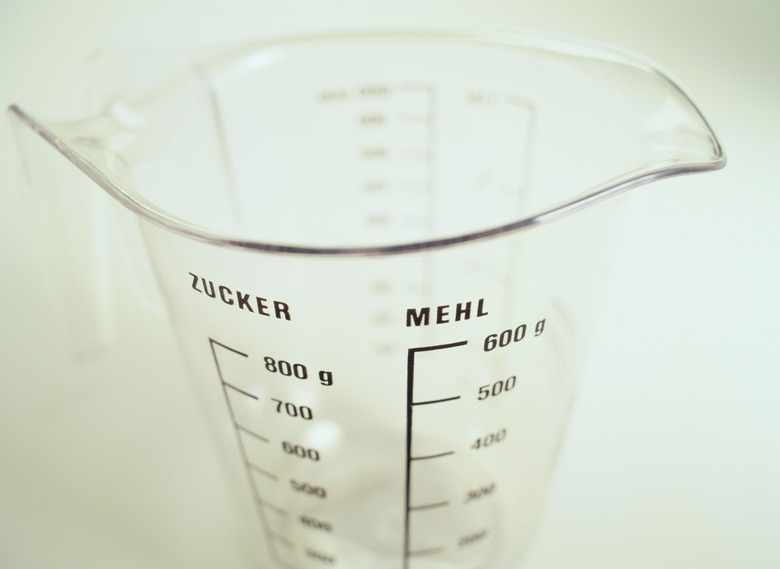
- Measuring cups and spoons
- Mixing bowl
- Mixing spoon
- Acrylic paint
- Paintbrushes
- Acrylic spray or all-purpose glue
TL;DR (Too Long; Didn't Read)
To save time, you can add paint to the moist dough mixture before you place it on the contour map. This will keep you from having to paint the map after the dough dries.
References
Cite This Article
MLA
King, YaShekia. "How To Make A Salt Map For A School Project" sciencing.com, https://www.sciencing.com/make-salt-map-school-project-5877257/. 24 April 2017.
APA
King, YaShekia. (2017, April 24). How To Make A Salt Map For A School Project. sciencing.com. Retrieved from https://www.sciencing.com/make-salt-map-school-project-5877257/
Chicago
King, YaShekia. How To Make A Salt Map For A School Project last modified March 24, 2022. https://www.sciencing.com/make-salt-map-school-project-5877257/
