How To Make A School Project Battlefield Display
Make a battlefield display for school that shows the geography of the land as well as the military moves of the soldiers. This project can be completed with items found in most homes. What is not available at home, is easily obtained at a local grocery store. Give yourself plenty of time to finish well, and allow for a messy project. Cover the work area with newspapers or an old plastic table cloth. Making a battlefield display is a great way gain understanding of the military struggle and political environment of the era.
Creating a Battlefield Model
Step 1
Research your battle. The first step is to read several different accounts of the same battle. Double check your facts to be as accurate as possible. Your battlefield model is like a 3-D report. Instead of simply writing about your subject matter, you are recreating a model. Accuracy is just as important here as in a written report.
Step 2
Write a rough draft. Draw a basic outline of your battlefield on paper. Use symbols such as x's and o's to mark the hills, valleys, bodies of water or other variations on the terrain. Determine where your soldiers will be placed, and mark accordingly. Keep this handy, these are your blueprints for building the actual model.
Step 3
Prepare work area. Cover your work area with old plastic table cloths, drop cloth or newspapers. Gather the supplies for the modeling dough. Pin up the blueprint you created so that you can reference it easily without touching it since your hands will be messy. Keep paper towels or handy wipes available. Doing this project near a sink is helpful.
Step 4
Make modeling dough. Mix all ingredients in a large mixing bowl with wooden spoon. 4 cups flour 1-1/2 cups warm water 1 cup salt Refrigerate for thirty minutes. This recipe can be doubled to make a bigger batch.
Step 5
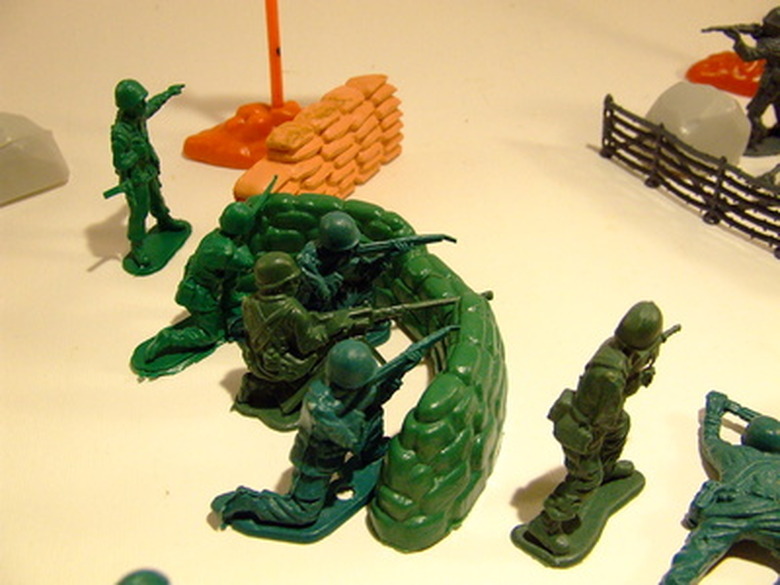
Cover the painted plywood or particle board with a thin layer of the modeling clay. Build up hills by placing the cardboard tubes in position, and covering them with the clay. Dig out rivers or streams with a Popsicle stick. You can use a separate batch of modeling clay for the water, and use blue food coloring to tint it. Or, you can paint it with blue paint. Place your plastic army people in position. You can add as many details as you can dream up. Use twigs to make small trees, create bushes out of crumpled foil or plastic wrap spray-painted green, sprinkle sand on the ground for a desert look.
Things Needed
- Particle board or plywood (no more than three feet square)
- flour
- water
- food coloring
- sand
- plastic army people and other props
- cardboard tubes (i.e.from wrapping paper or paper towels)
- paper towels
- bucket of warm water
- large wooden spoon
- large mixing bowl
- plastic drop cloth
References
Cite This Article
MLA
Hagensen, Jody. "How To Make A School Project Battlefield Display" sciencing.com, https://www.sciencing.com/make-school-project-battlefield-display-7688754/. 24 April 2017.
APA
Hagensen, Jody. (2017, April 24). How To Make A School Project Battlefield Display. sciencing.com. Retrieved from https://www.sciencing.com/make-school-project-battlefield-display-7688754/
Chicago
Hagensen, Jody. How To Make A School Project Battlefield Display last modified March 24, 2022. https://www.sciencing.com/make-school-project-battlefield-display-7688754/


