How To Make A Simple Circuit For Kids Using A Battery And Wire
Introducing your kids to simple circuits using a battery, wire and a light bulb is educational, fun and safe. Additionally, it's likely you have all the equipment needed to make a simple circuit around your home, so there's no need to purchase anything. If you find you have a rainy day and are looking for something to entertain your kids, making a simple circuit is a great thing to do.
Step 1
Help your kids to draw a rough layout of the simple circuit on a sheet of paper using a pen. This makes the concept of the circuit easier to understand. Just draw a battery and a light bulb anywhere on the paper. Draw a line from the top of the battery to the light bulb and another line from the bottom of the battery to the light bulb.
Step 2
Cut two 12-inch strips of thin single-core wire using a knife. AWG 18-gauge, which is the type you may use between a speaker and your stereo, is fine. It's best that you cut the wire, unless your kids are older enough to handle a knife.
Step 3
Using wire strippers, remove about one-fourth of an inch of the plastic off the end of the two strips of wire. If you don't have wire strippers, just use a knife and cut around the plastic one-fourth of an inch from each end and then pull off the plastic coating using your fingers. You need to expose the copper metal so you can connect the simple circuit.
Step 4
Cut four short strips of electrical insulating tape using a knife. Put the strips next to the paper.
Step 5
Place the end of one of the wires onto the lower metal side of the light bulb. Use a strip of tape and place it over the wire and light bulb so it holds it in place.
Step 6
Attach the opposite end of the wire to the top terminal of the battery. Use a strip of tape to hold the wire in place.
Step 7
Attach the end of the second strip of wire to the bottom terminal on the battery using tape. Get your kids to hold the opposite end of the second wire strip; not on the copper metal, but on the plastic coating about 1 inch from the end.
Step 8
Get your kids to touch the bottom part of the light bulb. This is the second terminal on the bulb. As the wire touches the bulb, the light bulb illuminates. This shows that the circuit is complete. You can attach the wire to the bulb using the remaining strip of tape if you want the light to remain on.
Things Needed
- Paper
- Pen
- Wire (AWG 18 gauge or similar)
- Knife
- Wire strippers
- Electrical insulating tape
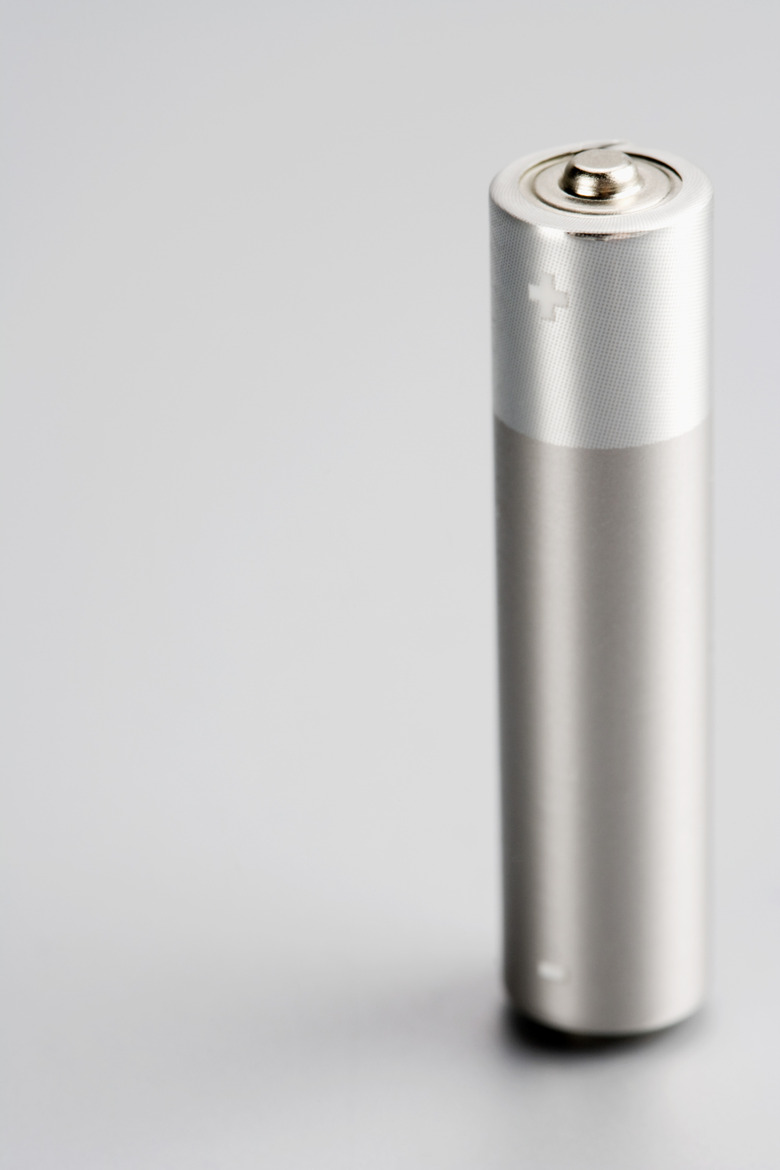
- 1.5-volt battery (AA or similar size)
- 1.5-volt light bulb (regular flashlight bulb)
Cite This Article
MLA
Benham, Stephen. "How To Make A Simple Circuit For Kids Using A Battery And Wire" sciencing.com, https://www.sciencing.com/make-simple-circuit-kids-using-battery-wire-12044826/. 24 April 2017.
APA
Benham, Stephen. (2017, April 24). How To Make A Simple Circuit For Kids Using A Battery And Wire. sciencing.com. Retrieved from https://www.sciencing.com/make-simple-circuit-kids-using-battery-wire-12044826/
Chicago
Benham, Stephen. How To Make A Simple Circuit For Kids Using A Battery And Wire last modified March 24, 2022. https://www.sciencing.com/make-simple-circuit-kids-using-battery-wire-12044826/
