How To Make A Solar Oven Science Fair Project
Anyone can grow mold for a science fair project. However, if you really want to impress your audience, a solar oven project is a good choice. This potential prize-winner is an elaborate project, so you should start at least a month in advance. Most children cannot build this solar oven single-handed, so be sure to provide a great deal of parental guidance and supervision.
Step 1
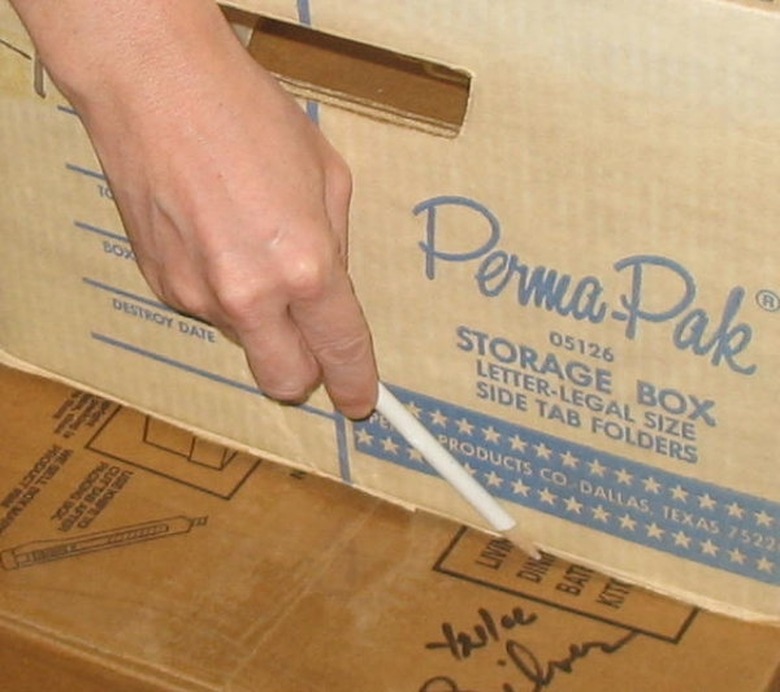
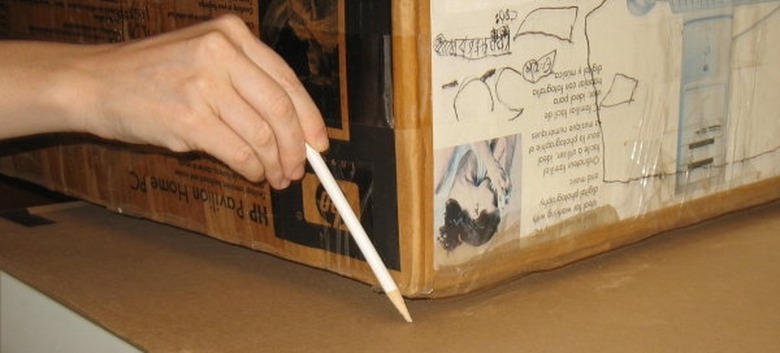
Place the large cardboard box on a clean, clear workspace. Close the flaps and tape them shut. Set the medium-sized box on the flaps and trace the bottom in pencil.
Step 2
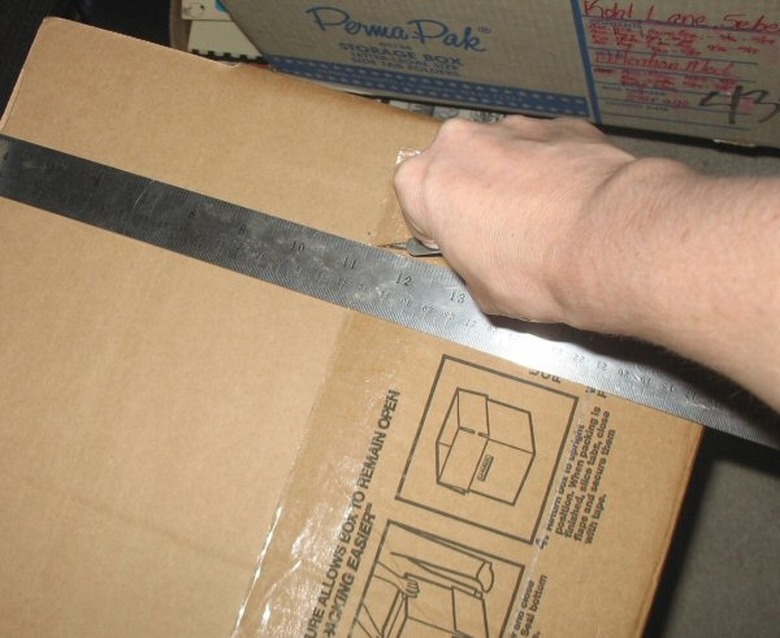
Set the upper box flaps on a piece of scrap cardboard. Place the ruler in line with the pencil marks and cut out the interior segments with the craft knife. Your large box should now have a rectangular hole at the top.
Step 3
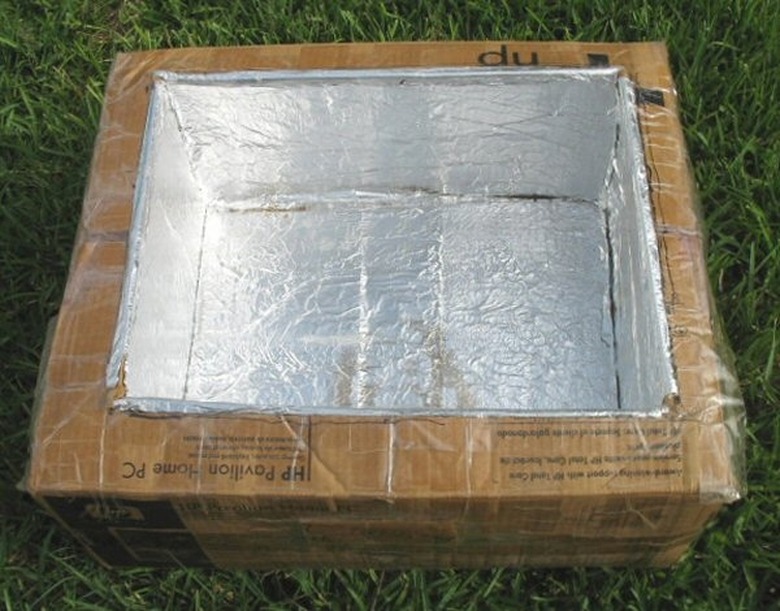
Glue or tape the top flaps of the medium-sized box to its own outside. Slide this box inside the large box to ensure that it fits. Remove it and glue aluminum foil to the inside of both the large and medium boxes, including the inner surface of the top of the larger box. Allow the glue to dry.
Step 4
Crumple some newspaper and set the medium box inside the larger box. See where the top of the medium box is in relation to the large box. Add or remove newspaper as necessary to get the tops of both boxes on the same level.
Step 5
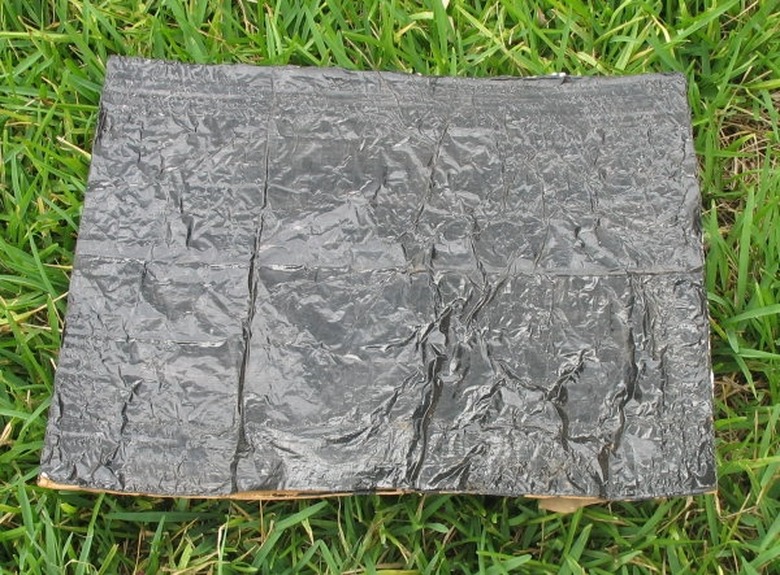
Measure the inside of the inner box. Cut out a piece of cardboard which is about half an inch smaller than these dimensions. Attach aluminum foil to this piece with glue. After the glue has dried, paint the aluminum foil with black craft paint. This piece will be used as a drip pan.
Step 6
Place the large sheet of cardboard down on your work surface so that the corrugations run from left to right. Turn the solar oven upside down and place it on top of the cardboard with the longest edges at the top and bottom. Trace the top of the oven in pencil. Mark four two to three-inch flaps outside of this perimeter. This will become a lid for the solar oven.
Step 7
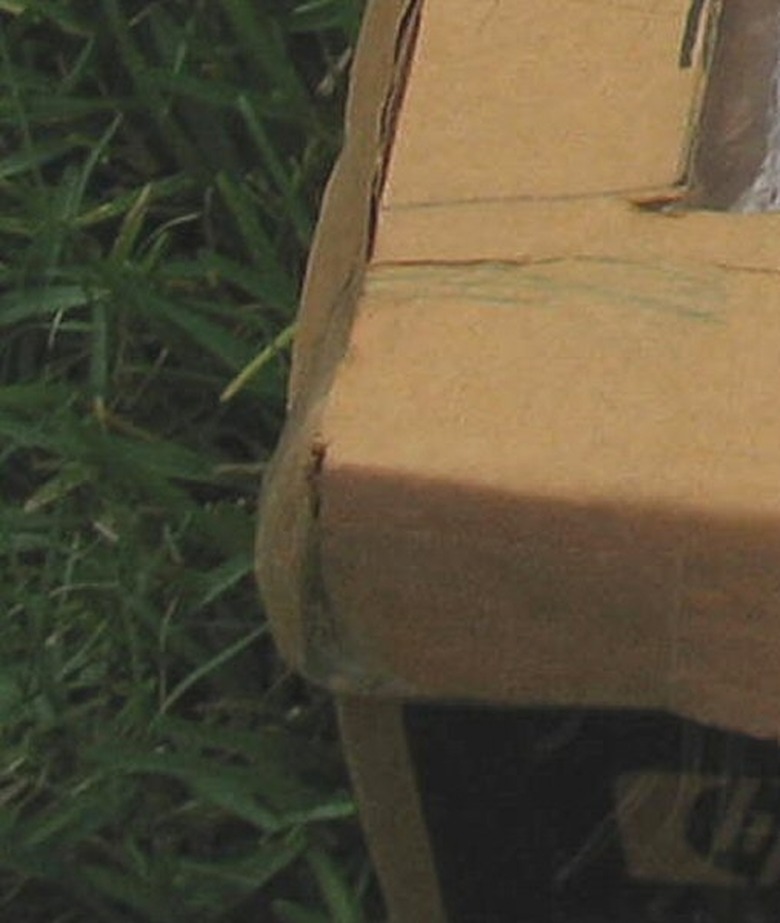
Cut the edges out of the cardboard lid and fold the flaps down. Seal them with box tape.
Step 8
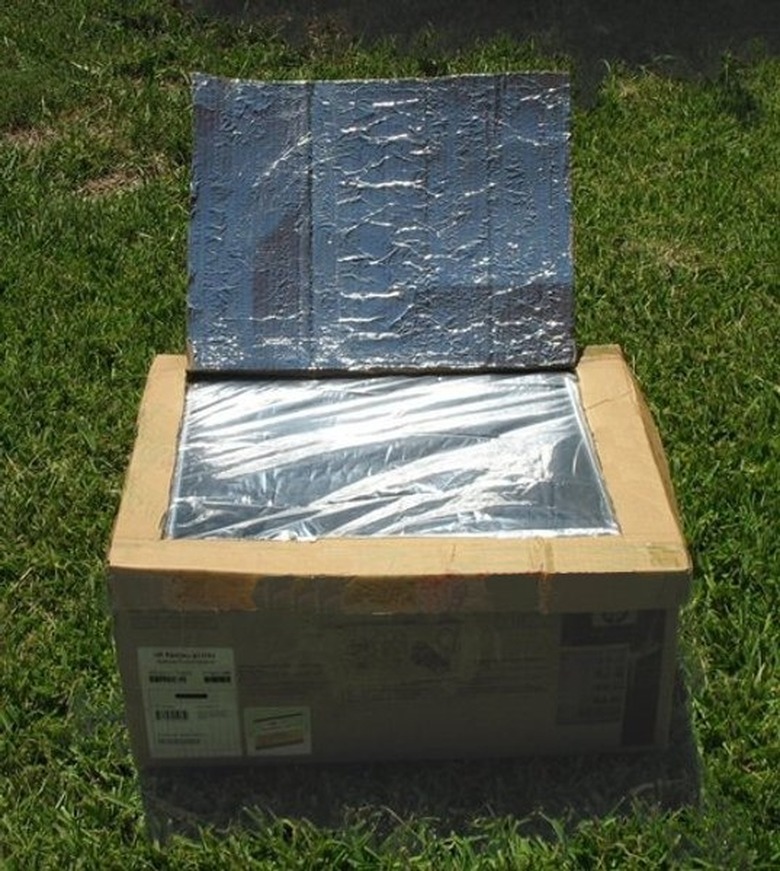
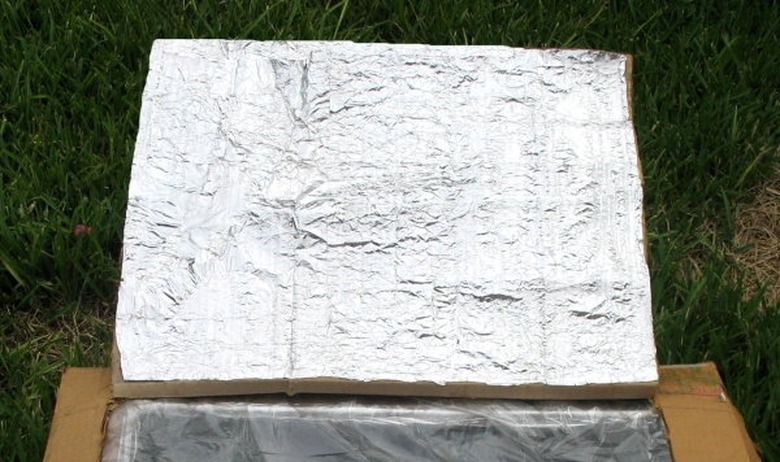
Measure the opening on the top of the solar oven. Measure the same size rectangle on the top of the lid. Cut out the segment on three sides so that it forms a flap. Glue aluminum foil to the entire underside of the flap.
Step 9
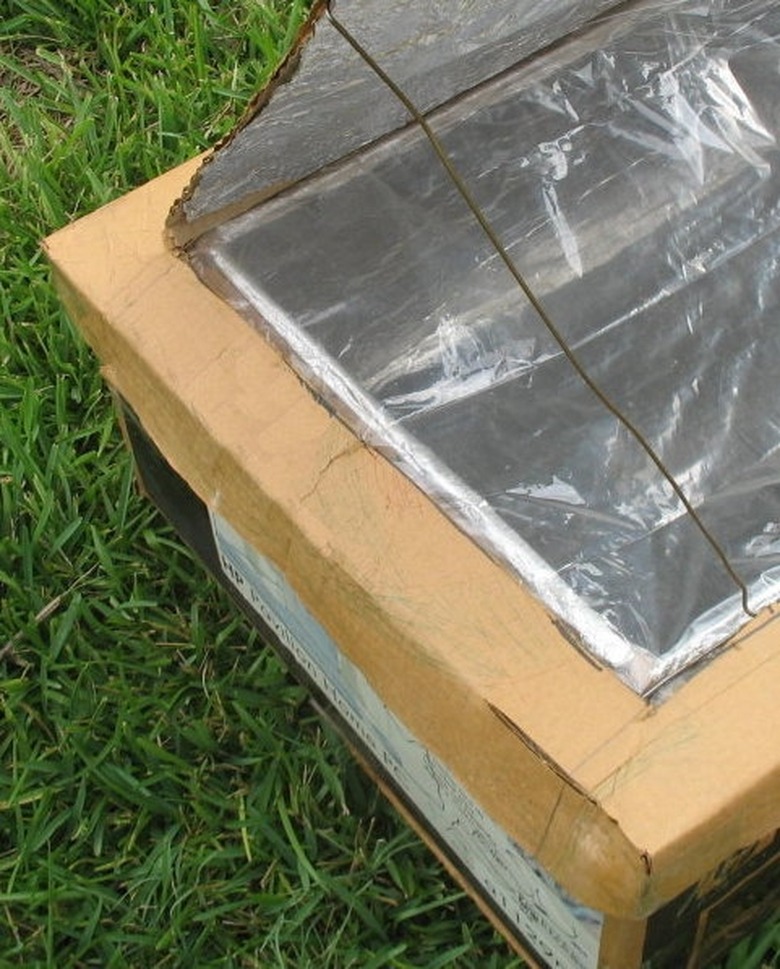
Tape a large oven bag to the underside of the opening in the solar oven lid. Bend a wire hanger so that it can be inserted into the corrugations in the cardboard to hold the lid open. Set the black drip pan in the oven and prop the lid open before cooking.
Things Needed
- 1 large cardboard box
- 1 medium cardboard box
- 1 large sheet of cardboard
- Pencil
- Craft knife
- Box tape
- Newspaper
- Metal straight edge ruler
- Aluminum foil
- Craft glue
- Black craft paint
- Wire coat hanger
- Oven bag
TL;DR (Too Long; Didn't Read)
For best results, cook recipes on sunny days in the afternoon. Summer days will produce the best temperatures.
Warning
Never allow your child to work with sharp tools unsupervised. Don't cook recipes containing meat, poultry, shellfish or eggs in the solar oven until you are sure that it's reaching an adequate temperature to kill bacteria.
Cite This Article
MLA
Claerr, Jennifer. "How To Make A Solar Oven Science Fair Project" sciencing.com, https://www.sciencing.com/make-solar-oven-science-fair-4507254/. 24 April 2017.
APA
Claerr, Jennifer. (2017, April 24). How To Make A Solar Oven Science Fair Project. sciencing.com. Retrieved from https://www.sciencing.com/make-solar-oven-science-fair-4507254/
Chicago
Claerr, Jennifer. How To Make A Solar Oven Science Fair Project last modified August 30, 2022. https://www.sciencing.com/make-solar-oven-science-fair-4507254/
