How To Make A Rotating Solar System Project For School
School projects showing the solar system don't have to be flat, colored posters or mobiles hanging in a straight row from a clothes hanger. A hand-made solar system can be much more interesting and eye-catching. If fact, your solar system will be bright, colorful and 3-D. Instead of hanging in a row, it will be spheres that not only surround the sun, but revolve around it. Follow the directions, and you will create a solar system that resembles the orbit where you live.
Step 1
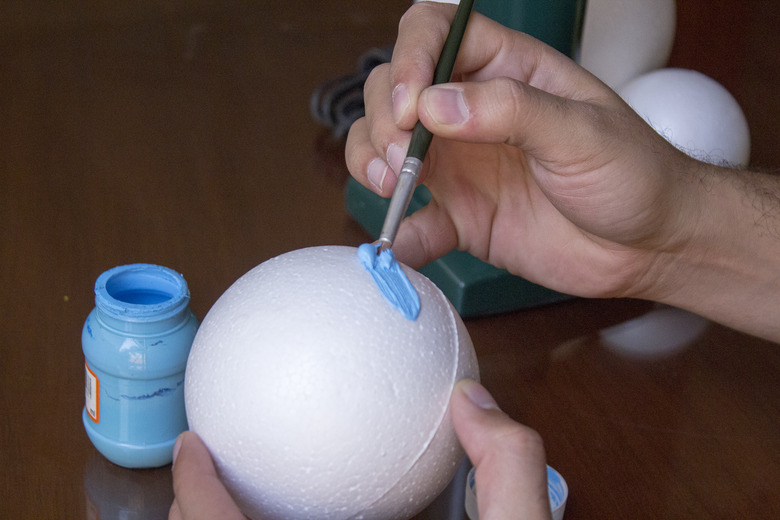
Paint eight of the Styrofoam balls to resemble the eight planets currently recognized by the International Astronomical Union, a noted group of astronomers. Use the pictures of the solar system at the Solar System link available in the Resources section to help you paint them correctly. Since Pluto is considered a dwarf planet instead of a planet (See References 1) you will need to paint Mercury, Venus, Earth, Mars, Jupiter, Saturn and Uranus. (See References 2) Decide if you want the planets to be the same size, recognizable by appearance, or vary the size, using smaller balls for Mars, Mercury, Venus, Earth and Uranus and the largest balls for Neptune, Saturn and Jupiter.
Step 2
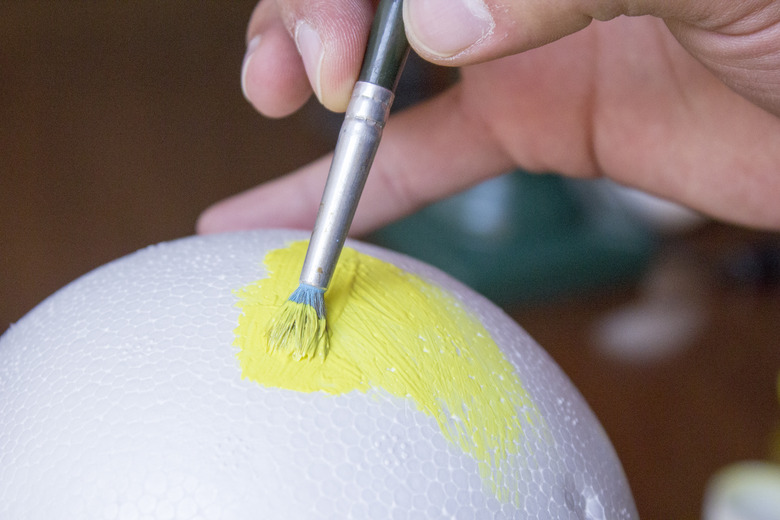
Paint the 6-inch Styrofoam ball yellow. This ball will represent the sun.
Step 3
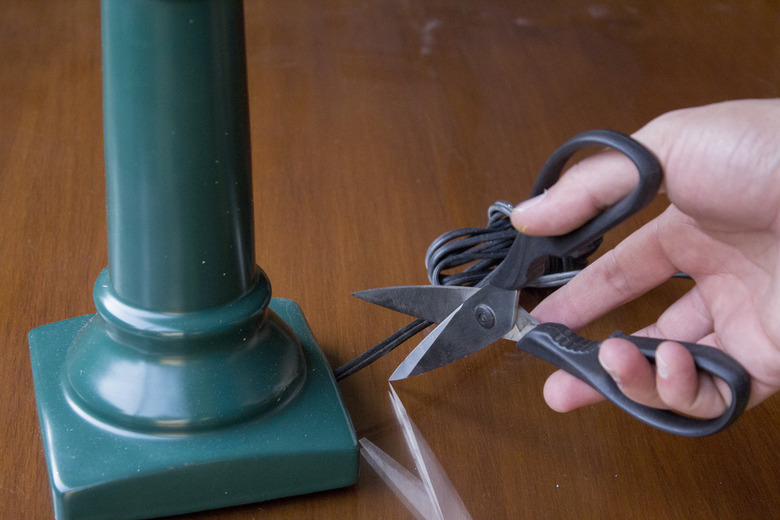
Cut the electrical cord off of the unplugged lamp with scissors. Glue the lamp head into the lamp stand to make it steady.
Step 4
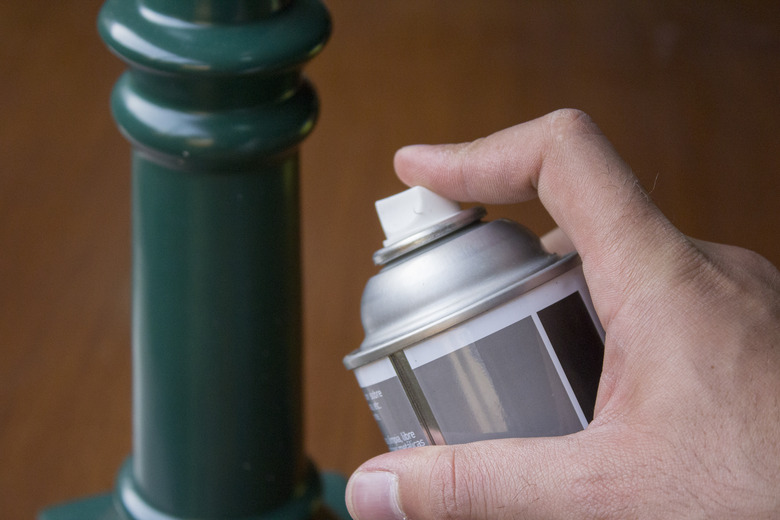
Paint the lamp black or dark blue. Add a few stars by painting white or yellow spots on the lamp in various locations.
Step 5
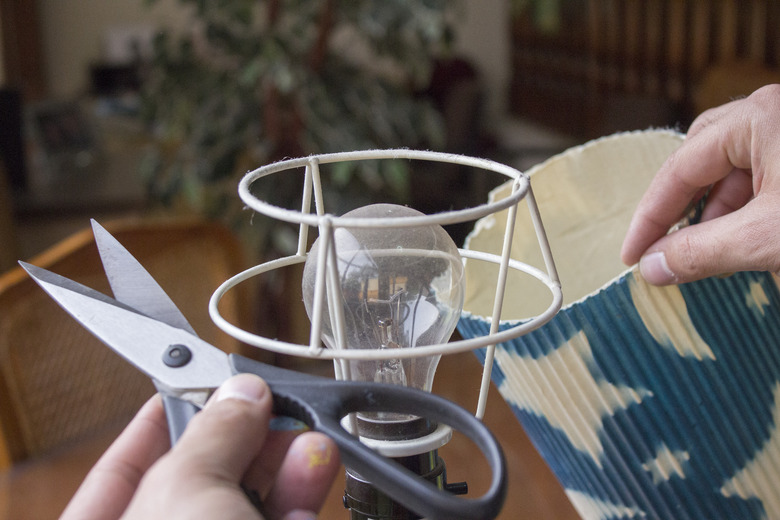
Remove the cover from the lampshade with your scissors. Leave the top ring and the metal bars hanging down in place. If there is a metal ring around the bottom, remove it too. Wrap additional strings of wire around the top ring until you have eight wires hanging down. Make the metal bars or wires vary in length.
Step 6
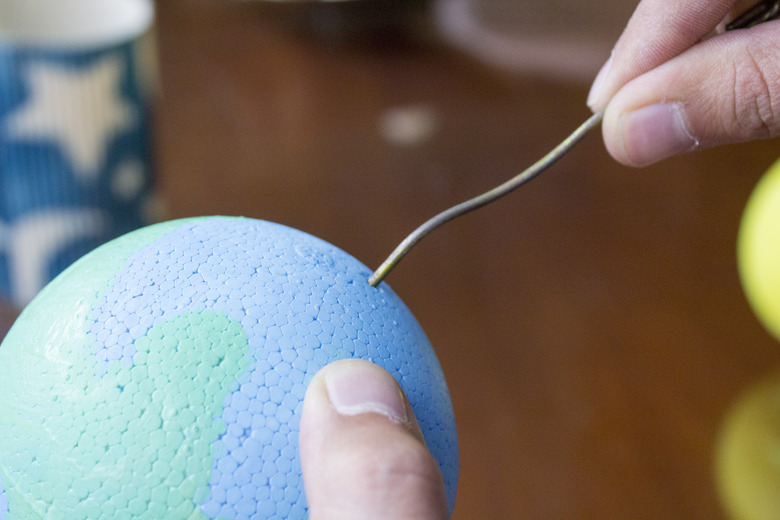
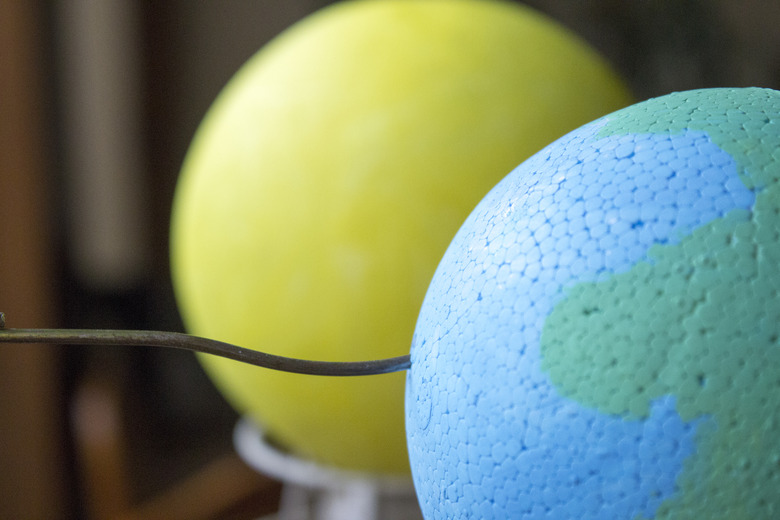
Attach each planet by pushing a wire through the center of the Styrofoam ball. Twist the end of the wire into a loop to hold the ball in place. Make sure the planets are placed in the correct order.
Step 7
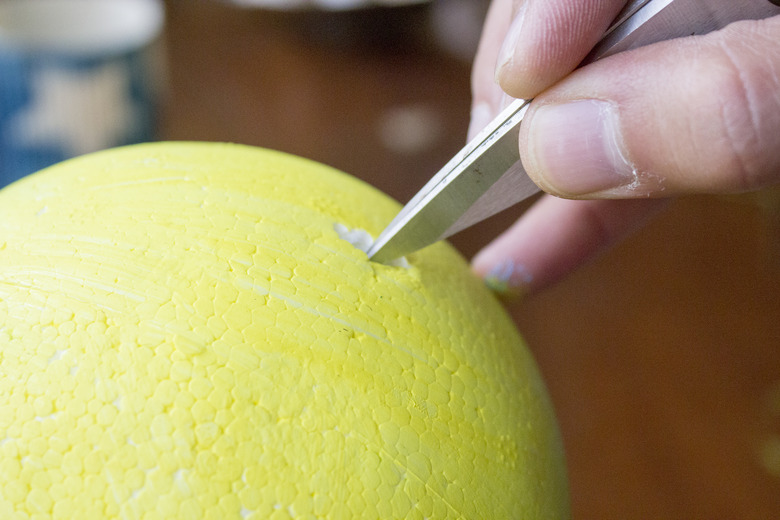
Carve a small opening in the sun. The hole will be snug enough to fit the small top from the lampshade. Glue the top into the ball with the hole in the Styrofoam ball with the top's threads facing out, away from the ball.
Step 8
Place the top lampshade wire back on the lamp stand. Loosely attach the top with the sun attached. Spin the planets. The revolving planets will move around the sun.
Things Needed
- Old table lamp with heavy bottom (at least 1 1/2 feet tall)
- Lampshade with metal spokes
- 1 Styrofoam ball, 6 inches
- 8 Styrofoam balls, from 1 inch to 3 inches
- Thin wire
- Paint
- Paintbrush
- Picture of solar system
- Glue
- Scissors
TL;DR (Too Long; Didn't Read)
If the wire is very sturdy, you might try squeezing it to form a more elliptical view of your solar system.
References
Cite This Article
MLA
Collins, Joan. "How To Make A Rotating Solar System Project For School" sciencing.com, https://www.sciencing.com/make-solar-system-project-school-7813240/. 23 April 2018.
APA
Collins, Joan. (2018, April 23). How To Make A Rotating Solar System Project For School. sciencing.com. Retrieved from https://www.sciencing.com/make-solar-system-project-school-7813240/
Chicago
Collins, Joan. How To Make A Rotating Solar System Project For School last modified March 24, 2022. https://www.sciencing.com/make-solar-system-project-school-7813240/
