How To Make A Vacuum Cleaner?
A vacuum cleaner doesn't create a vacuum. That's actually difficult for a vacuum cleaner to do, and if you want to know how difficult, put a cap on a syringe (with the needle removed) and try to pull back the plunger. Unless you're Superman, you won't be able to move it more than an inch or two. Science has an old adage that says that Nature abhors a vacuum, but Nature doesn't mind air circulation, and that's the real principle behind a vacuum cleaner.
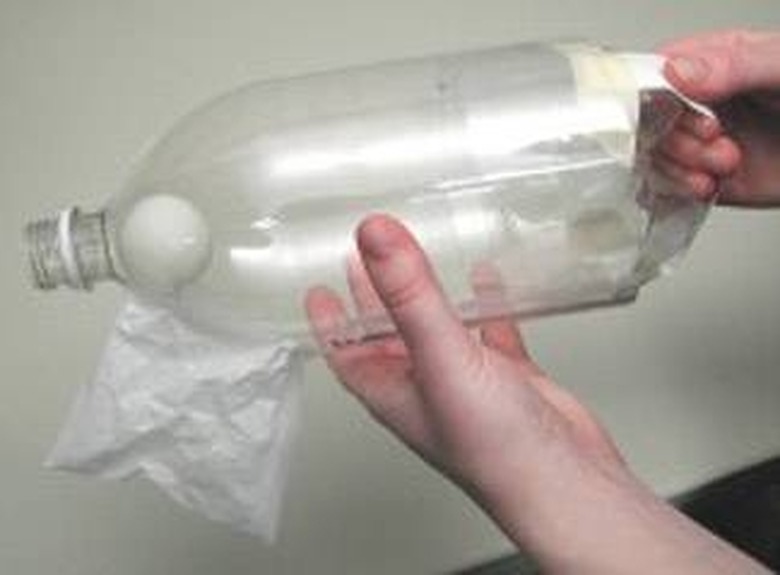
To make a homemade vacuum cleaner, you need a fan to blow air out of the vented end of a container. This creates low air pressure inside the container, and air always rushes into areas of lower pressure. If the container opening tapers to a small aperture, the force of the wind becomes strong enough to carry dust and debris with it. If you place a filter inside the container, air will pass through it, but debris won't and will instead collect inside the container until you empty it. You probably won't be able to make a vacuum strong enough to clean carpets, but it will have many other uses.
How to Make a Homemade Vacuum Cleaner
How to Make a Homemade Vacuum Cleaner
Things Needed
- 1-liter plastic bottle
- Sheet metal
- Tin snips
- 9V DC motor
- Battery holder
- Cheesecloth or window screen
- Corrugated flexible tubing
- Duct tape
- Electrical tape
- Holt-melt glue
- Soldering iron
- Utility knife
Warning
You're going to be using a sharp knife, so be careful. You might want to get an adult to help you with some of the cuts.
1. Cut the Bottle
Measure about 2 inches from the bottom of the bottle and cut around the circumference to separate the bottle into two pieces at that point. Take the shorter piece, set it on a table and make a series of holes in the bottom with the knife. Make a lot of holes. The more you make, the better air will circulate and the stronger your vacuum will be.
2. Mount the Motor
Dab some hot melt glue on the back of the motor and press the motor into place on the bottom of the bottle, in the middle. Feed the power wires through the vent holes so you can access them from outside the bottle.
3. Make the Fan and Mount It on the Motor Shaft
Set the part of the bottle with the motor face down on a flat piece of sheet metal and trace the outline of the bottle with a pencil. Cut along the outline with tin snips to make a circular piece of metal. Draw a line through the center of the circle with a ruler, and then draw another line perpendicular to it. Draw two more lines to divide the circle into eight equal sections. Cut along the lines with tin snips, stopping about 1/2 inch from the center. Twist each section in the same direction to make a fan with eight blades. Glue the fan to the motor shaft in such a way that, when the motor is running, the fan blows air toward the vent holes in the bottom of the bottle.
4. Install the Filter and Re-assemble the Bottle
Cut a circular section of cheese cloth or vinyl window screening to the same diameter as the fan. Tape the material to the open end of the bottom half of the bottle, enclosing the fan inside it. Tape the two halves of the bottle back together with duct tape. Make a good seal, but don't overdo it. The tape has to be removed when it's time to empty the vacuum.
5. Connect the Battery Holder and Glue It to the Bottle
Expose bare wire on the ends of the motor wires and solder the wires to the battery holder. This procedure requires the use of hot solder and should be done by an adult. Glue the battery holder to a convenient place on the outside of the bottle.
6. Attach the Nozzle
Depending on the diameter of the hose you buy, you may be able to glue it onto the mouth of the bottle. If not, use duct tape to make an airtight seal.
7. Insert a Battery and Start Vacuuming
Unless you wire in a switch, which is an option, the vacuum will start when you put in the battery and stop when you remove it.
Cite This Article
MLA
Deziel, Chris. "How To Make A Vacuum Cleaner?" sciencing.com, https://www.sciencing.com/make-vacuum-cleaner-5005682/. 19 November 2018.
APA
Deziel, Chris. (2018, November 19). How To Make A Vacuum Cleaner?. sciencing.com. Retrieved from https://www.sciencing.com/make-vacuum-cleaner-5005682/
Chicago
Deziel, Chris. How To Make A Vacuum Cleaner? last modified March 24, 2022. https://www.sciencing.com/make-vacuum-cleaner-5005682/
