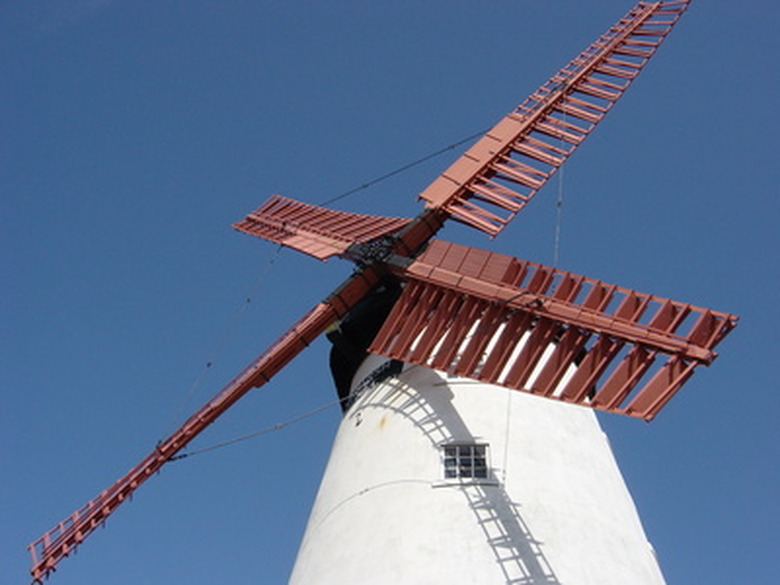
How To Make A Windmill Out Of Cardboard Paper
Most adults remember crafting paper windmills as children–the colorful triangles spinning rapidly on a breezy day. The procedure for making a cardboard paper windmill is fairly simply but for children of young ages, some supervision and assistance is required. Although your paper windmill won't be grinding any grains or creating clean energy, it will serve to bring smiles to faces on a gusty day.
Step 1
Measure and trace a square on your paper, approximately 8 inches by 8 inches, with a ruler and pencil. If you want a larger or smaller paper windmill, modify the measurements. Cut out the square.
Create the perfect square shape, if you are working with traditional 8-inch by 11-inch paper, by folding the bottom corner up, across the sheet and to the middle of the other side. Cut the folded corner off to create a square.
Step 2
Fold the square diagonally so that two opposite corners touch. This should create a line that breaks the square into two triangles. Do the same in the other direction so you have four triangles demarcated by fold lines.
Step 3
Punch a small hole in the center of the square. The center of the square will be where your two fold lines intersect. You can also use a safety pin or sharp pencil to create the hole.
Step 4
Cut a slit from the tip of each of the square's four corners. It should go approximately halfway to the center hole. This should create four identical flaps for your paper or cardboard windmill.
Step 5
Punch a single hole in the corner of each flap–four holes total. Try to make the holes in roughly the same place on each flap.
Step 6
Prepare your straw by measuring about an inch from the top and punching a hole. Set it aside until you have completed the paper windmill and are ready for attachment.
Step 7
Take your windmill and fold each corner with a hole toward the center. Try not to crease or fold the paper. Each flap should curve toward the center so that all five holes align.
Step 8
Insert the brad or paper fastener through all five holes.
Step 9
Pass both prongs of the brad through a bead and insert them through the hole in the straw. Secure the windmill to the straw by folding the prongs of the paper fastener down tightly against it.
Things Needed
- Paper or thin cardboard (card stock)
- Ruler
- Pencil
- Scissors
- Small hole punch
- Drinking straw
- Brad or paper fastener
- Bead
TL;DR (Too Long; Didn't Read)
To create a more decorative cardboard windmill, you can use two squares. Embellish only one side of each square. When you begin to construct the windmill, put the undecorated sides facing together, letting the decorated sides face outward.
If you do not have a straw or paper fastener, you can use a straight pin to hold the windmill together. Inserting it through the holes and sticking it into an eraser at the end of a pencil works well.
Warning
If your paper windmill is too large, the flaps will often sag or fold over on themselves. This prevents wind from collecting in the curves and moving the craft in circles.
If you do not use a bead or similar barrier between the paper windmill and the post onto which it is secured, friction can occur and slow the spinning.
Cite This Article
MLA
Williams, Jessica. "How To Make A Windmill Out Of Cardboard Paper" sciencing.com, https://www.sciencing.com/make-windmill-out-cardboard-paper-6783564/. 24 April 2017.
APA
Williams, Jessica. (2017, April 24). How To Make A Windmill Out Of Cardboard Paper. sciencing.com. Retrieved from https://www.sciencing.com/make-windmill-out-cardboard-paper-6783564/
Chicago
Williams, Jessica. How To Make A Windmill Out Of Cardboard Paper last modified March 24, 2022. https://www.sciencing.com/make-windmill-out-cardboard-paper-6783564/
