How To Melt Plastic Bottles For Molding
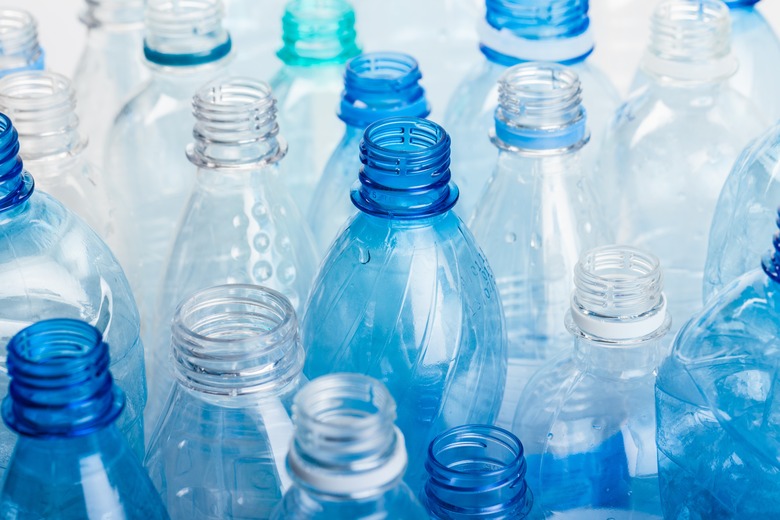
Most of us simply toss empty plastic bottles away without a second thought. However, learning to melt them with a toaster oven and mold them is an inexpensive hobby that will let you explore your creative side while also giving those bottles a brand new existence. You can make a myriad of different things, from jewelry to figurines to holiday decorations, and are limited only by what your mind can conceive.
Preparing the Plastic
Preparing the Plastic
1\. Remove all labels from the plastic bottles. Wash and dry the bottles thoroughly to ensure all of the sticky residue is gone.
2\. Cut the plastic bottles into small pieces using scissors. Make the pieces small enough to fit inside the metal container.
3\. Place the pieces of plastic into an oven-safe metal container. To prevent melted plastic from spilling inside the toaster oven, do not overfill the container.
Melting the Plastic
Melting the Plastic
1\. Take the toaster oven outside and heat to 250 degrees Fahrenheit. Melt plastic outside in order to avoid exposing yourself to harmful fumes.
2\. Place the metal container in the toaster oven for three to four minutes. Increase heat in 25 degree intervals until the plastic is completely melted. Different types of plastic have different melting points.
3\. Remove the metal container from the toaster oven using protective gloves or oven mitts once the plastic is completely melted.
4\. Pour the melted plastic into a mold using a wooden stick. Allow the plastic to completely cool before taking it out of the mold.
Making Your Own Plastic Molds
Making Your Own Plastic Molds
To make your own molds, try forming clay around one half of an object, then the other half. Place the two halves together, leaving a hole in the top where the plastic will be poured. Then fire the clay mold in an oven to harden it. You can also buy molds at craft stores, but for best results choose a mold that is lined with aluminum.
Using different colors of plastic bottles can create interesting effects. Experiment with colors when crafting with melted plastic. For example, to make gum drop Christmas tree ornaments, try pouring red and green plastic into shot glasses.
Things Needed
- Plastic bottles
- Scissors
- Metal container
- Toaster oven
- Gloves
- Mold
- Wooden stick
Warning
Wear protective clothing when handling melted plastic. Hot plastic can burn skin if improperly handled.
Stay away from toaster oven as the plastic is melting, as the excessive smoke and fumes are harmful.
Cite This Article
MLA
Chavez, Gisela. "How To Melt Plastic Bottles For Molding" sciencing.com, https://www.sciencing.com/melt-plastic-bottles-molding-7894629/. 13 March 2018.
APA
Chavez, Gisela. (2018, March 13). How To Melt Plastic Bottles For Molding. sciencing.com. Retrieved from https://www.sciencing.com/melt-plastic-bottles-molding-7894629/
Chicago
Chavez, Gisela. How To Melt Plastic Bottles For Molding last modified March 24, 2022. https://www.sciencing.com/melt-plastic-bottles-molding-7894629/
