How To Papier Mache A Topographic Map
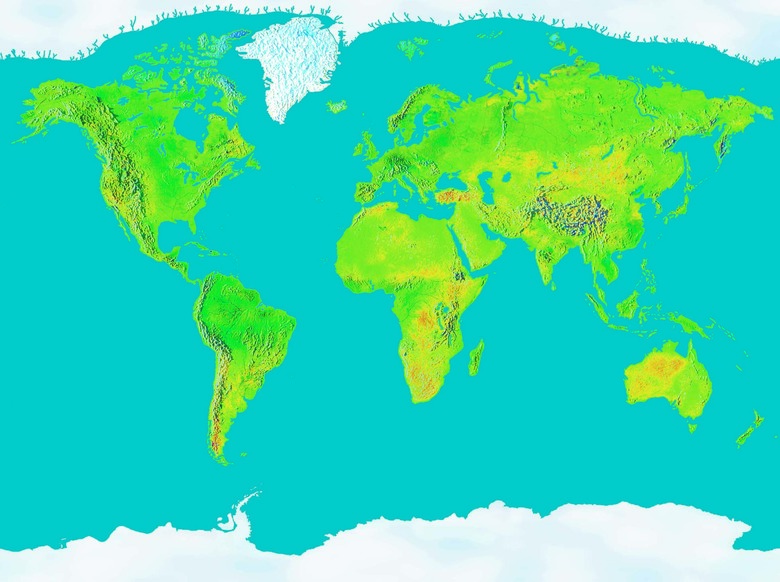
Topographic maps are made to scale to show the difference in height between any given points on the map. Two-dimensional topographic maps are often color-coded, with different colors indicating different elevation levels. To make a topographic map even more interesting, you can make it three-dimensional with some simple paper mache map techniques.
Step 1
Make a color copy of your map on heavy paper, such as card stock. Re-size it if you desire.
Step 2
Affix the copy of your map to a base, such as a sturdy piece of cardboard or wood, with a thin layer of craft glue. Keep the original map at hand to refer to as you work.
Step 3
Cut up some scrap paper, such as old mail, photo copies or newspapers, into small, confetti-like pieces, no more than one inch square. The cuts do not have to be straight or uniform, but the pieces do need to be small.
Step 4
Mix your scrap paper with water and white craft glue in an old blender carafe. The approximate ratio is one part paper to one part water to 1/4 part glue, though it may vary. Always err on the side of liquidity, because you can strain the mixture after blending. Keep the mixture fairly wet and loose so it does not burn out your blender by becoming a thick clump.
Step 5
Allow the mixture to stand for 20 minutes. Blend the mixture on high until the paper is pulverized.
Step 6
Pour the mixture into a sieve or colander to remove excess water. Squeeze out excess water with your hands as you scoop up clumps. You will be left with sticky, clay-like papier mache pulp. Place this pulp in a disposable bowl or plate.
Step 7
Begin taking small clumps of your papier mache pulp and pressing it to the top of your map copy, following the color coding. Start with a thin covering of all the lowest levels of elevation, pressing the papier mache pulp flat.
Step 8
Continue with the next lowest level of elevation, adding slightly thicker pieces of pulp. Don't press them as flat as the first level; allow them to be raised slightly. Use a ruler to decide how high you want each level of your topographical map to get. For example, you may want a 1/4 inch to equal 500 feet. That would make your second level a 1/4 inch higher than the first.
Step 9
Use your judgment and the original map as a guide for shaping the topography. For gentle slopes, you may wish to blend the sections together. For more pronounced slopes, such as cliffs or canyons, use your fingers or a butter knife to help create an edge for the section. For mountain peaks, you may pinch the tops with your fingers. For rivers or valleys, you may cut a path through with your butter knife.
Step 10
Continue adding layers until you come to the highest layer of elevation, making the highest piling of papier mache pulp. If the height is getting difficult to work with, allow layers to dry for a day or two before adding more height. Stick to the guide lines and use your original map for reference to get your landscape as accurate as possible.
Step 11
Allow the map to dry for one or two weeks. How long it takes will depend on how moist the paper pulp was, as well as how humid or arid your region is. When it is dry, the pulp will be solid and hard, like packed paper.
Step 12
Use your original map as a reference and paint your 3-D topographical map with tempera or acrylic paints and craft brushes. Allow the paints to dry before displaying.
Things Needed
- Color-coded topographical map
- Copy of map (resized if necessary)
- Sturdy cardboard or wood base
- White craft glue
- Scrap paper
- Scissors
- Water
- Blender
- Sieve or colander
- Disposable bowl or plate
- Ruler
- Butter knife
- Tempera or acrylic paints
- Craft paint brushes
Cite This Article
MLA
Wright, Mackenzie. "How To Papier Mache A Topographic Map" sciencing.com, https://www.sciencing.com/papier-mache-topographic-map-5834060/. 24 April 2017.
APA
Wright, Mackenzie. (2017, April 24). How To Papier Mache A Topographic Map. sciencing.com. Retrieved from https://www.sciencing.com/papier-mache-topographic-map-5834060/
Chicago
Wright, Mackenzie. How To Papier Mache A Topographic Map last modified March 24, 2022. https://www.sciencing.com/papier-mache-topographic-map-5834060/
