Potato Light Bulb Experiment For Kids
You may wonder what the link is between a potato, a light bulb and kids. It's actually a great experiment about making electricity from a potato to illuminate a small light bulb. It teaches kids about the basics of making electricity and how wires allow electricity to move from one place to another in a complete circuit.
Understanding a Potato Battery
Understanding a Potato Battery
It is likely most kids will find it difficult to believe that a simple potato can make electricity to power a light bulb. However, the explanation is relatively simple. A potato contains sugar, water and acid. Certain types of metals – particularly copper and zinc – react with the potato when they are inserted inside. The metals effectively become electrodes, one positive and the other negative, and electrons flow between the metals inside the potato, making a small electric current. You can tap into the electricity by connecting wires from the electrodes to a light bulb to form a circuit. The electrons flow from the positive electrode to the light bulb and back to the negative electrode. The electrical current passing through the light bulb is enough to make it illuminate.
Making a Potato Battery
Making a Potato Battery
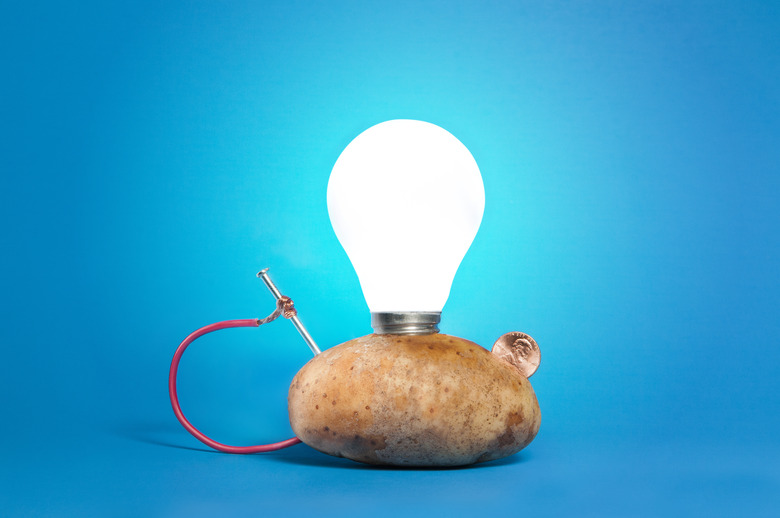
Put a 3-inch copper nail and a 3-inch zinc nail into the potato about 1 inch apart from each other. Push the nails to a depth of about 1 1/2 inches. Cut two 6-inch strips of very thin wire and remove 1/2 inch of plastic from the ends of the wire strips. Wrap one of the ends of each wire strip around the top of each nail. Put the opposite ends of the wire onto the two terminals on a 1-volt LED bulb. The LED illuminates, but it's rather dim because very little electricity is made.
Increase Voltage
Increase Voltage
Use another potato to demonstrate how you can increase the voltage by wiring a second potato into the circuit to create a series. A series circuit increases the output voltage. For example, if one potato produces 1 volt, two potatoes produce 2 volts.
Put another copper and zinc nail into the second potato. Cut another 6-inch strip of wire. Remove the wire from the zinc nail in the first potato and wrap it around the zinc nail in the second potato. Wrap one end of the third strip of wire you have just cut around the zinc nail in first potato and the opposite end around the copper nail in the second potato. Place the opposite end of the wire from the copper nail in the first potato onto the LED bulb terminal and the opposite end of the wire from the zinc nail in the second battery onto the other LED terminal. The LED is much brighter than before.
Using Different Potato Varieties
Using Different Potato Varieties
Now that the kids know how potatoes can make electricity, repeat the experiment using different varieties. Some potatoes have higher water content, while some have more sugar. These different constituents affect the amount of electricity a potato can produce. Make a potato battery from each variety and record how bright the light is from each potato on a scale of one to five, to see which type of potato makes the best battery.
Cite This Article
MLA
Stevens, James. "Potato Light Bulb Experiment For Kids" sciencing.com, https://www.sciencing.com/potato-light-bulb-experiment-kids-12105514/. 13 March 2018.
APA
Stevens, James. (2018, March 13). Potato Light Bulb Experiment For Kids. sciencing.com. Retrieved from https://www.sciencing.com/potato-light-bulb-experiment-kids-12105514/
Chicago
Stevens, James. Potato Light Bulb Experiment For Kids last modified March 24, 2022. https://www.sciencing.com/potato-light-bulb-experiment-kids-12105514/