How To Read A Dial Indicator
Dial indicators are measuring instruments that consist of a pointer on a dial that moves based on whatever the dial is measuring. Dial indicators often measure in small increments, so it's important to know how to read them correctly. This is because in areas such as machine parts, an incorrect measurement by even a small amount could be disastrous.
Preparing the Indicator
Step 1
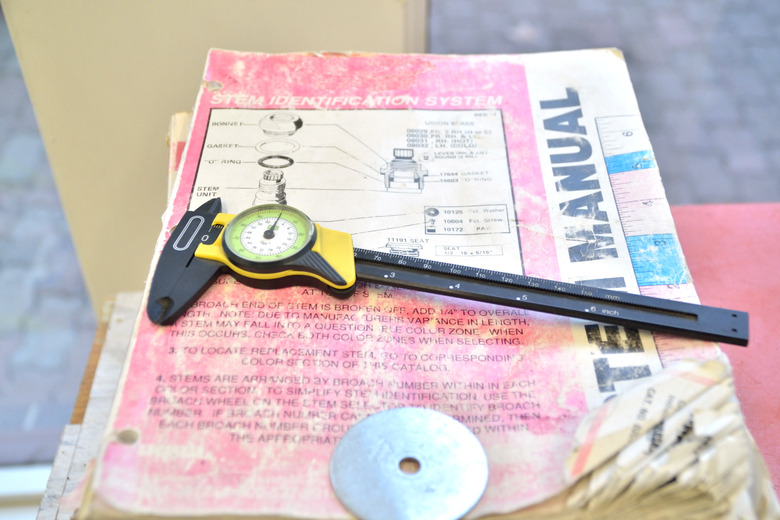
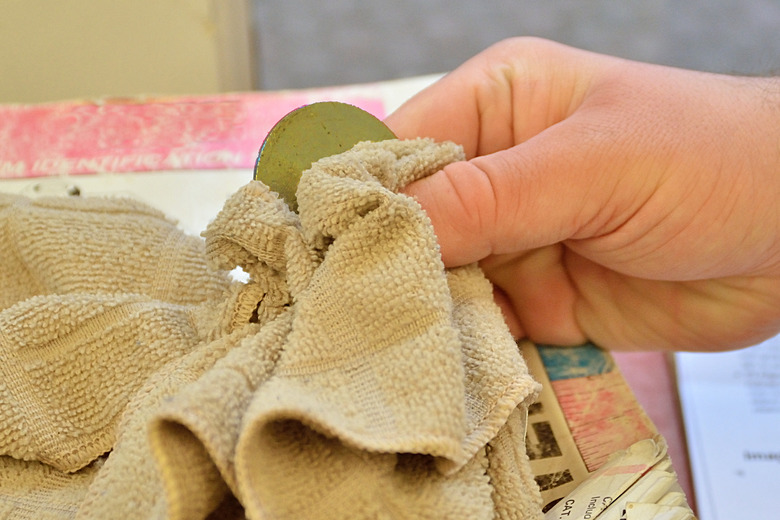
Clean the item being measured. The method will vary based on the dial, but it's usually a good idea to use cleaning fluid.
Step 2
Clean and dry any parts of the dial indicator that take in data.
Step 3

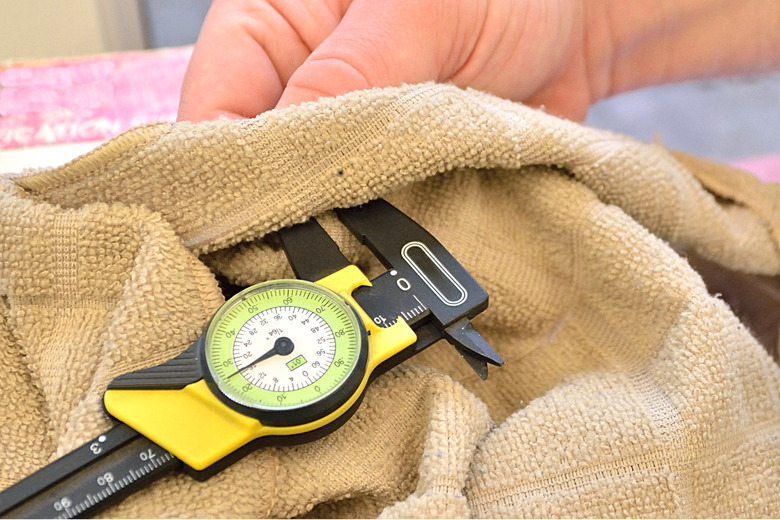
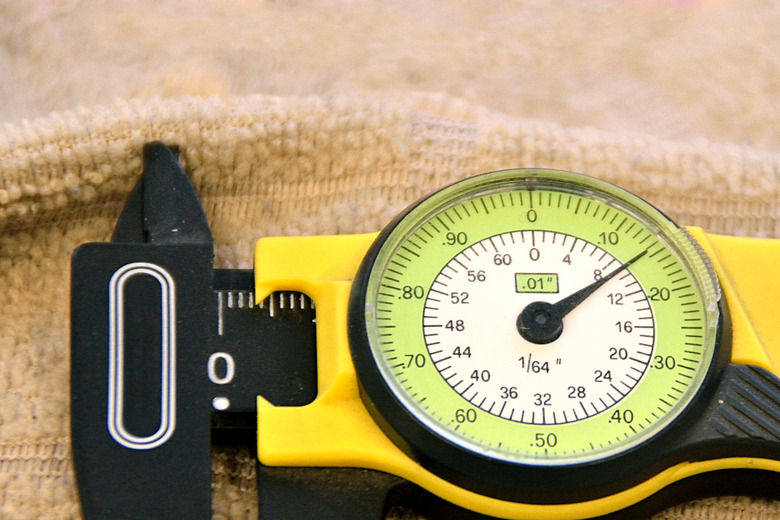
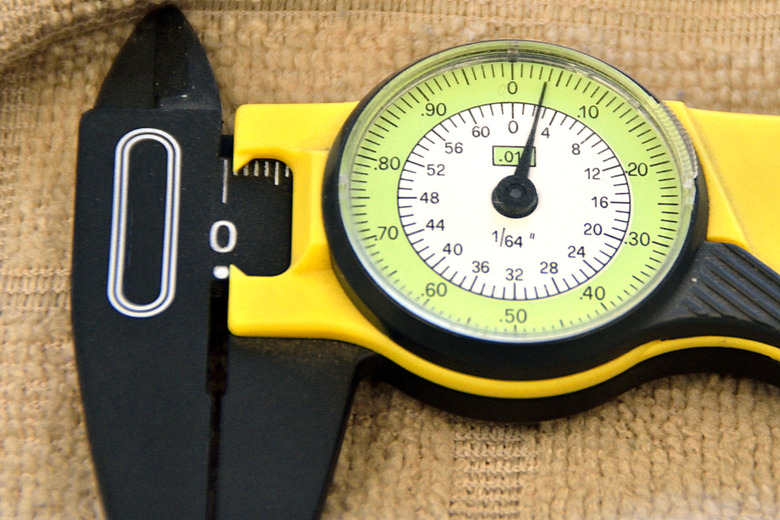
Check the indicator and make sure that the dial reads exactly on 0 before you begin the measurement.
Step 4
Exercise caution during measurement to make sure that the sensitive parts of the apparatus don't touch anything they're not supposed to touch. For example, in the case of a dial indicator on a balance, you'll want to make sure that the balance isn't resting on anything, because this could interfere with an accurate reading.
Reading the Indicator
Step 1
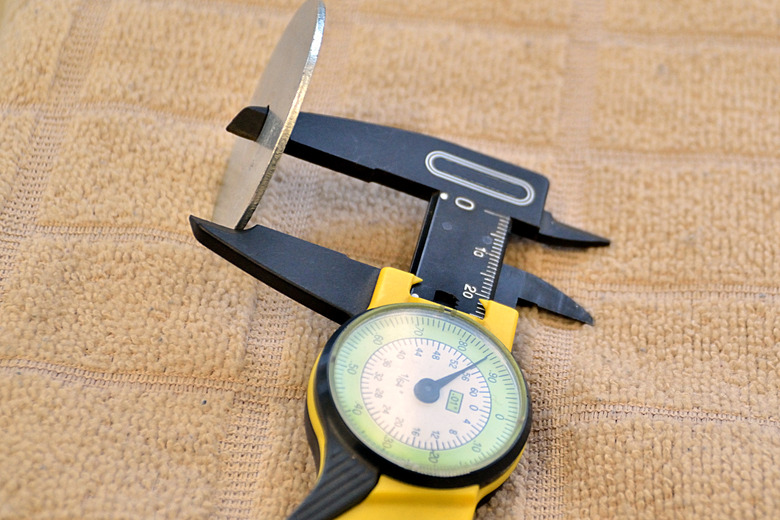
Pay attention to the unit of the indicator. For example, if the indicator is measuring width, it will often be in a unit such as millimeters, or mm. The unit should be listed on the indicator.
Step 2
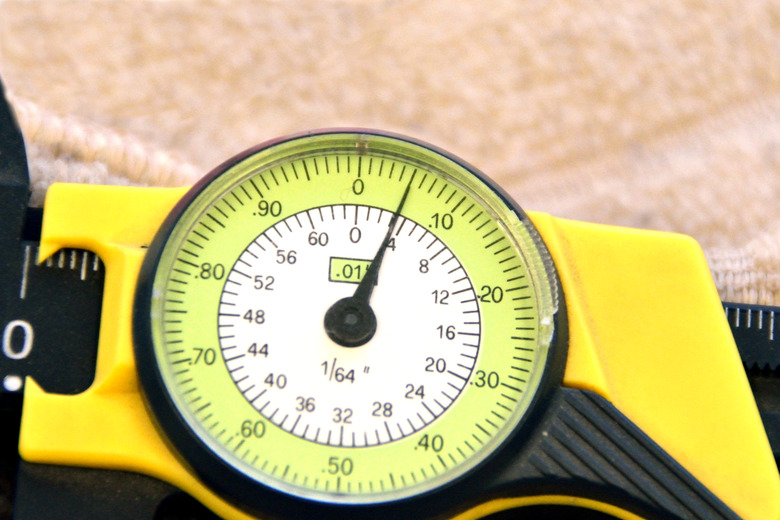
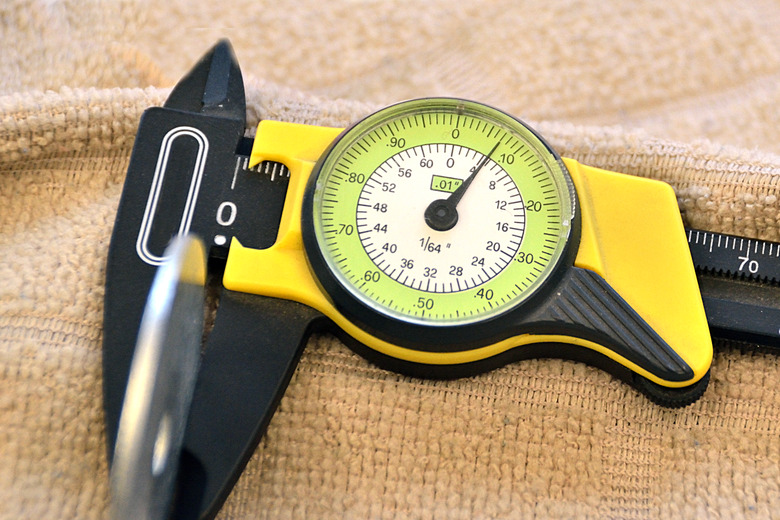
Take note of how much each line on the dial is worth. For example, on something like a dial caliper indicator, the printed numbers on the dial will range from 0 to 100 in increments of 10. In this case, each line on the dial is worth one millimeter. To make it easier to read, the dial will often have a longer line for the 5 mark between each printed number.
Step 3
Start at the first printed number behind the pointer and then count upwards. So, for example, if the first number behind the pointer is 10, then you add the lines between that number and where the pointer is to get your measurement. So if it's pointing to the fourth line after the number 10, then the reading would be 14.
Step 4
Estimate for readings between lines. If the pointer is between lines on the dial, then you will have to do a little guesswork. The best way to estimate is to gauge how close the pointer is to each line. So, for example, if the pointer is just barely below the point of hitting the fourth line between the 0 and the 10 on the dial, you might estimate and write down a measurement of 3.9.
Cite This Article
MLA
Morgan, Sam. "How To Read A Dial Indicator" sciencing.com, https://www.sciencing.com/read-dial-indicator-4842513/. 24 April 2017.
APA
Morgan, Sam. (2017, April 24). How To Read A Dial Indicator. sciencing.com. Retrieved from https://www.sciencing.com/read-dial-indicator-4842513/
Chicago
Morgan, Sam. How To Read A Dial Indicator last modified March 24, 2022. https://www.sciencing.com/read-dial-indicator-4842513/