How To Read Ohms On A Ranged Multimeter
Measuring each of the three most important parameters of an electric circuit — voltage, current and resistance — requires a specific meter, but many manufacturers sell meters that can measure all three. These multimeters, whether analog or digital, have range settings for each parameter that allow you to increase the meter sensitivity to measure small values. Depending on the quality of your meter, it should heave four to five ranges of settings for measuring resistance.
Using Ohm's Law
Using Ohm's Law
The voltage (V), current (I) and resistance (R) of a circuit are related by Ohm's Law, a simple equation that states: V = I•R. Multimeters employ this law when measuring ohms, which are the units of resistance, by generating a current through the circuit by means of an internal battery. Adjusting the range selector on the meter modifies the current — weaker currents can measure resistance in fragile circuits without damaging them. Ranges typically increase by a factor of 10, but some on some meters, certain ranges may differ by a factor of 100.
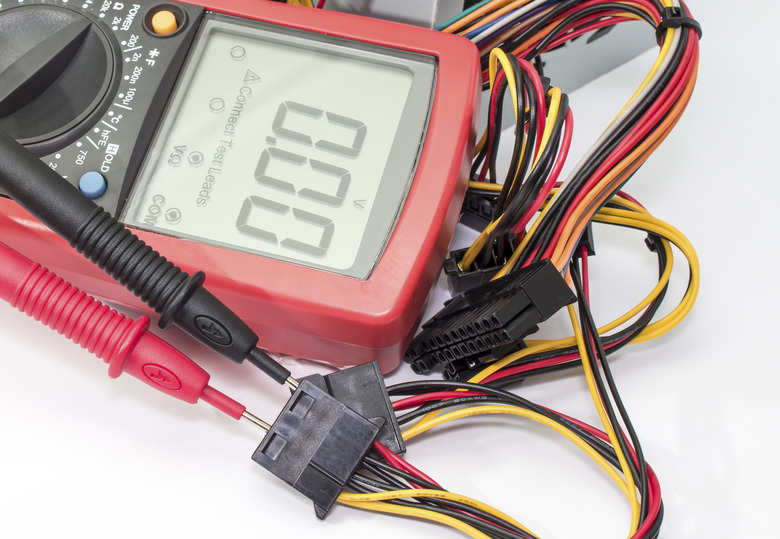
Setting Up the Meter
Setting Up the Meter
Multimeters have three input ports for the two leads that come with it. In order to measure resistance, one of the leads — usually the black one — must be inserted in the "common" port while the other lead — the red one — goes into the port marked with the Greek letter omega, which is the symbol for ohms. Before taking measurements, it's important to make sure the meter is working. When you set the selector to the most sensitive setting, which may be designated 200 ohms or 1X, the meter should jump to the left or the display should show an error message; both indicate the large resistance of the air between the leads. When you touch the leads together, the resistance should read 0.
Measuring Sensitive Circuits
Measuring Sensitive Circuits
If you're measuring resistance in electronic circuitry, you generally need the most sensitive range the meter offers, which is the one designated 0-200 ohms or 1X. When using this range with an analogue multimeter, the value indicated by the pointer is the actual resistance. If you're using a digital multimeter, the meter will display its maximum number of decimal places. If the resistance is too high to be measured in this range, a digital meter will display an overload message, and the pointer on an analog meter will move too far to the left to give a meaningful reading. When this happens, you need to decrease the meter sensitivity.
Increasing the Measurement Range
Increasing the Measurement Range
The next sensitivity range on most meters is 10X for analog meters or 0-2,000 ohms for digital ones. If you have an analog meter, you must multiply the value on the meter by 10; for example, if the meter reads 13.5, the actual resistance is 135 ohms. A digital meter performs the calibration internally, so the readout on the screen is always the actual resistance in ohms. Subsequent ranges on an analog meter, for example 1K, 100K and 1M, require multiplying the meter reading by one thousand, one hundred thousand and one million respectively to get the value for resistance.
Cite This Article
MLA
Deziel, Chris. "How To Read Ohms On A Ranged Multimeter" sciencing.com, https://www.sciencing.com/read-multimeter-ohms-ranges-7525409/. 24 April 2017.
APA
Deziel, Chris. (2017, April 24). How To Read Ohms On A Ranged Multimeter. sciencing.com. Retrieved from https://www.sciencing.com/read-multimeter-ohms-ranges-7525409/
Chicago
Deziel, Chris. How To Read Ohms On A Ranged Multimeter last modified March 24, 2022. https://www.sciencing.com/read-multimeter-ohms-ranges-7525409/