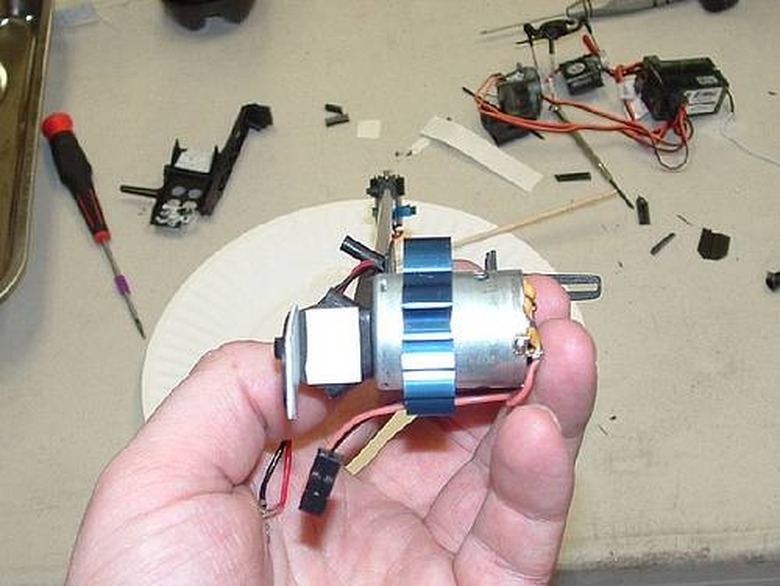
How To Rebuild An Electric Motor
Are you a remote control hobbyist? If so, you already know how important it is to maintain the electric motors that drive the remote control vehicles you own. If you neglect them, they can wear out quickly. In this article you will learn how to rebuild standard electric motors step-by-step.
Step 1
Begin by taking the motor apart. Do this by unscrewing the electric motor springs with your Phillips screwdriver and carefully pulling out the old brushes by the wire. Do this before taking off the end bell.
Step 2
Unscrew or pop off the end bell. To remove the end bell, twist it and pull it apart. Pay careful attention to where the screws are in relation to the magnets. The timing is adjustable and is usually already fixed on the motor.
It's important to put the motor back together exactly the way it was when you started, so also pay attention to the location of the washers that come on the motor. The magnetic field is often pre-centered when the motor is assembled at the factory. Each motor is a little different in this regard, so keep the washers in the same place when you reassemble the electric motor.
Step 3
Fit your motor on the lathe according to your lathe manufacturer's instruction booklet. It will help if you use your Sharpie ink to coat the commutator's surface. Doing this will tell you where the high spots are after your first lathe pass and will help you tell when the commutator is finally straight and true. It also lubricates the copper surface.
Step 4
Start turning and cutting the motor on the lathe. Cut just a little at a time by setting the lathe to cut in increments of one. Start at the top of the commutator and cut toward the inside of the motor. Go back and forth on the same setting one full time before turning the knob to cut more off the commutator. When you see that the commutator is round again, take your X-Acto knife and run it between the grooves to clean any debris that has accumulated. Do not score the commutator. You'll wreck it if you do.
Step 5
Reinsert the armature into the can of the motor. Tighten down the screws on the motor. Make sure that you put it together the way it was before you took it apart. The location of the screws and the indentations on the electric motor can dictate the advance of timing of the motor. The higher the timing, the hotter the motor will run. Try to find a good balance between RPM and efficiency.
Step 6
Solder new brushes on the end bell. An easy way to do this is to use a pair of pliers to hold the tip of the wire lead in place so that solder will not flow up and stiffen the wire. Stiff wires are usually less efficient and run hotter.
Step 7
Put your brushes into the brush hood. The hood is the part of the end bell where the brushes slide into.They should slide in easily and effortlessly. Reinstall the springs on the brush hoods. Do not tangle the wire on the springs. Doing this will make the brush stick and arc. Arcing will make your motor run hot and burn out quickly.
Step 8
Your electric motor should now be assembled once again. The last step is to break in the motor by hooking it up to a 2- to 3-volt power source and run it for 10 minutes or so. This will seat the brushes firmly into their place. You now know how to rebuild an electric motor so that it is as good or better than new.
Things Needed
- Solder
- Soldering iron
- X-Acto knife
- Phillips screwdriver
- Motor commutator lathe
- Silver permanent Sharpie marker
- Electric motor you want to rebuild
- New brushes
TL;DR (Too Long; Didn't Read)
If you don't have a lathe, you may be able to go to almost any RC Vehicle Track shop and ask if you can use theirs or buy them a slice of pizza. Do that for them and someone there may cut your commutator for you. You can also try your local hobby shop. Some of them have a commutator-cutting service. Be sure to remove the brushes and springs before you pull off the end bell. To get maximum life and power from your electric motor, try to keep the commutator's diameter as close to original as you can when you are cutting it with the lathe. Solder the brushes directly on the end bell S tabs. This will Improve the flow of electricity to the commutator.
Cite This Article
MLA
Santucci, Bruce. "How To Rebuild An Electric Motor" sciencing.com, https://www.sciencing.com/rebuild-electric-motor-4740040/. 24 April 2017.
APA
Santucci, Bruce. (2017, April 24). How To Rebuild An Electric Motor. sciencing.com. Retrieved from https://www.sciencing.com/rebuild-electric-motor-4740040/
Chicago
Santucci, Bruce. How To Rebuild An Electric Motor last modified March 24, 2022. https://www.sciencing.com/rebuild-electric-motor-4740040/
