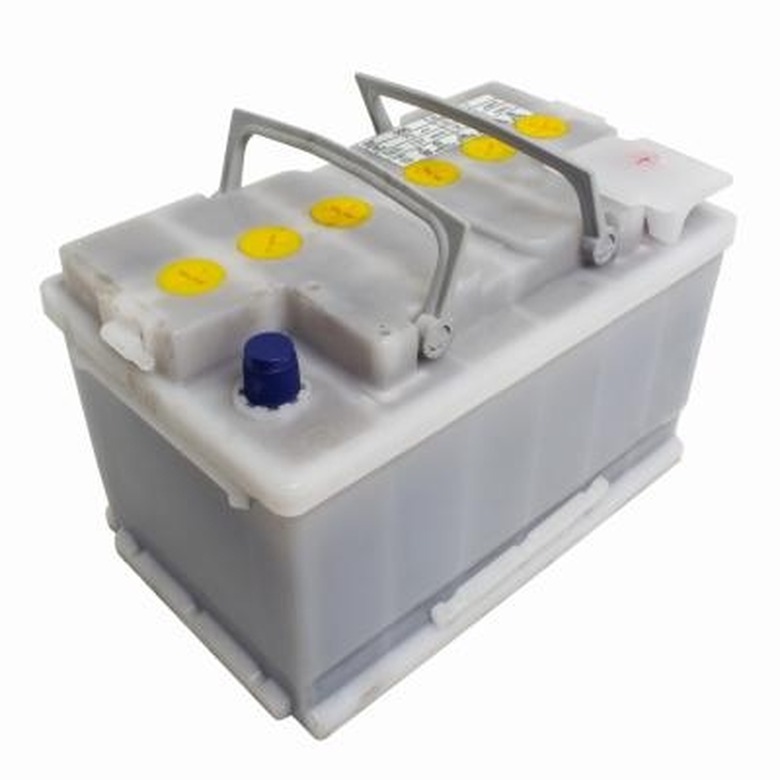
How To Reduce Battery Voltage
Batteries don't come in every size. Some might deliver one and a half volts, some might deliver six and some might even deliver 12 volts, but no batteries are made for, say, five and a half volts, or three and an eighth. Sometimes, your electronics project might just need a voltage source that's lower than the battery voltage you have available. When this happens, you can reduce your battery's voltage to any level you want by building a simple circuit called a voltage divider.
Step 1
Measure the resistance in ohms of the circuit you need to power, using the multimeter. This resistance, known as the load resistance, will partially determine what other parts you need to put your voltage divider together.
Step 2
Pick a resistor at random. It doesn't particularly matter how much electrical resistance this resistor has. This may not even be the resistor you actually need to end up using. It is ratios of resistances that matter in this circuit, not their absolute resistances.
Step 3
Add the value of this resistor, in ohms, to the value of your load resistance. Multiply the randomly chosen resistance by the load resistance. Divide the product by the sum. The result is the effective resistance these two values together produce.
Step 4
Divide your battery voltage by the new lower voltage you want to produce. This product is the multiplication factor for the second resistor the voltage divider needs.
Step 5
Multiply the effective resistance by the multiplication factor. This is the value you need for the voltage divider's second resistor. If you cannot find a resistor with that value, choose a new random resistor and start the whole process again.
Step 6
Bend the leads of both resistors straight down, and put them into the perforated circuit board so one comes right after the other. It makes no difference which way they face. Solder them into place by touching the tip of the soldering iron to the resistor's lead right where it touches the board. Solder one leg of the first resistor to one leg of the second resistor.
Step 7
Remove one inch of insulation from each end of the short wires, using the wire strippers. Solder a wire to each of the free legs. Solder the other ends of these wires to the battery case's terminals.
Step 8
Solder the remaining two wires to either side of the smaller resistor. You will hook these wires up to your load circuit. That circuit will receive a lower voltage from your battery.
Things Needed
- Multimeter
- Various resistors
- Calculator
- Perforated circuit board
- Soldering iron
- Solder
- 4 one-foot wires
- Wire strippers
- Battery case
Cite This Article
MLA
Thompson, Jason. "How To Reduce Battery Voltage" sciencing.com, https://www.sciencing.com/reduce-battery-voltage-7352677/. 24 April 2017.
APA
Thompson, Jason. (2017, April 24). How To Reduce Battery Voltage. sciencing.com. Retrieved from https://www.sciencing.com/reduce-battery-voltage-7352677/
Chicago
Thompson, Jason. How To Reduce Battery Voltage last modified March 24, 2022. https://www.sciencing.com/reduce-battery-voltage-7352677/
