How To Reuse Old Solar Lights
Solar lights are designed to gather the sun's energy during the day and radiate it back at night, often through high-efficiency LEDs. When the sun is shining, light hits the device's solar panels, which converts this radiant energy into electricity. The electricity is used to recharge the batteries. During the night, or a sufficiently cloudy day, the solar cells stop receiving sunlight and stop creating electricity. The solar light's internal circuitry detects this lack of electricity from the solar cells and routes the battery to the LED to release the energy stored throughout the day. Many of the components inside the solar light are easily reused in DIY projects and may offer a cheap source for solar technology for the hobbyist.
Step 1
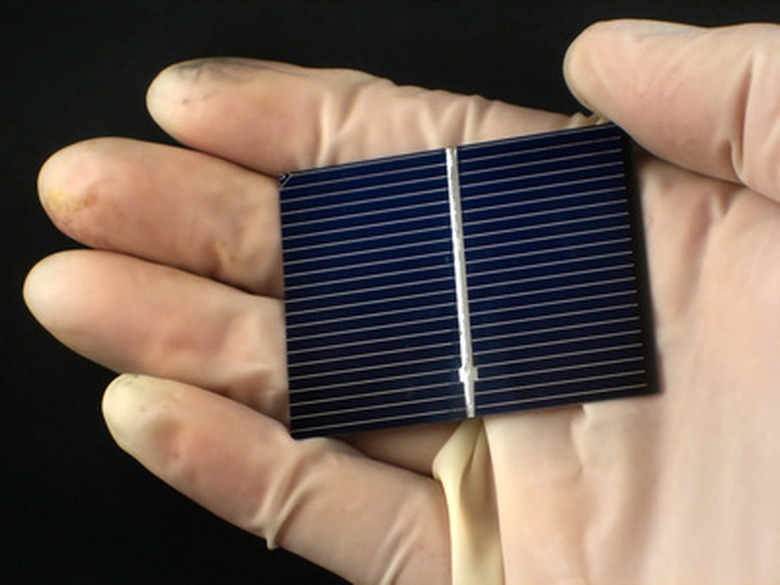
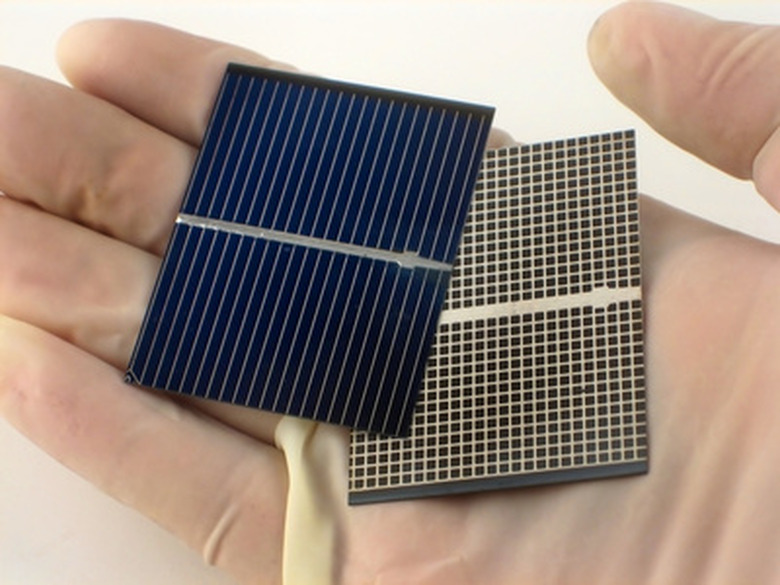
Pry open the clear plastic cover protecting the solar cell on the top of the lamp. While manufacturers may differ on the exact assembly of a solar lamp, the solar cell positioning tends to be the same. It makes the most sense for it to be at the top of the device, where sunlight can be efficiently absorbed. With the cover removed, carefully cut any wires attached to both the front and back of the cell. Pick up the cell and place it on a sheet of foam pad or bubble wrap to prevent scratching or cracking. Solar cells are extremely brittle.
Step 2
Dig deeper inside of the core of the solar light. Inside the middle will be control electronics, a rechargeable battery or super capacitor, and an LED. All of the parts are reusable. Once located, cut any connected wires with the wire cutters and remove the components one by one.
Step 3
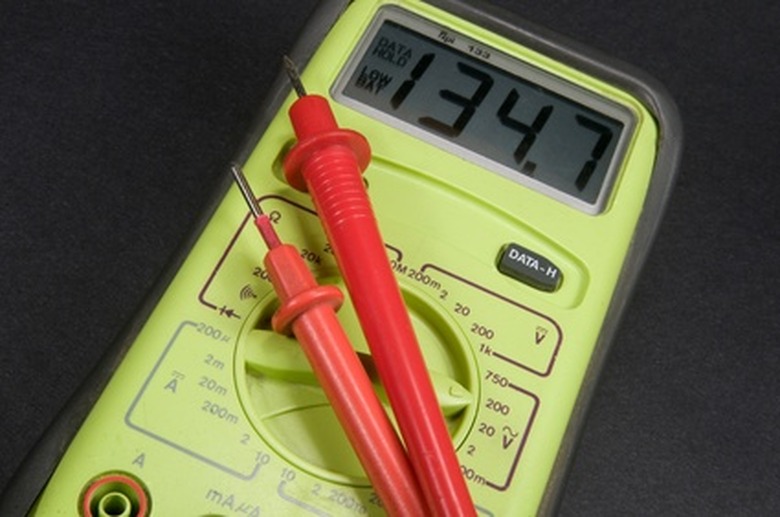
Test the components to verify that they still work. If the solar light was found already discarded, then there is a good chance that it had defective components, but there is also a good chance that some of the parts still work. To test the solar cell, simply connect the two wires leading from the cell to the two probes of a voltmeter. If color coded, red is usually positive and black is negative. With the voltmeter probes connected, expose the solar cell to the sun's light and measure the volt reading. Anything above 1 volt should be considered a passing solar cell that can be used in future experiments.
Step 4
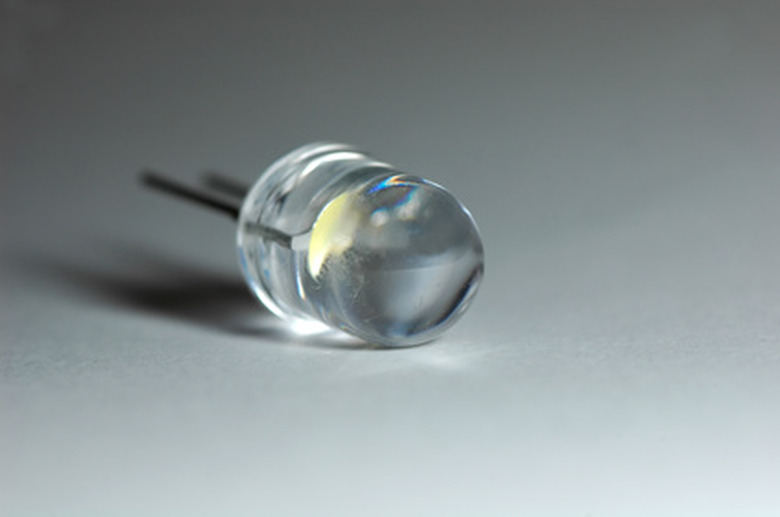
Test the LED. Connect the LED's anode (positive wire) to a variable voltage power supply's positive output (set to 2 to 3 volts) through a 330 ohm resistor using small alligator clip jumper cables. Then connect the cathode (negative) to the power supply's ground terminal (negative). Power on the power supply and watch for lighting of the LED. If the LED lights up then it works. If it doesn't light up, check the connections or try a slightly higher voltage. If it still doesn't light, then it is probably bad. Throw it away now to avoid it winding up in the component junk box where it might be used later, only to find it still doesn't work.
Step 5
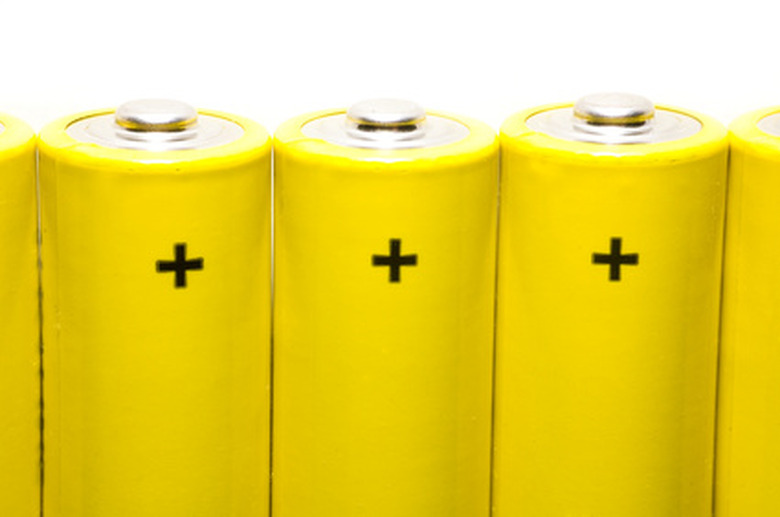
Test the battery. Connect the positive and negative terminals of the battery to the positive and negative probes of the voltmeter. If a voltage is read, the battery is still good. Remember, however, that this is a rechargeable battery, so if it is dead, it can be recharged.
Things Needed
- Old solar lights/lamps
- Flat-head screwdriver (for prying)
- Wire cutters
- Alligator clip jumper cords
- Variable voltage power supply
- Digital/analog multimeter (with voltmeter capability)
Cite This Article
MLA
Randall, Jesse. "How To Reuse Old Solar Lights" sciencing.com, https://www.sciencing.com/reuse-old-solar-lights-6851846/. 24 April 2017.
APA
Randall, Jesse. (2017, April 24). How To Reuse Old Solar Lights. sciencing.com. Retrieved from https://www.sciencing.com/reuse-old-solar-lights-6851846/
Chicago
Randall, Jesse. How To Reuse Old Solar Lights last modified March 24, 2022. https://www.sciencing.com/reuse-old-solar-lights-6851846/
