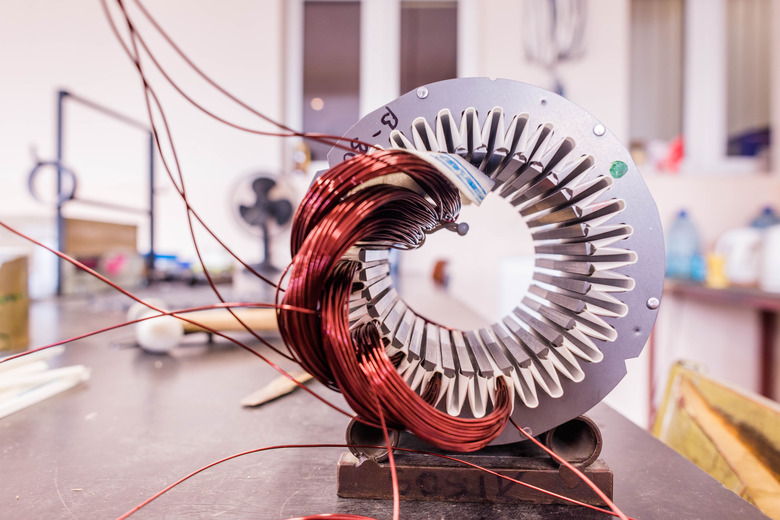
How To Rewire An Electrical Motor To Generate AC Current
You can use just about any motor to generate electric current, if it is wired correctly and you follow specific rules for its use. Modern AC induction motors are quite simple to wire as alternating current generators, and most will begin generating electricity the first time you use them. These motors don't use magnets and the generator relies on residual magnetism to generate current. Because of this, some induction motors used as generators might need a little boost from a battery to start generating current.
Things Needed
- 1-hp, 125-volt single phase, AC-induction "squirrel cage" motor
- Stranded 12 gauge insulated wire
- Wire stripper for stranded wire
- Wire nuts
- Spade wire terminals
- 370-volt, 200-microfarad capacitor
- Screwdriver
- 125-volt AC receptacle
- Receptacle wiring box
- Multimeter
- 12-volt lantern battery
1. Inspect Voltage Requirements
Inspect the motor's metal nameplate for the voltage, phase, full load current and speed. The full load current is the maximum amperage you can expect from the generator. The rated voltage represents the approximate voltage it generates. You must turn the motor-generator at 5 to 10 percent over its rated running speed to generate electricity. This motor-generator is a single phase device.
2. Cut the Wire
Cut four pieces of wire approximately 2-feet long, using the cutters on the wire stripper. Strip 1/2 inch of insulation from each end of all four wires.
3. Insert and Crimp the Wire
Insert the end of a wire into the crimp on a spade wire terminal and crimp the wire in place with the crimping tool on the wire stripper. Repeat this for a second wire. Push the spade connectors onto the capacitor terminals.
4. Attach Wire to the Terminals
Loosen one terminal on each side of the receptacle with a screwdriver. Slightly twist the stranded wire on one end of each of the remaining wires, and wrap one around each terminal clockwise. Tighten the terminal screws with the screwdriver. Feed the wires out the rear cable hole in the receptacle wiring box. Mount the receptacle to the box with the supplied screws.
5. Secure the Wires
Hold one wire end from the capacitor and one wire end from the receptacle together with one motor wire end. Place a wire nut over the three wires and twist it on clockwise until it is tight. Repeat this for the remaining capacitor, motor and receptacle wires.
Testing for Power
1. Start the Motor-Generator
Start the motor-generator turning by whatever means you have elected to use, such as a gasoline engine. The motor-generator must spin at 5 to 10 percent over its rated speed. Allow the motor-generator to run for 1 to 2 minutes.
2. Test Voltage
Set the multimeter to test 250 volts AC. Hold the multimeter test probes by the insulated handles and insert a probe into the two receptacle slots. The multimeter voltage should read between 110 and 135 volts.
3. Use the Generated Power
Plug a lamp into the receptacle and turn on the light. The light bulb should light up if the multimeter showed the correct voltage range.
No Electricity
1. Discharge Capacitor
Allow the motor-generator to come to a complete stop for troubleshooting, if it does not generate current. Discharge the capacitor by touching one terminal with the screwdriver, and then the other while maintaining contact with the first terminal.
2. Disconnect Capacitor Wires
Disconnect the capacitor wires and touch each wire to the 12-volt battery terminals for 5 to 10 seconds. Replace the terminals on the capacitor.
3. Restart the Motor-Generator
Start the motor-generator turning again and follow the procedure to test for electrical current. If the motor still does not generate current, it may have a damaged winding or the capacitor is not functioning.
TL;DR (Too Long; Didn't Read)
Minimum capacitor size is about 200 microfarad for a 1 horsepower motor. Connect two capacitors in series to add their values — connect one terminal on one capacitor to one terminal on the other. Then connect the two remaining terminals to the motor as indicated. Multiple capacitors may be connected this way to add their capacitance to produce the needed value.
The motor-generator will not generate electricity if started under a load. Remove all electrical loads before starting the generator.
Do not shut off the generator without removing the load first, or the motor will be demagnetized and will have to be "flashed" as shown in the "No Electricity" section.
As the electrical load increases, voltage drops. Conduct some experimentation with loads to determine when the voltage reaches a brownout level of about 105 volts.
Warning
The motor-generator described is capable of generating lethal currents. Always shut the motor down, remove its power source and discharge the capacitor before working on the circuit.
Provide a secure mount for all components including the motor-generator, capacitor and receptacle wiring box. Route all wiring safely.
The motor-generator will stop producing electricity if it is overloaded or used to start a motor of a similar size. Induction motor-generators can only start motors of about 1/5 to 1/10 of their own horsepower rating.
Cite This Article
MLA
Logan, Michael. "How To Rewire An Electrical Motor To Generate AC Current" sciencing.com, https://www.sciencing.com/rewire-motor-generate-ac-current-8016485/. 17 April 2018.
APA
Logan, Michael. (2018, April 17). How To Rewire An Electrical Motor To Generate AC Current. sciencing.com. Retrieved from https://www.sciencing.com/rewire-motor-generate-ac-current-8016485/
Chicago
Logan, Michael. How To Rewire An Electrical Motor To Generate AC Current last modified March 24, 2022. https://www.sciencing.com/rewire-motor-generate-ac-current-8016485/
