Science Project: How To Make A Prosthetic Hand
For an unusual and impressive science project, you can create a prosthetic hand that feels lifelike and looks realistic. Your key ingredient, latex, can easily be purchased online or at most craft and hobby stores. Once you've gathered all your materials, you'll be able to construct your project in about a week. Prosthetic hands also make memorable props for Halloween, film and theater productions.
Step 1
Measure 1 inch down from the glove opening on each side of the glove and poke a small hole with the end of your scissors. Thread a twist-tie through each hole and securely twist the tie onto a wood or plastic hanger.
Step 2
Hang the hanger somewhere convenient in an open, ventilated garage or patio. Leave the glove hanging while the latex hand dries.
Step 3
Put on your safety goggles. Then pour about 8 ounces of latex into a glass container. Add about 1 ounce of a flesh-toned paint to the latex. Mix it well with a plastic mixing spoon. Add paint until the latex achieves the color you want. When dry, the latex will be slightly lighter in color.
Step 4
Pour the colored latex into the hanging rubber glove, making sure the latex fills each finger completely. Add more latex if you want a longer hand. Leave the latex in the glove for about an hour.
Step 5
Turn the glove upside down, holding it gently while pouring the excess latex back into the original manufacturer's container. Don't squeeze the glove. A thickening layer of latex will remain around the outer layer of the rubber glove. Allow the rubber glove to hang dry for 24 to 48 hours.
Step 6
Peel the rubber glove away from the prosthetic hand If it is difficult, you may carefully cut away the glove. Allow the latex hand to completely dry for about 48 hours.
Step 7
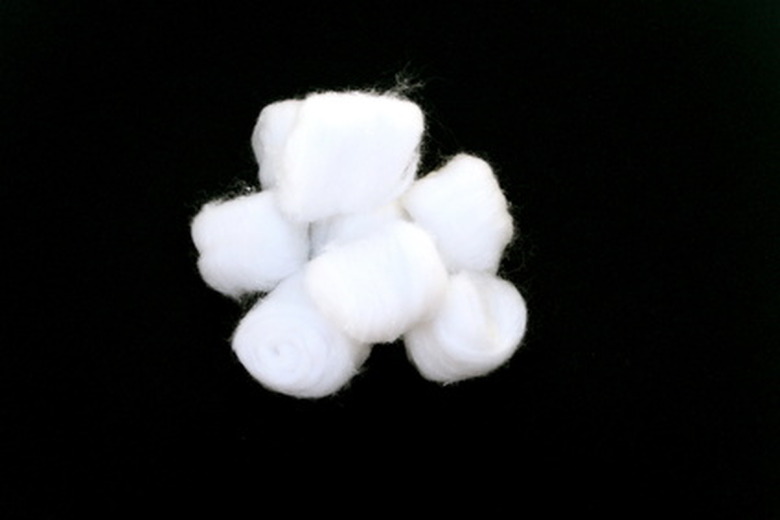
Fill the fingers and hand with cotton or polyester fiberfill stuffing, using a pencil to poke the stuffing inside.
Step 8
Attach artificial fingernails to the fingers using superglue or a similar adhesive.
Things Needed
- Ruler
- 1 fleece-lined rubber glove
- Twist ties
- Wood or plastic hanger
- Safety goggles
- Scissors
- Slush or mask latex (RD-407)
- 8-oz. glass container
- Plastic medicine cup
- Latex or acrylic paint, flesh tone
- Plastic mixing spoon
- Stuffing – cotton or polyester fiberfill
- Unsharpened pencil
- Natural-length artificial fingernails
- Superglue
TL;DR (Too Long; Didn't Read)
Latex is easy to work with; techniques are similar to those employed while working with paint.
When working with latex, remember to keep the work surface clean.
Top creature effects artists recommend using RD-407, a liquid latex called slush latex or mask latex. This liquid form does not require heat to solidify because it is a Room Temperature Vulcanized Rubber, or RTV Elastomer, that sets at room temperature.
Warning
Latex contains ammonia, which is caustic, so work with latex in a ventilated area, such as an open garage or outside on a patio.
Wear safety glasses when working with latex to protect your eyes from harmful fumes.
Cite This Article
MLA
Harding, Louise. "Science Project: How To Make A Prosthetic Hand" sciencing.com, https://www.sciencing.com/science-project-make-prosthetic-hand-6735768/. 24 April 2017.
APA
Harding, Louise. (2017, April 24). Science Project: How To Make A Prosthetic Hand. sciencing.com. Retrieved from https://www.sciencing.com/science-project-make-prosthetic-hand-6735768/
Chicago
Harding, Louise. Science Project: How To Make A Prosthetic Hand last modified August 30, 2022. https://www.sciencing.com/science-project-make-prosthetic-hand-6735768/

