Science And Sponge Activities
Kitchen sponges are a common household item used for many things. Although students may be familiar with what a sponge is, they might not understand how a sponge works. Conduct interesting activities that allow students to learn more about sponges and other important science concepts.
How Sponges Work
How Sponges Work
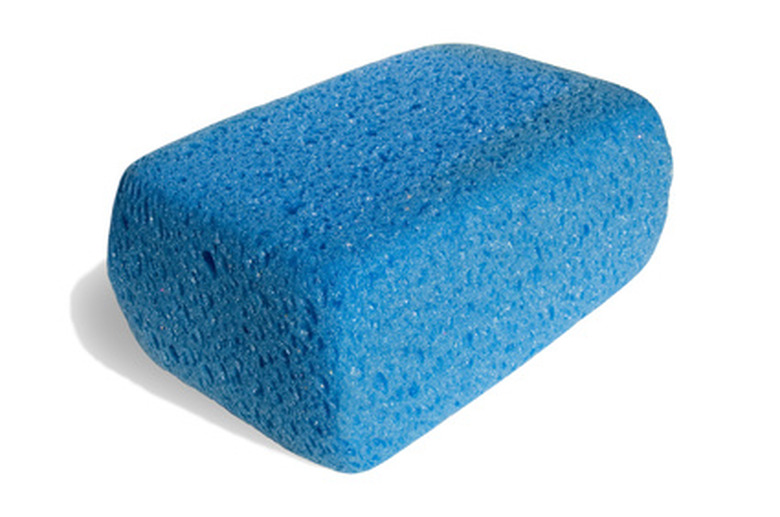
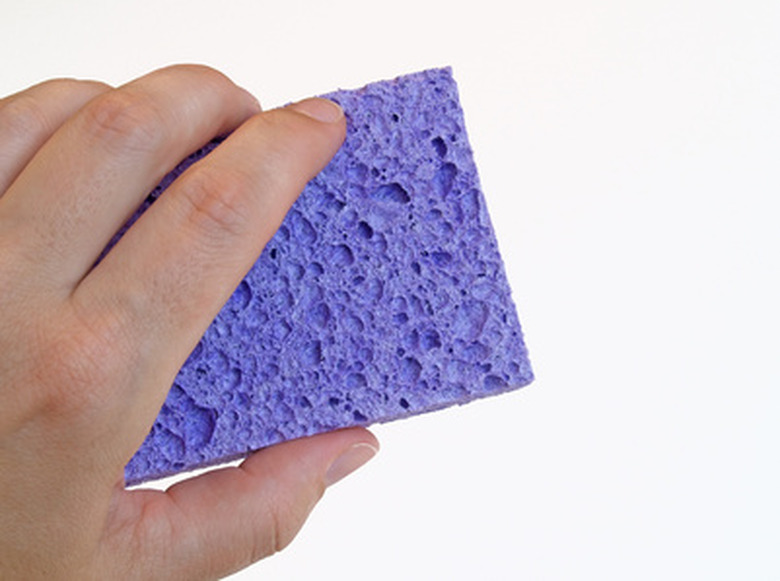
Sponges are full of air pockets that serve as straws that suck up liquid. Water that is pulled up into a sponge will remain inside the sponge until it is wrung out or until it evaporates.
Instruct students to estimate how much water it will take to saturate a dry sponge. Allow students to fill a measuring cup and then pour the water over the sponge, refill the measuring cup as necessary and have them record the actual amount of water added to the sponge. Compare their estimation with the actual results. Allow students to wring out the sponge back into the measuring cup to see how much water they can extract from the sponge. In addition to learning about sponges, students will also hone their estimation and measuring skills.
Floating Sponges
Floating Sponges
Once students have learned about density and buoyancy, conduct an experiment to test their new-found knowledge. Ask students to hypothesize whether a dry sponge will float or sink when set on the surface of water and then allow students to conduct the activity themselves. For this experiment, you will need several dry sponges, water and a large transparent bowl.
The students should notice that the sponge initially floats on the water, however, when it begins to absorb the water, it gets too heavy and sinks to the bottom of the container. Expand the activity by allowing students to retest the experiment using new dry sponges while timing how long it takes the sponge to sink. Compare times between sponge sizes to see whether that has any impact on the amount of time it takes to sink.
Forming Salt Crystals
Forming Salt Crystals
Use a sponge to conduct a simple experiment that shows how salt crystals form. For this activity, you will need a sponge, scissors, salt, vinegar, water and a shallow dish with a cover.
Cut the sponge to fit inside the base of the container and set it aside. Boil one cup of water and then slowly add ¼ cup of salt, stirring constantly; incorporate 2 teaspoons of vinegar. Pour the liquid over the sponge until you see some liquid just covering the base of the dish. Reserve the rest of the liquid for future use. Set the sponge and salt mixture in a sunny, warm place, such as next to a window for a few days. As the water evaporates from the container, add more of the reserved salt solution.
Over the next few days, the water will evaporate and form salt crystals on the surface of the sponge. The sponge helps to evaporate the water at a quicker rate and concentrates the salt solution. Ask students to observe the shape of the salt crystals and make predictions about whether the crystals will change or retain their general shape.
Cite This Article
MLA
Lauren, Daniella. "Science And Sponge Activities" sciencing.com, https://www.sciencing.com/science-sponge-activities-6311805/. 24 April 2017.
APA
Lauren, Daniella. (2017, April 24). Science And Sponge Activities. sciencing.com. Retrieved from https://www.sciencing.com/science-sponge-activities-6311805/
Chicago
Lauren, Daniella. Science And Sponge Activities last modified August 30, 2022. https://www.sciencing.com/science-sponge-activities-6311805/