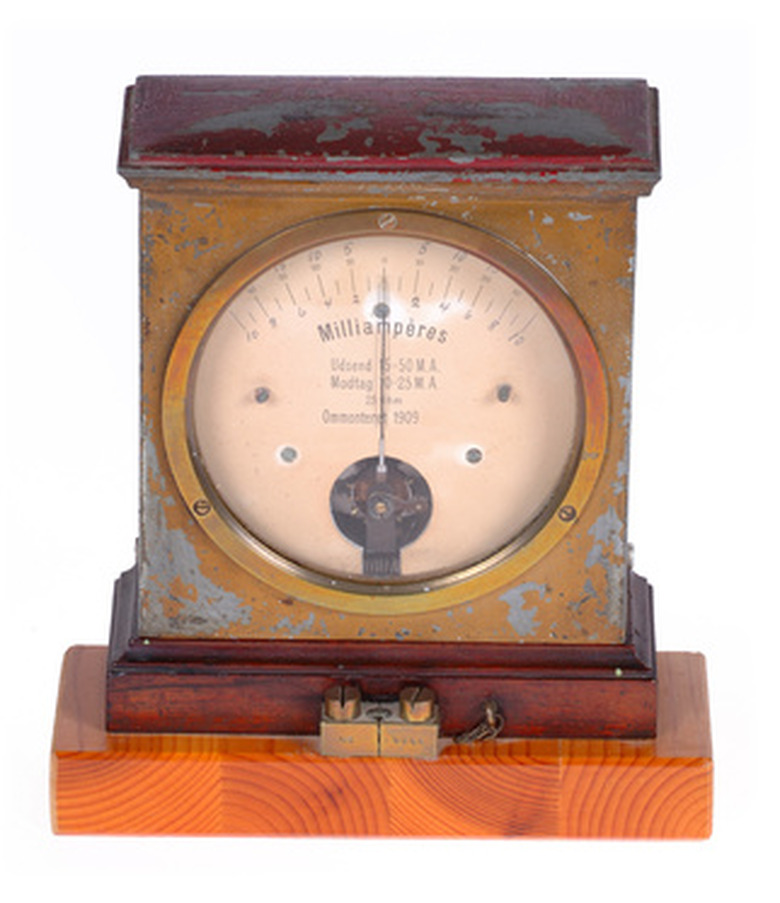
How To Set Up An Ammeter
Ammeters are used to measure electrical current. They can be used to measure very small electrical currents called microamperes–which is a millionth of an amp–or very large and dangerous currents, like from 1 to 100 amps.
Setting up an ammeter is not complicated. However, it must be done with caution. An incorrect setup may not only ruin your ammeter, but also could result in a fire–or worse yet, serious injury or death.
Step 1
Read and study your ammeter manual. Not all ammeters have the same scale calibration or the same types of control knobs or range settings. Pay special attention to any safety instructions or warnings that are listed in your manual. Also, make sure the device has not been recalled. A malfunctioning ammeter can also be dangerous.
Step 2
Familiarize yourself with the setup of a virtual ammeter. Virtual ammeters are one of the safest ways to learn how to set up an ammeter. They are online–not real. Visit the a simulator website (see Resources). Once there, read the instructions and practice: set the ranges, measure currents and then take the practice tests at the end.
Step 3
Turn on your real ammeter. After you've familiarized yourself with the owner's manual and the virtual ammeter, you are now ready to use a real ammeter. The first step is to turn it on.
Step 4
Connect the ammeter probes. The ammeter usually comes complete with two probes: a positive red probe and a negative black probe. Insert the probe jacks into the ammeter. Next, determine which wire in the circuit that the current, you want to measure, flows through.
To measure current, the ammeter's probes must be connected inline with the circuit, often referred to as in series with the circuit. This means that you must first cut the wire. After you cut the wire, attach the ammeter's positive probe tip to one end of the cut wire and the negative probe tip to other end of the cut wire. This will reestablish the circuit connection. Current will now be able to flow from the wire through the ammeter's positive probe, into and through the ammeter, and out of its negative probe back into the circuit.
Step 5
Set the ammeter range switch to its highest range. Not all ammeters have the same number of ranges or even the same ranges. However, most usually have five or more ranges. The lowest range, for example, may be used to measure currents that are between 0 and 0.5 milliampere. The second lowest range may be used to measure currents between 0 and 1.5 milliampere and the third range may be used to measure currents between 0 and 15 milliamperes.
Things Needed
- Ammeter
- Ammeter probes
- Resistors
- Battery
- Alligator clips
- Breadboard
TL;DR (Too Long; Didn't Read)
Your power supply should not be turned off until after you have finished connecting the ammeter. After your circuit is setup, set your power supply to 0 volts and then turn it on. Slowly increase the voltage level of the power supply to the desired value. If your ammeter's needle still reads zero, systematically lower the ammeter's range setting one range at a time. Keep lowering the range until the ammeter needle points at a position that is farthest to the right on the calibrated ammeter scale. However, don't estimate the measurement if your needle goes past the far right measurement mark. That section is not calibrated. Accurate results cannot be read in this region.
Cite This Article
MLA
Stansberry, Mark. "How To Set Up An Ammeter" sciencing.com, https://www.sciencing.com/set-up-ammeter-6186184/. 24 April 2017.
APA
Stansberry, Mark. (2017, April 24). How To Set Up An Ammeter. sciencing.com. Retrieved from https://www.sciencing.com/set-up-ammeter-6186184/
Chicago
Stansberry, Mark. How To Set Up An Ammeter last modified March 24, 2022. https://www.sciencing.com/set-up-ammeter-6186184/
