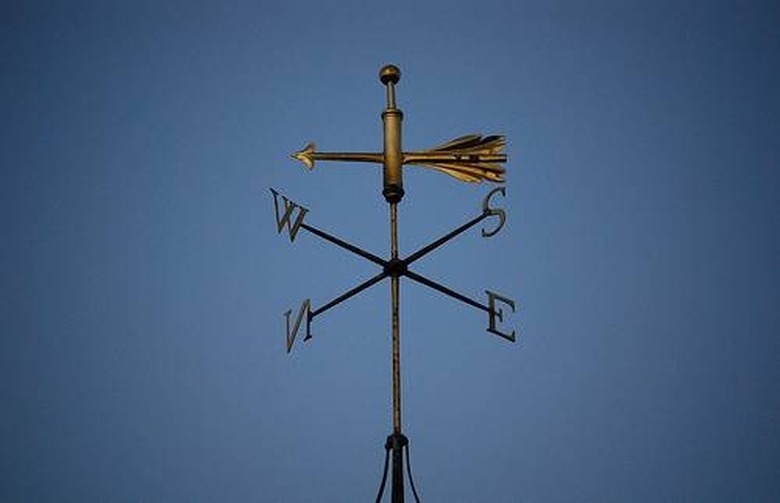
How To Make A Simple Weather Vane For Cub Scouts
Make a simple weather vane for Cub Scouts or other small groups with these easy to follow directions. Use household items for this fun science and art project that introduces wind directions and force to kids. Make this weather vane as plain or as decorated as you wish. Take it outside and complete hands-on science explorations to determine from which direction the wind blows.
Step 1
Make the base for your simple weather vane with two paper plates. Turn the first upside down and put a small hole in the middle of it large enough for a new, unsharpened pencil to pass tightly through. Keep the other plate right side up and place an egg-sized bit of modeling clay into it. Flatten it slightly and place about a quarter cup of small rocks or pebbles around it, pushing as many as possible into the edges only of the modeling clay. This gives the weather vane support and weight so that it does not flip over in the wind. Place glue around the edges of the plate containing the clay then place the first plate on top of it. Allow to dry. Alternatively, staple the edges of the plates together.
Step 2
Cut four small 2-inch triangles, one 3-inch triangle, and one 4-inch triangle from your choice of fun foam, laminated poster board, cardboard or tin. Write the letters N, S, E and W, one on each of the small triangles. Do not write on the two larger triangles. Glue the small triangles onto the top paper plate, or base, of your simple weather vane. Be sure to glue them with N opposite S and E opposite W, equally spaced around the paper plate with the points of the triangles pointing out from the center of the plate so that they look similar to compass directions.
Step 3
Cut small slits in the ends of the drinking straw. Be sure the slits are cut across the straw identically on both ends. Slide the point of the larger 4-inch triangle into one of the slits of the straw, creating the tail end of an arrow. Slide a side of the 3-inch triangle into the other end of the straw creating the tip or head of the arrow. If needed, secure the triangles to the straw with a drop of craft or hot glue.
Step 4
Push the new pencil through the hole in the top paper plate and into the modeling clay. Locate the middle of your straw "arrow," then place the pushpin through the middle of the straw and into the eraser of the pencil you placed through the hole in the paper plate. Twirl the arrow a few times with your finger to loosen it up and make sure it spins freely.
Step 5
Take the weather vane outside. Use a compass if necessary to locate north, south, east and west. Place the weather vane on a flat surface so that the directional triangles point in the proper directions. When the wind blows, your weather vane arrow points to the direction from which the wind blows. Wind force on the larger tail is greater than that on the smaller head forcing the head of the arrow to point into the wind.
Things Needed
- Paper plates
- Modeling clay
- Small rocks
- Glue
- Stapler
- Marker
- Fun foam, laminated poster board, cardboard or old pie tins
- Ruler
- Scissors
- Straw
- New pencil
- Pushpins
TL;DR (Too Long; Didn't Read)
If desired, paint or decorate the back of the first plate through which the pencil passes with weather pictures such as clouds. Pencil may be wrapped with colored masking tape to disguise it. Foam or plastic disposable plates may be used for added durability.
Cite This Article
MLA
Stover, Elizabeth. "How To Make A Simple Weather Vane For Cub Scouts" sciencing.com, https://www.sciencing.com/simple-weather-vane-cub-scouts-4793040/. 22 November 2019.
APA
Stover, Elizabeth. (2019, November 22). How To Make A Simple Weather Vane For Cub Scouts. sciencing.com. Retrieved from https://www.sciencing.com/simple-weather-vane-cub-scouts-4793040/
Chicago
Stover, Elizabeth. How To Make A Simple Weather Vane For Cub Scouts last modified March 24, 2022. https://www.sciencing.com/simple-weather-vane-cub-scouts-4793040/
