How To Solder Ribbon Cable
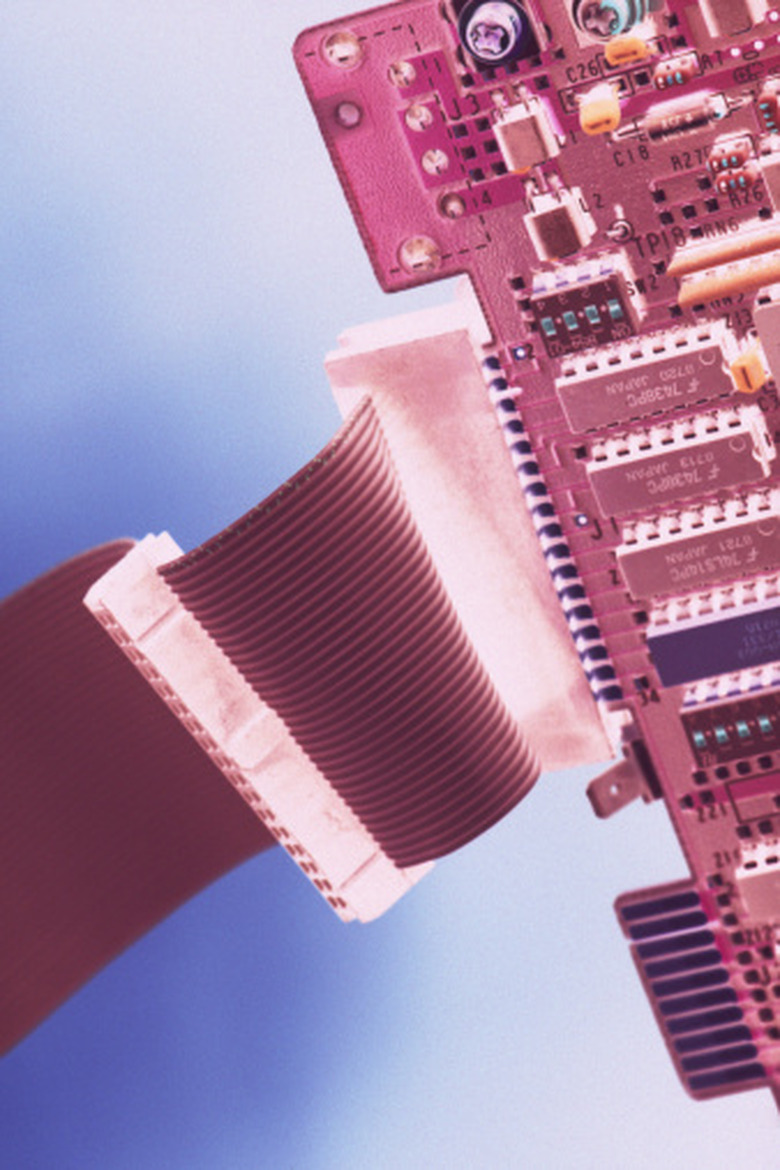
A ribbon cable is composed of a set of thin, insulated wires running parallel to each other, forming a ribbon-like structure. There is no limit for the number of individual cables a ribbon cable may have. A ribbon cable is ideal for transmission of parallel data bits. Since all individual wires in a ribbon cable are of equal length, there is no transmission-time mismatch between them and the digital data word remains intact. Soldering a ribbon cable can be somewhat tricky due to its thin individual wires.
Step 1
Turn the soldering iron on and set it at a temperature of 375 degrees Celsius (700 Fahrenheit).
Step 2
Place the connector where the ribbon cable is to be soldered on a flat and dry surface with soldering pins exposed and easily accessible. You can put a small weight on the connector to keep it steady during the soldering process.
Step 3
Place the solder wire on the first pin of the connector and touch the interface of the pin and the wire with the soldering iron tip. As soon as you see that a small amount of molten solder flux has accumulated on the pin, retract the wire and the tip. Repeat this process for all of the remaining connector pins.
Step 4
Separate all the individual insulated wires of the ribbon cable to about 3 inches. Do this by simply peeling off one wire at a time from the ribbon. Make sure that the insulation of the individual wires remains intact during the process.
Step 5
Strip off about 1/4-inch of insulation from the ends of all the individual wires you just separated using a wire stripper. Place the ribbon cable on a flat surface so the stripped ends are facing you. You can place a weight on the cable to keep it in place during soldering.
Step 6
Place the solder wire on the exposed end of one of the ribbon cable wires and touch it with the tip of the soldering iron. Retract the solder wire and the tip as soon as you see that the wire has absorbed a small portion of the solder flux. Repeat this process for the remaining wires.
Step 7
Solder the first wire to its corresponding connector pin. You will have to look at the cable-connector connection diagram to determine the pin it to which it should be connected. A connection diagram shows the connector pins and cable wires connected by lines. The connector pins are identified by numbers, which can be found on the connector beside the pins. To solder the wire to the pin, bring the exposed end of the wire in contact with the connector pin and briefly touch it with the soldering iron tip. Retract the tip as soon as you see that the solder has melted, but do not move the wire until the solder has solidified. The solder will solidify within two to three seconds after the tip is removed. Repeat this process to solder the remaining wires to the connector pins.
Things Needed
- Cable-connector wiring diagram
- Connector or PCB where the cable is to be soldered
- Wire stripper
- Soldering iron
- Solder wire
TL;DR (Too Long; Didn't Read)
This method should not be used for Kapton ribbon cables, as those can get easily damaged by a soldering iron.
Warning
Work in a well-ventilated area while soldering since the solder flux fumes may cause breathing problems and eye irritation. Keep the heated soldering iron tip away from your body as it can cause serious skin burns.
Cite This Article
MLA
Ahmed, Naeem. "How To Solder Ribbon Cable" sciencing.com, https://www.sciencing.com/solder-ribbon-cable-8327259/. 24 April 2017.
APA
Ahmed, Naeem. (2017, April 24). How To Solder Ribbon Cable. sciencing.com. Retrieved from https://www.sciencing.com/solder-ribbon-cable-8327259/
Chicago
Ahmed, Naeem. How To Solder Ribbon Cable last modified March 24, 2022. https://www.sciencing.com/solder-ribbon-cable-8327259/