Step-By-Step Directions For Making A Volcano For A School Project
Volcanoes, nature's spectacular marvel, are a source of wonder and delight for students worldwide. Students find the construction, formation and eruption of volcanoes fascinating and often want to re-create the marvel themselves for school projects. Creating a volcano at home is a relatively easy task as long as you allow plenty of time to complete the process.
Preparing the Materials
Preparing the Materials
Determine how large you want the volcano to be. Select a base for the volcano to hold the weight; a heavy piece of cardboard, a piece of plywood or an empty box from the grocery store work well. Remember that your volcano can be only as large as the base on which you build it, so choose a base large enough to accommodate your aspirations.
Cut newspaper into long strips, and crumple several sheets into large balls. It is best to not pack the crumpled pieces of newspaper too tightly so that they will take their own shape and make the volcano look more like a natural mountain. Cut off the top portion of a water bottle to serve as the volcano "reservoir" to hold the lava until you are ready for the volcano to erupt.
Constructing the Volcano
Constructing the Volcano
Tape the bottle to your base using masking tape or duct tape. Then place the crumpled newspaper around the bottle to form the shape of a mountain. You will need to use several pieces of newspaper to get the correct shape. Tape the pieces to the base and to the bottle, and continue layering pieces until it looks like a volcano.
Prepare a papier-mache paste combining one part flour to one part water, mixing well. Dip the strips of newspaper into the papier-mache paste, squeeze the strip between your fingers, letting the excess paste drip off, and place the strip on your constructed volcano. Continue placing strips all around until you have covered the entire volcano. Let this dry overnight.
Finishing the Volcano
Finishing the Volcano
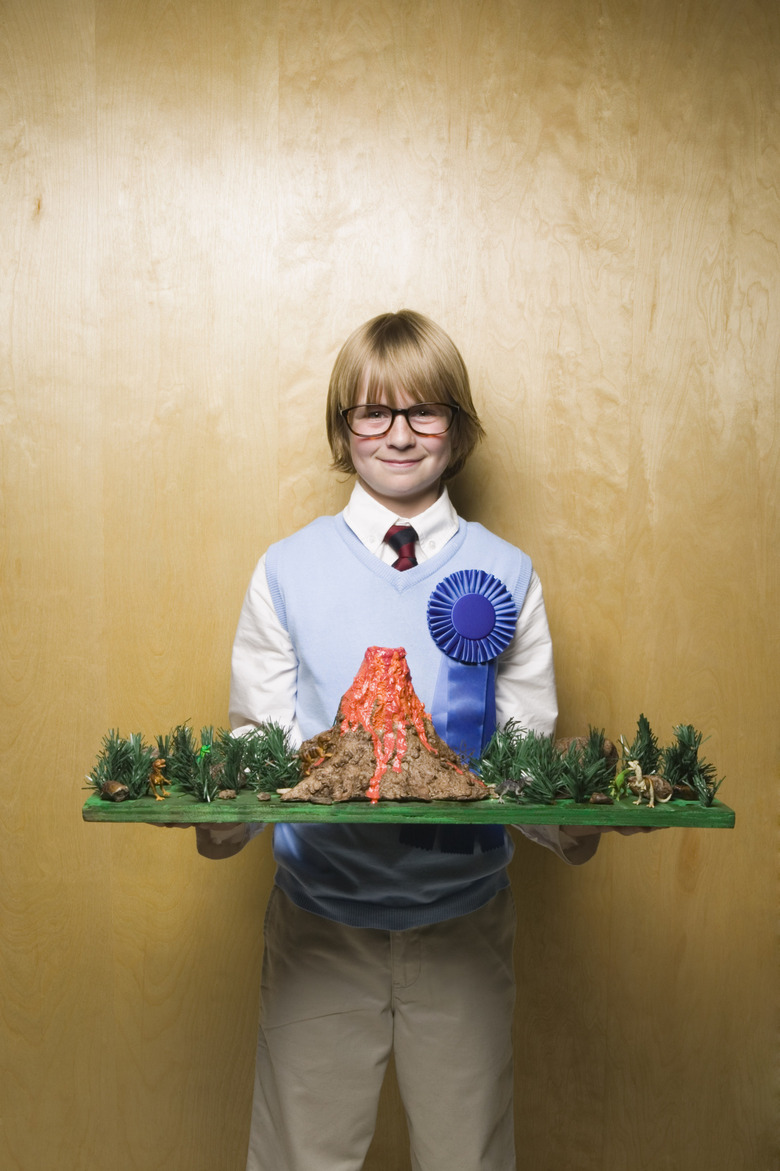
Paint your volcano. For a desert volcano, paint the volcano a dark brown with light brown at the bottom for sand. For a tropical volcano, paint the volcano a dark brown with patches of dark green scattered across the volcano to represent grass and trees. At the bottom, consider adding toy or model trees and bushes.
Making the Volcano Erupt
Making the Volcano Erupt
Prepare a solution of ¼ cup water, ¼ cup vinegar, a few drops of dish-washing liquid and a few drops of red food coloring. Put this in the empty bottle at the center of your volcano. Take one square of toilet paper and put 1 tbsp. baking soda in the middle of it. Roll it up and twist the ends to enclose the baking soda. When you are ready to present the project, drop the baking soda packet into the volcano, and watch it erupt.
References
Cite This Article
MLA
Stone, Jack. "Step-By-Step Directions For Making A Volcano For A School Project" sciencing.com, https://www.sciencing.com/stepbystep-making-volcano-school-project-5891482/. 24 April 2017.
APA
Stone, Jack. (2017, April 24). Step-By-Step Directions For Making A Volcano For A School Project. sciencing.com. Retrieved from https://www.sciencing.com/stepbystep-making-volcano-school-project-5891482/
Chicago
Stone, Jack. Step-By-Step Directions For Making A Volcano For A School Project last modified March 24, 2022. https://www.sciencing.com/stepbystep-making-volcano-school-project-5891482/
