How To Teach Math With Cuisenaire Rods
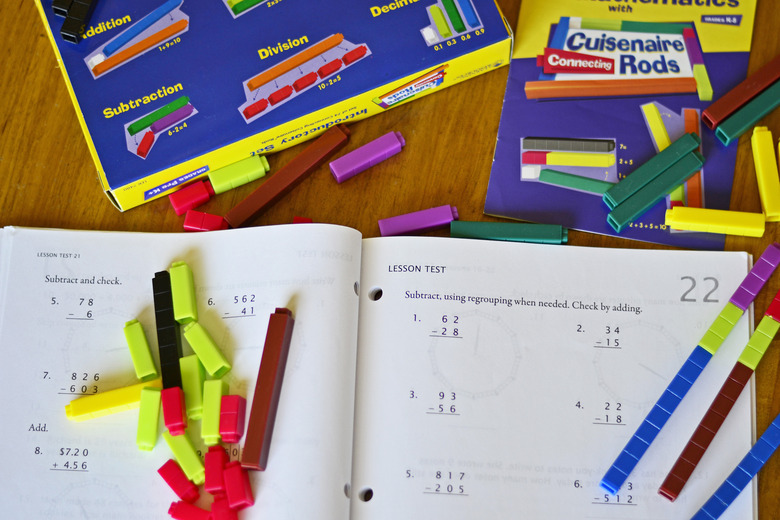
Cuisenaire rods are a simple, yet ingenious, tool for teaching mathematical relationships to young children. More often used in Europe than the United States, they were first developed by Belgian teacher Georges Cuisenaire in the 1940s. The rectangular wooden blocks come in 10 different colors and 10 different lengths. Manipulating them helps students visualize what would otherwise be abstract math concepts and can lead them to a fuller understanding of the calculations used in arithmetic, measurement and geometry.
Arithmetic
Step 1
Let the child free-play with a set of rods to get used to them and also to explore her own ideas about them.
Step 2
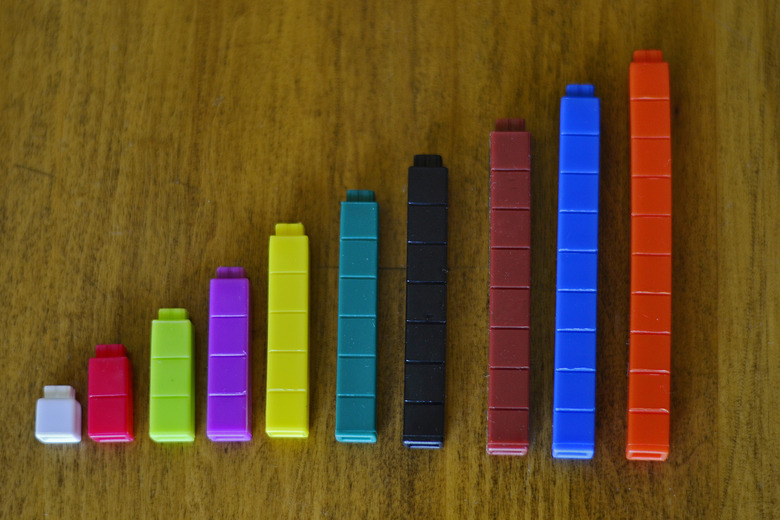
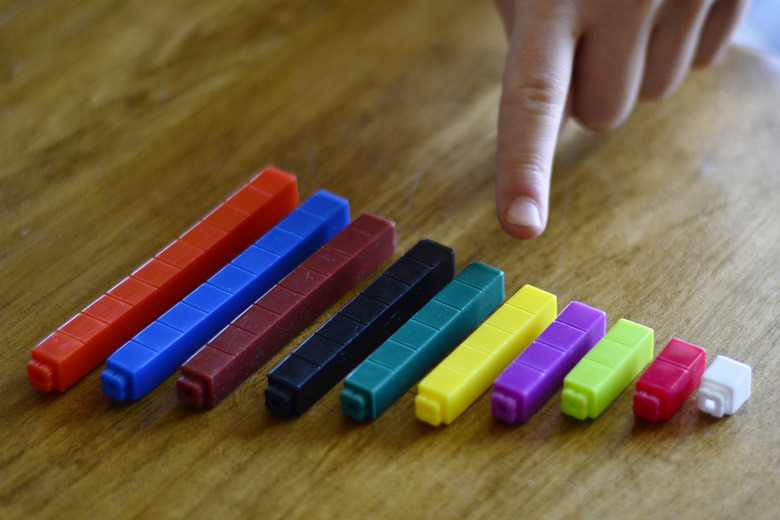
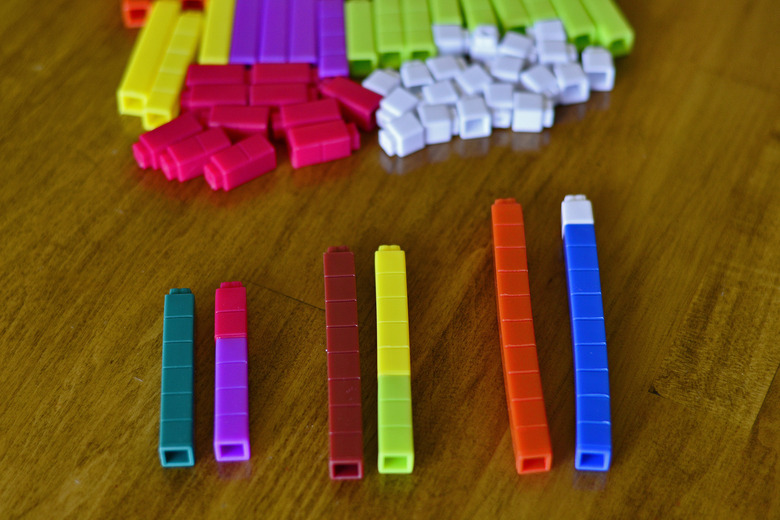
Ask her to lay the rods out next to each other on a table in size order, from the smallest white rod up to the longest orange rod. She will find that they form a "staircase."
Step 3
Assign the rods a numeric value from number 1 for the smallest to number 10 for the biggest. Ask the student to point to the rods as she repeats the values for each.
Step 4
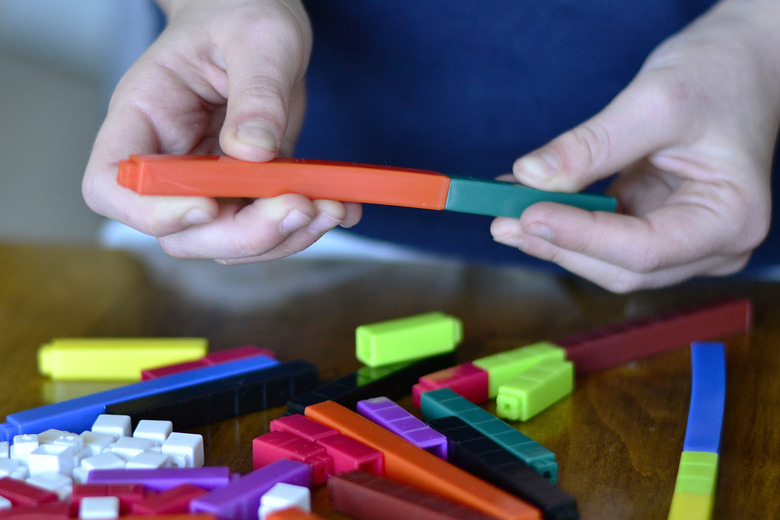
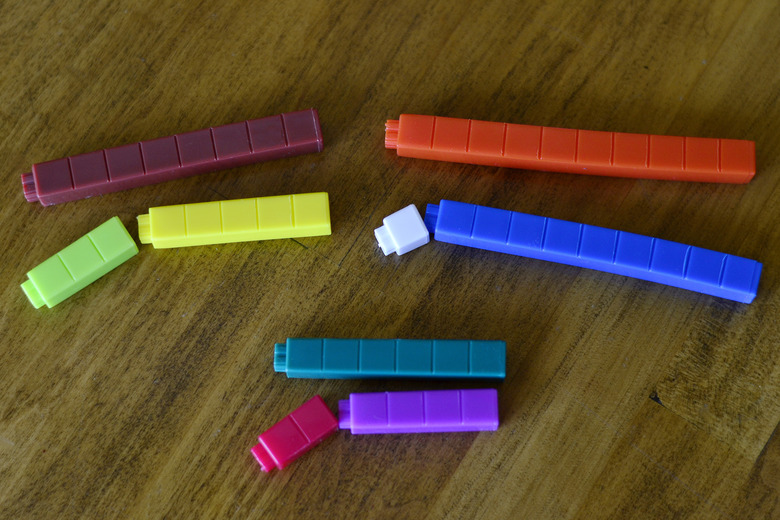
Place the number 3 rod separately from the rest and ask the student to lay out two other rods that when placed end-to-end will be the same length as the number 3. She will find that numbers 1 and 2 placed end-to-end — in a "train," to use Cuisenaire terminology — will exactly match the length of the number 3. Use this illustration to talk about addition.
Step 5
Continue to use different lengths of the rods to illustrate addition by asking the student to form trains of different lengths and match them up.
Step 6
Illustrate subtraction in the same way, by forming trains and then taking away rods of different values.
Step 7
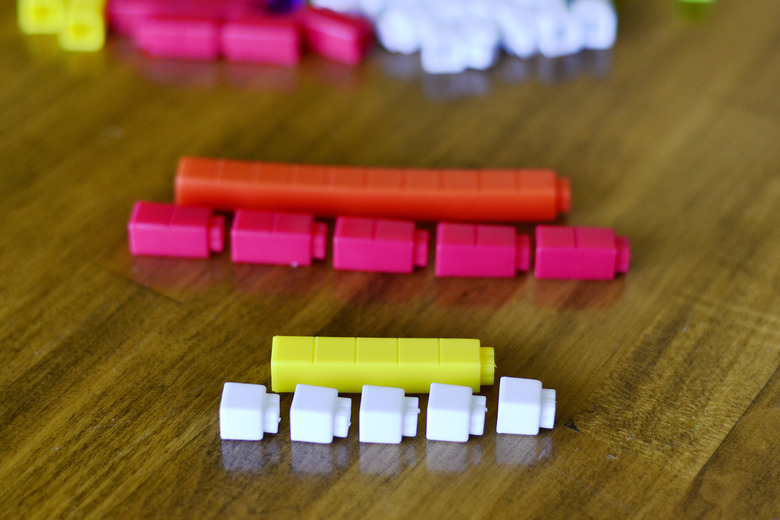
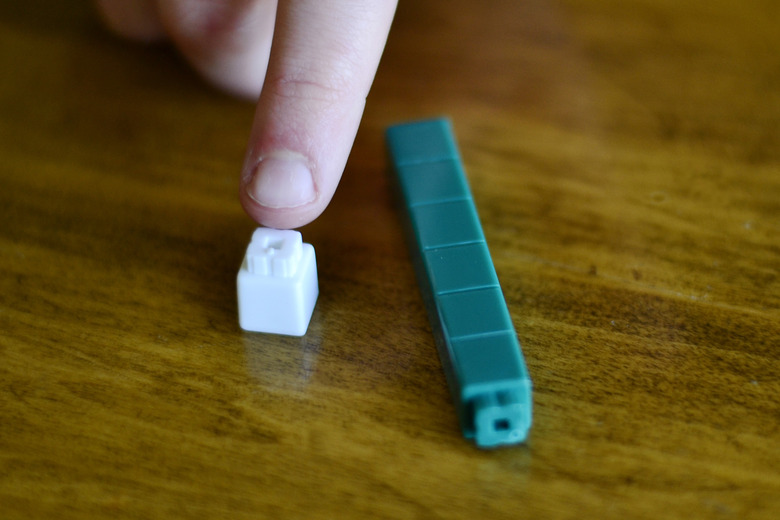
Move on to multiplication and division, using several sets of rods, and again utilizing trains. For instance, five white number 1 rods equal the length of one yellow number 5 rod, demonstrating that 5 times 1 is 5.
Measurement and Geometry
Step 1
Ask the student to use the white number 1 rod, which is 1 centimeter long, to measure the other rods, and express their lengths in centimeters.
Step 2
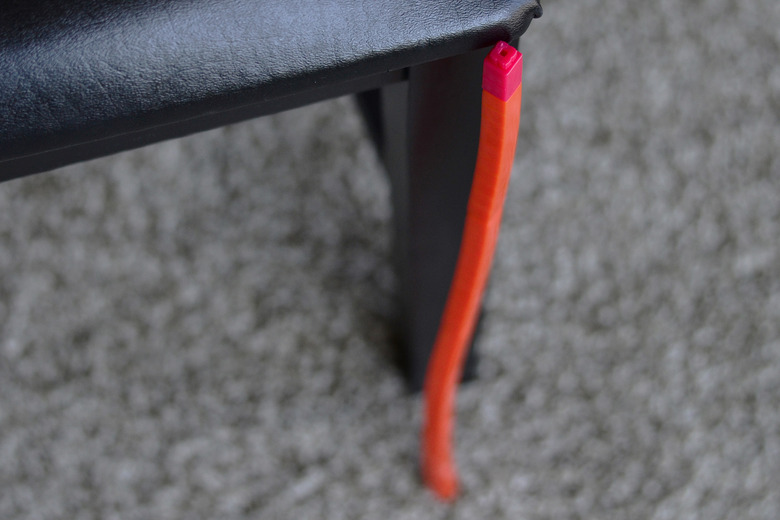
Have the student use the rod sets to measure an object in the classroom, such as the length of a desk. The student may find he can use the 10-centimeter-long orange number 10 rod for most of the length, but then must use the smaller rods to finish up.
Step 3
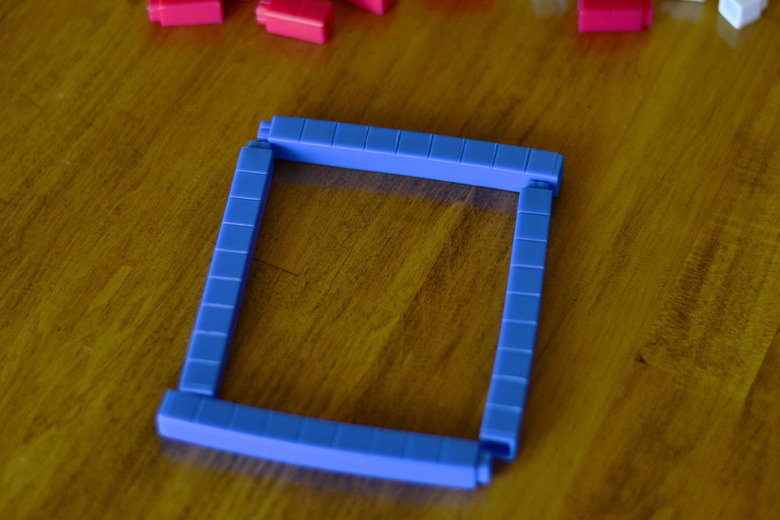
Begin to work with areas. Have the student build a two-dimensional shape on the desktop using a variety of rods, and by counting the values, help him calculate the area covered by his shape. Begin with simple squares made up of only one color, and then move on to more complex shapes.
Step 4
Introduce the concept of volume by assigning the value of 1 cubic unit to the white number 1 rod.
Step 5
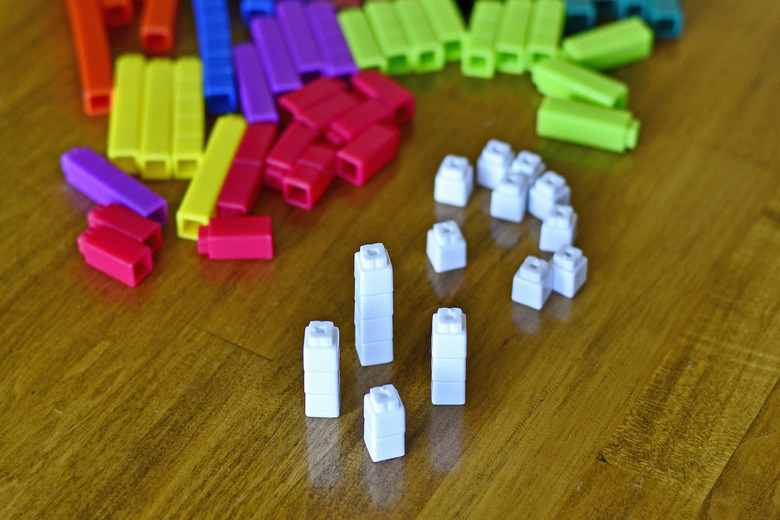
Let the students use multiple number 1 rods to build three-dimensional cubic figures of varying volumes, and have them express the volumes of their figures in cubic units.
TL;DR (Too Long; Didn't Read)
When your students are ready to take on the idea of fractions, you can also use Cuisenaire rods to allow them to work problems, just by reassigning different values to the rods. You can show fractions visually by stacking the rods on top of one another — the numerator on top and the denominator on the bottom.
Cite This Article
MLA
Winston, Beth. "How To Teach Math With Cuisenaire Rods" sciencing.com, https://www.sciencing.com/teach-math-cuisenaire-rods-7440838/. 24 April 2017.
APA
Winston, Beth. (2017, April 24). How To Teach Math With Cuisenaire Rods. sciencing.com. Retrieved from https://www.sciencing.com/teach-math-cuisenaire-rods-7440838/
Chicago
Winston, Beth. How To Teach Math With Cuisenaire Rods last modified August 30, 2022. https://www.sciencing.com/teach-math-cuisenaire-rods-7440838/
