How To Test Water Quality For A Science Project
The United States Geological Survey defines water quality as "the chemical, physical and biological characteristics of water." Quality determines the best uses for water. Students who are interested in the environment benefit from experimenting with water from a variety of sources. Water quality experiments are informative, but not too difficult. They're easy to set up at a science fair. Whether you're testing water quality for its pH balance, chlorine or nitrate levels, or hardness, create a science fair experiment using one or all of these tests.
Chlorine and Nitrate Tests, pH Balance
Step 1
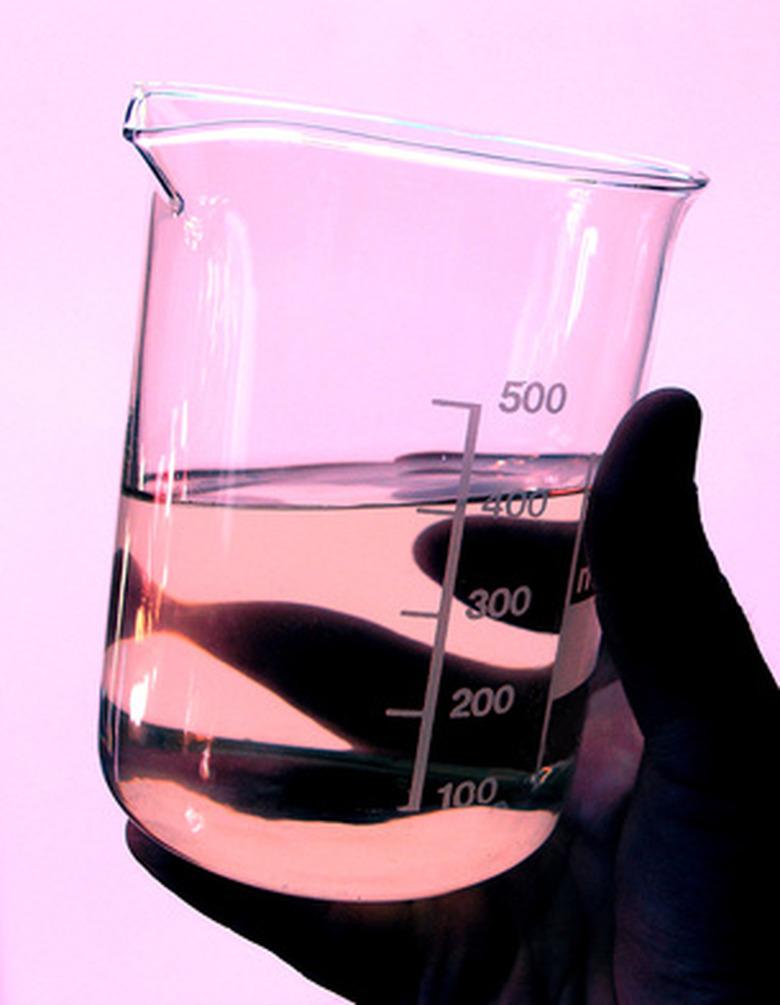
Put 40 mL of tap water from the sink into a 50 mL beaker. This water will be used in all four tests.
Step 2
Lower the 4.5 to 7.0 pH paper into the water. Pull it right back out and hold it next to the color-coded charts for pH papers. If the colors don't appear on the chart, use the 6.5 to 10 pH paper. Repeat the experiment and check the chart. Write your water's pH balance on the paper.
Step 3
Swirl the chlorine strip in the tap water three or four times and remove it. Wait for 10 seconds and hold the paper next to the color chart section for chlorine. You'll find that most city water contains a certain level of chlorine. Record your results on the paper.
Step 4
Stick the nitrate strip into the water for two seconds and remove it. Wait one minute and check the test strip against the colors on the chart for nitrates. Nitrates are found in the soil–too much nitrate in the drinking water can cause health issues. Write your results on the paper.
Hardness Test
Step 1
Dip a water hardness strip into the tap water. Wait 15 seconds and hold it next to the chart to check for the hardness level. The chart only goes up to 180 parts per million (ppm). If your results appear to be 180 ppm, continue on to Step 2. If it's less than 180 ppm, record your answer. The water's hardness indicates its levels of calcium carbonate and magnesium.
Step 2
Squeeze a plastic pipette into the 50 ml of tap water and withdraw 2 mL of water. Place the water into the 10 mL graduated cylinder.
Step 3
Add 4 mL of distilled water to the 10 mL cylinder. You should have a total of 6 mL of water in the cylinder. Empty and dry the 50 mL beaker and pour the 6 mL of diluted water into the beaker.
Step 4
Place another water hardness strip into the water. Wait for 15 seconds and hold it next to the chart. Check for your results and multiply the answer by three because the tap water has been diluted to one-third of the original water's contents. Now you have a more accurate result for your water. Record your score.
Things Needed
- 50 mL beaker
- Paper
- Pen
- pH paper 4.5-7.0
- pH paper 6.5-10
- Chlorine test strips
- Nitrate test strips
- Water hardness test strips
- 10 mL graduated cylinder
- Plastic pipette
- Purified water
- Chart for reading papers and strips
TL;DR (Too Long; Didn't Read)
Test strip kits are available online. Some strips are available through pool companies or home and garden supply stores.
Save your test strips to use on your display board during the science fair. Research your findings so you can explain your results.
Cite This Article
MLA
Collins, Joan. "How To Test Water Quality For A Science Project" sciencing.com, https://www.sciencing.com/test-water-quality-science-project-7714391/. 24 April 2017.
APA
Collins, Joan. (2017, April 24). How To Test Water Quality For A Science Project. sciencing.com. Retrieved from https://www.sciencing.com/test-water-quality-science-project-7714391/
Chicago
Collins, Joan. How To Test Water Quality For A Science Project last modified August 30, 2022. https://www.sciencing.com/test-water-quality-science-project-7714391/
