Tips On Testing Resistors
Current flows through circuits when a voltage is applied to them. One way to limit this flow is with a resistor. How well resistors oppose current flow depends on their resistance. Ordinary resistors obey Ohm's Law, where the voltage, V, is equal to the current, I, multiplied by the resistance, R.
Resistors can be tested in and out of circuit by measuring their resistance. They may be tested in circuit by measuring their voltage or current. A digital multimeter may be used to conduct these measurements.
Resistance
Resistance
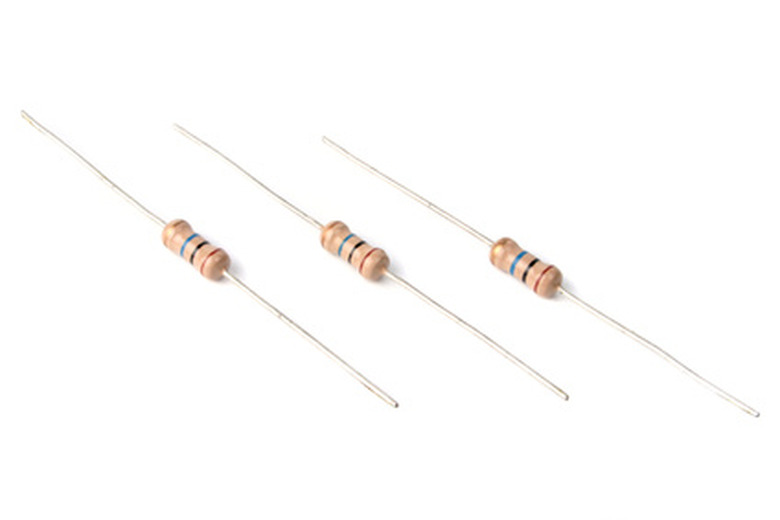
Obtain a resistor with a known value. Resistors usually have three to four stripes. The color of the first two stripes tell the first two digits, and the third stripe tells how many zeros follow them. Their values are shown in resistor color charts. For example, the colors orange-orange-brown represent a 330-ohm resistor. A digital multimeter may be used as an ohmmeter to measure the resistance. For in-circuit resistance testing, the current must be off.
Switch the digital multimeter on and find the resistance setting. This setting may have an R or the Greek letter omega. Omega is used to represent ohms, the unit of resistance.
Turn the resistance setting to a number larger than the value of the resistor being measured. For example, a 10-ohm resistor must be measured with a setting of at least 10 ohms.
Read and record the value on the display. Depending on the quality of the resistor, it may be off by as much as 20 percent of the theoretical value. Hence, a 10-ohm resistor may be anywhere from 8 to 12 ohms.
Voltage
Voltage
Resistors are added in series when they are connected next to one another in the same circuit so that they share the same current but have different voltages. A digital multimeter may be used as a voltmeter to measure the resistor voltage.
Construct a series circuit with two resistors and a low voltage battery. For example, use a 10-ohm resistor connected in series with a 100-ohm resistor. Attach them to two AA batteries, which is about three volts.
Place the multimeter on DC voltage. Switch the selector knob on a setting of at least three volts. Place the probes on each side of the first resistor. For example, place the red probe on one side of the 10-ohm resistor, the black probe on the other side, and record the voltage. Do the same for the second resistor. Voltage readings for the sample circuit are 0.255 V and 2.54 V, respectively.
Current
Current
A digital multimeter may be used as an ammeter to measure resistor current. Care must be taken to place it on the correct settings and to make sure that it inserted into the circuit in the proper direction, otherwise the multimeter may blow a fuse.
Turn the digital multimeter to an ammeter setting. Do this by detaching the red probe from the voltage/ohmmeter opening on its body and attaching it to the ammeter one. It is usually indicated by a "mA" or "A".
Make sure the multimeter is off and add it in series with the second resistor in the previous circuit. For example, disconnect the 100-ohm resistor from the negative side of the battery. Attach the red probe of the multimeter to the end of the resistor. Attach the black probe to the negative side of the power. You may need to use alligator clips. Turn the multimeter on and measure the current. For the series circuit above, it will read approximately 0.0254 amps, or 25 mA.
References
- Conceptual Physics; Paul Hewitt; 2006
- Matter and Interactions; Ruth W. Chabay, Bruce A. Sherwood; 2010
- University Physics; Richard Wolfson; 2007
Cite This Article
MLA
Lewis, Kim. "Tips On Testing Resistors" sciencing.com, https://www.sciencing.com/tips-testing-resistors-6039965/. 24 April 2017.
APA
Lewis, Kim. (2017, April 24). Tips On Testing Resistors. sciencing.com. Retrieved from https://www.sciencing.com/tips-testing-resistors-6039965/
Chicago
Lewis, Kim. Tips On Testing Resistors last modified March 24, 2022. https://www.sciencing.com/tips-testing-resistors-6039965/
