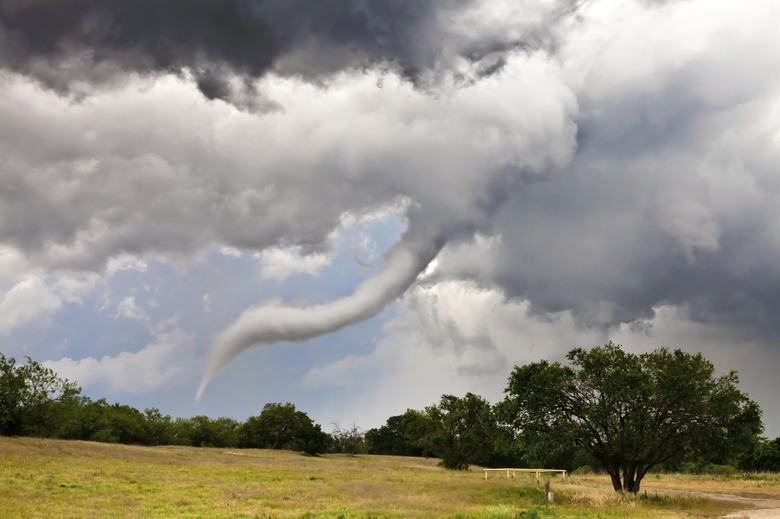
How To Simulate A Tornado
There are few learning tools more powerful than seeing a concept in action. Watching tornadoes up close is dangerous at best; however, you can observe the phenomenon by creating a tornado in a bottle.
Step 1
Gather two clear plastic 2-liter soda bottles for every tornado you wish to create. Though colored plastic bottles will work as well, the full tornado effect is much more visible in clear bottles.
Step 2
Remove the labels and thoroughly wash all the bottles. Also remove any plastic rings that remain on the neck of the bottles.
Step 3
Purchase a tornado tube connector at a teacher supply or science store, or to spare the expense you can use duct tape and a 1-inch metal washer to connect the bottles. The main advantage to using a connector is that the experiment is less likely to develop a leak.
Step 4
Place one of the bottles on a flat surface and fill it approximately two-thirds full of water. For a more tornado-like effect or just to add some flair, you can add a drop of food coloring to the water and add glitter to simulate dirt and debris.
Step 5
Put the washer over the opening of the bottle, then turn the second bottle upside down and line it up on top of the washer. If you are using a tornado tube connector, merely twist it onto the top of the first bottle and attach the second bottle to the other side.
Step 6
Have another person hold the bottles steadily in place as you wrap the bottle necks and washers tightly with duct tape. You will need to fasten it tightly enough that the bottles stand straight up together; they shouldn't be able to separate or tilt in any way. The duct tape also should be secure enough that when you turn the tornado experiment over — the top bottle now on the bottom — there is no water leakage.
Step 7
Place the tube so that the water is in the top bottle and rotate the top in a swift, circular motion. As the water pours through the washer to get to the bottom bottle, it will form a vortex that clearly represents a tornado. This vortex makes it easier for the water to flow quickly into the bottom bottle by displacing the air that competes for the space.
Things Needed
- 2 2-liter clear plastic soda bottles
- Water
- 1-inch metal washer
- Duct tape (or "Tornado Tube Connector")
- Food coloring (optional)
- Glitter (optional)
TL;DR (Too Long; Didn't Read)
Classroom teachers might find it helpful to send a note home to families a week or two in advance of the experiment, asking them to collect the bottles. To remove stubborn labels, try filling the bottle with warm water and soaking it in warm, soapy water (at the same time) for about a half-hour. This might help to loosen the adhesive. The stronger you swirl the bottle, the more likely it is to form a strong vortex.
Cite This Article
MLA
Contributor, . "How To Simulate A Tornado" sciencing.com, https://www.sciencing.com/tornado-science-experiment-2192645/. 21 July 2017.
APA
Contributor, . (2017, July 21). How To Simulate A Tornado. sciencing.com. Retrieved from https://www.sciencing.com/tornado-science-experiment-2192645/
Chicago
Contributor, . How To Simulate A Tornado last modified March 24, 2022. https://www.sciencing.com/tornado-science-experiment-2192645/
