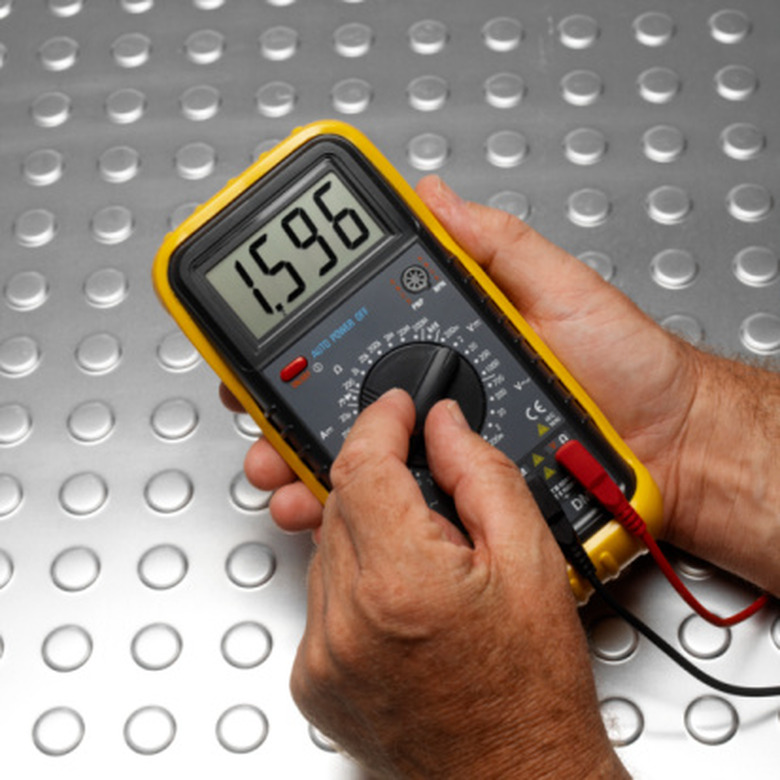
How To Troubleshoot With An Analog Multimeter
An analog multimeter provides a reading on all the necessary parts of an electrical system, to help you determine where an electrical problem might lie. The analog dial uses a physical needle and spins left or right to give a reading. Readings are acquired through the positive and a neutral probe that, when appropriately placed, can read voltage, resistance or amperage. These items can indicate whether a problem is with an appliance, an electrical supply or even something more complicated.
Step 1
Connect the red test probe to the "+" connection and connect the black test probe to the "-" connection.
Step 2
Set the function dial to the appropriate reading you want to take. Testing voltage will read how much voltage is actively passing through a live circuit. Testing the ohms will look at how much resistance is occurring in the area between the two probes. Testing the amperage determines the maximum rate at which energy is flowing through a circuit.
Step 3
Test the voltage of an object by placing the red probe on the circuit nearest the positive — incoming — end of the circuit, and place the black probe further down the flow of the circuit. While the probes are touching, the reading should appear.
Step 4
Test the resistance of an item by touching the red probe to one side of the component in question and the black probe to the opposite side. A reading of zero ohms means that the component is not impeding electricity at all — if the needle jumps all the way to the opposite end of the zero, that means it's reading "infinite" resistance and the object is not allowing any electricity through. Be sure to set your ohmmeter on the right scale (see Tips below) to get an accurate reading.
Step 5
Test the amperage by interrupting the circuit with the multimeter. This might be more complicated in real-life scenarios, such as home wiring, but the multimeter must be a connecting part of the circuit to read how many amps can flow through a circuit. Some analog multimeters will also requite the red connection to be moved to a jack labeled "amps" or simply "A." Connect the positive or incoming wire of the circuit to the red probe. Use the black probe to then connect to the positive connection on the device or circuit being measured.
TL;DR (Too Long; Didn't Read)
Ohms (resistance) will usually be marked in increments, such as 1,000; 100; 10; .001. Be sure to set your ohmmeter for the general range in which you expect a reading. For example, a 400-ohm resistor being tested should be set to 100 and would appear with the dial reaching "4" upon testing. If you accidentally set the ohms scale too low, such as .001, then the resistance would be off the range of the analog dial and appear as if the resistor were letting no electricity through. To confirm that an ohm reading is, in fact, "infinite," set the ohmmeter to its highest scale. Testing the resistance (ohms) requires the meter to generate its own electricity charge from its battery. If the meter was left alone for a long period of time, and all resistance seems to read "0," replace the battery (usually 9 volts) to ensure accurate readings. Analog multimeters also have an internal fuse to prevent damage in the event of overload. If blown, this fuse can affect all readings. To test the fuse, set the ohmmeter to its highest level and touch the two probes together. A good fuse will read zero, or very little, resistance; a blown fuse will read high or infinite resistance.
Warning
Working with electricity is a dangerous task, particularly when measuring amperage. Anything over 200 milliamps (200 mA or .002 amperes) will definitely stop a human heart. A typical household power outlet produces at least 10 amp (10,000 mA). It is best to set up your testing environment with the power to the circuit turned off and then turn the power on when ready to test. Seek assistance from a professional when you are uncertain how to proceed, particularly when dealing with high voltage or high amperage circuits.
Cite This Article
MLA
Andrew, Jacob. "How To Troubleshoot With An Analog Multimeter" sciencing.com, https://www.sciencing.com/troubleshoot-analog-multimeter-8531290/. 24 April 2017.
APA
Andrew, Jacob. (2017, April 24). How To Troubleshoot With An Analog Multimeter. sciencing.com. Retrieved from https://www.sciencing.com/troubleshoot-analog-multimeter-8531290/
Chicago
Andrew, Jacob. How To Troubleshoot With An Analog Multimeter last modified March 24, 2022. https://www.sciencing.com/troubleshoot-analog-multimeter-8531290/
