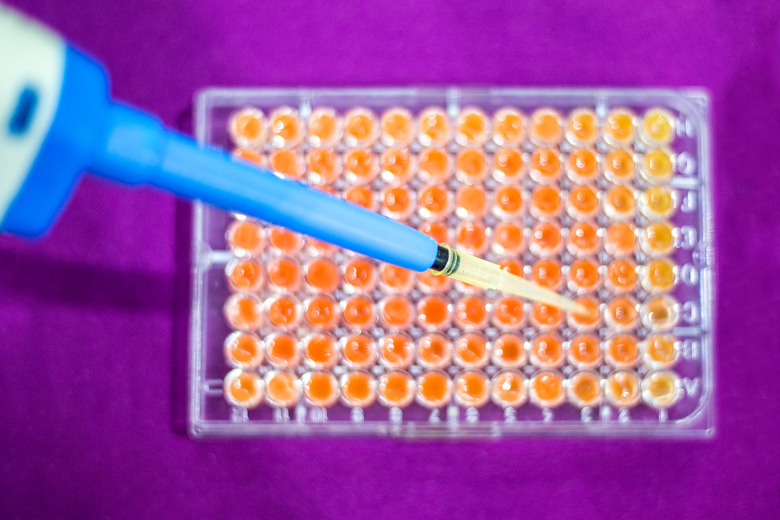
How To Use A Micropipette
Microbiologists need micropipettes to work with DNA, RNA and other tiny molecules within cells. Micropipettes accurately dispense tiny volumes of liquid — no more than 1 mL. Micropipettes measure volumes in microliters, which represent millionths of a liter. You probably would not notice the difference between 10 and 11 microliters in a container, but a difference of less than 1 microliter can be vital to achieving accurate results in microbiological experiments.
Step 1
Pick the appropriate micropipette for the volume of liquid you need to transfer. Common micropipette sizes include 20, 100, 200 and 1,000 microliters. The size marked on a micropipette indicates the maximum volume you should transfer with it; a micropipette can transfer as little as 1/10 the marked volume. Use a 20-microliter micropipette for 2 to 20 microliters, a 100-microliter micropipette for 10 to 100 microliters, and so on.
Step 2
Move the micropipette, the box of micropipette tips, the liquid to be transferred, the microcentrifuge tubes and an empty container for tip disposal under a laminar flow hood.
Step 3
Turn the knob near the top of the micropipette to adjust it to the volume you need; turn right to increase the volume and left to decrease it. All micropipettes display 3 digits on the volume dial. For a 1,000-microliter micropipette, the top digit is the 1,000s place, the middle digit is the 100s place and the bottom digit is the 10s place. For a 100- or 200-microliter micropipette, the digits are the 100s, 10s and 1s places. For a 20-microliter micropipette, the digits are the 10s, 1s and tenths places.
Step 4
Open the box of micropipette tips, taking care not to touch any of the tips. Insert the end of the micropipette into a tip and press down firmly, then lift the micropipette. Close the tip box.
Step 5
Grasp the micropipette in your dominant hand with your thumb above the plunger and your fingers around the barrel. Depress the plunger until you feel resistance.
Step 6
Insert the micropipette tip just below the surface of the liquid you are transferring. Slowly release the plunger, keeping the tip completely submerged. Remove the micropipette from the liquid, and check to ensure there are no air bubbles in the tip.
Step 7
Insert the micropipette into a microcentrifuge tube or other container you want to transfer the liquid to. Press the tip gently against a side wall near the bottom of the container. Depress the plunger until you feel resistance, pause briefly, then press the plunger down the rest of the way. Hold the plunger down as you slide the tip up the wall and out of the container. Release the plunger smoothly — don't let it snap back.
Step 8
Hold the micropipette over your tip-disposal container, and press the button beneath the plunger to eject the tip.
Things Needed
- Sterile micropipette tips
- Container with the liquid to be pipetted
- Empty microcentrifuge tubes
- Small glass or plastic container
TL;DR (Too Long; Didn't Read)
Some micropipettes have 3 "stops" on the plunger and no button to eject tips. If you have this type of micropipette, press the plunger only to the second stop to eject the liquid. Press it down completely to remove the tip.
If you get air bubbles when collecting the liquid, eject the liquid back into the container and try again, making sure to release the plunger slowly and smoothly. Try with a new tip if you still get air bubbles.
If you are using a micropipette to load a gel for electrophoresis, place the tip at an angle into 1 end of a well in the gel without allowing it to puncture the gel. Press the plunger down slowly to gradually release the liquid into the well and prevent it from mixing with the buffer solution.
Store micropipettes on a micropipette rack.
Warning
Don't use a micropipette without a tip.
Never lay a micropipette on its side while the tip contains liquid.
Use a micropipette only for its intended range of volumes. A micropipette dial can often be adjusted beyond this range, but avoid turning the dial out of the appropriate range.
Dispose of pipette tips in the appropriate waste container.
Cite This Article
MLA
Wakefield, Petra. "How To Use A Micropipette" sciencing.com, https://www.sciencing.com/use-micropipette-8441721/. 18 May 2011.
APA
Wakefield, Petra. (2011, May 18). How To Use A Micropipette. sciencing.com. Retrieved from https://www.sciencing.com/use-micropipette-8441721/
Chicago
Wakefield, Petra. How To Use A Micropipette last modified March 24, 2022. https://www.sciencing.com/use-micropipette-8441721/
