How To Wind A 12-Volt Solenoid Coil
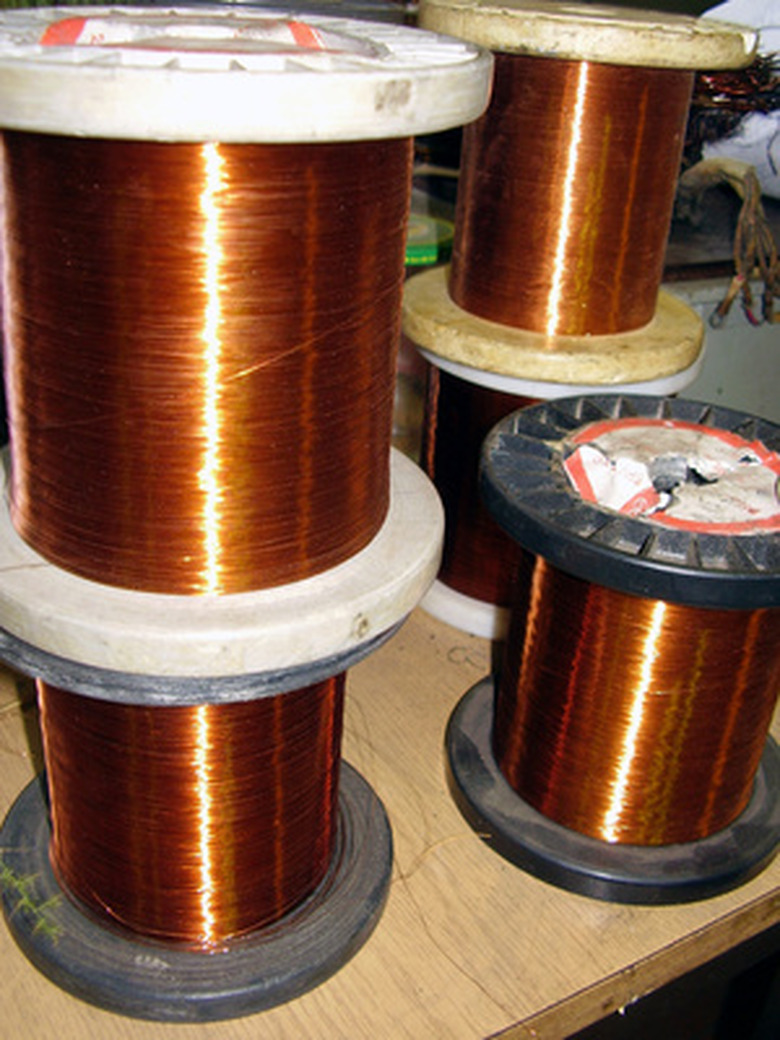
A solenoid is described as a coil of wire that generates a magnetic field when an electric current passes through it. The strength of the generated magnetic field is proportional to the number of turns in the coil and the amount of electric current flowing through the wire. If a core of ferromagnetic material, such as soft iron, is inserted into the coil, the strength of the magnetic field is magnified to many times the strength of the coil alone. A solenoid is simple to construct, using magnet wire for the coil and an iron nail for the core.
Step 1
Wind the magnet wire around 2 inches of plastic tube, cut from a straw or a pen casing. Leaving 1 foot of wire free, wind the wire around the tube, starting at one end and working your way across to the other. The coils should be neatly wound, and tightly packed together. Once you have reached the other end of the tube, start a new layer and repeat until all the wire is wound. Leave 1 foot of wire at the other end of the coil to allow you to connect the wire to the battery.
Step 2
Wrap a layer of masking tape around the coil, which will help to hold the coil together and stop it from unwinding.
Step 3
Rough up the ends of the wire with sand paper to reveal clean copper and create a good electrical connection to the battery.
Step 4
Connect the free wire from one end of the coil to the negative terminal on the battery, and the free wire at the other end of the coil to the positive terminal on the battery. As the circuit is completed, a magnetic field is created around the coil with the highest intensity through the center of the coil. You can verify this by placing a compass near the coil, and watching the needle swing as it is affected by the coil's magnetic field.
Step 5
Disconnect the wire from the positive terminal of the battery. Place the iron nail with it's tip slightly inside the coil. Attach the wire to the positive terminal of the battery again, and you will see the iron nail is pulled further into the coil due to the coil's magnetic field. This is the principle used by solenoid switches and valves.
Step 6
Disconnect the wire from the positive terminal. Place the nail fully inside the coil, and then reconnect the wire to the positive terminal again to complete the circuit. With the nail fully inside the core, the magnetic field strengthening effect is maximized, and the coil can be used as an electromagnet. Try using the coil to pick up small metal items, such as paperclips. You will see they are attracted to the coil.
Things Needed
- 40 feet of magnet wire
- Iron nail
- 12-volt battery
- 2-inch length of plastic tube
- Sand paper
- Masking tape
- Compass
- Paper clips
TL;DR (Too Long; Didn't Read)
Use 36 SWG magnet wire or a similar gauge. Thicker wires have less resistance, allowing more current to flow. Although this increases the strength of the electromagnet, it will also drain the battery much faster, so a thin wire is best for this experiment.
To increase the power of the solenoid, use a longer iron nail and add more windings to the coil.
Warning
Do not leave the coil connected to the battery for more than 10 to 15 seconds at a time. Any longer and the battery will quickly drain, and the coil and battery can become very hot.
Cite This Article
MLA
Downes-Powell, Gareth. "How To Wind A 12-Volt Solenoid Coil" sciencing.com, https://www.sciencing.com/wind-12volt-solenoid-coil-7565290/. 24 April 2017.
APA
Downes-Powell, Gareth. (2017, April 24). How To Wind A 12-Volt Solenoid Coil. sciencing.com. Retrieved from https://www.sciencing.com/wind-12volt-solenoid-coil-7565290/
Chicago
Downes-Powell, Gareth. How To Wind A 12-Volt Solenoid Coil last modified March 24, 2022. https://www.sciencing.com/wind-12volt-solenoid-coil-7565290/
